March 1, 2026
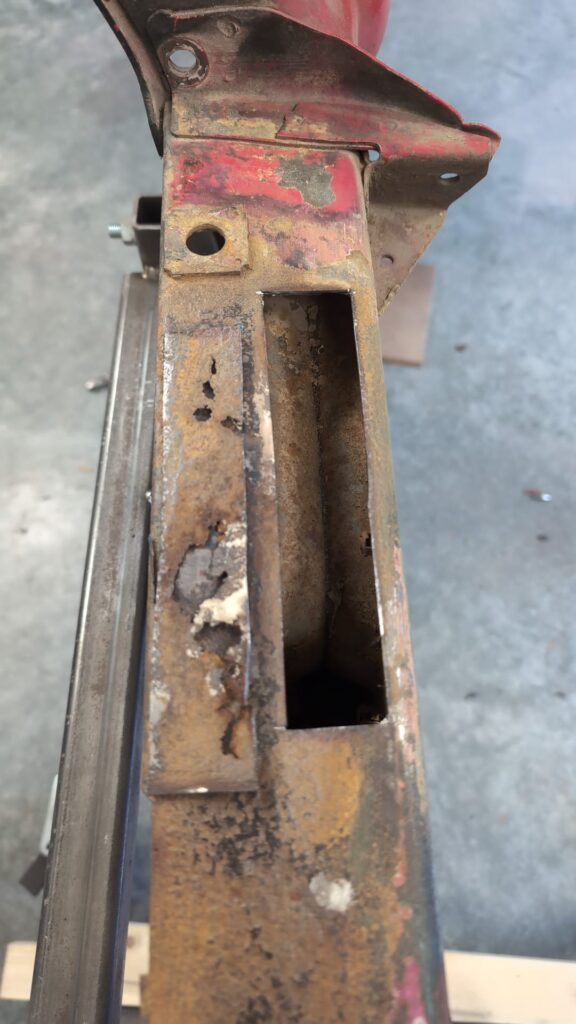
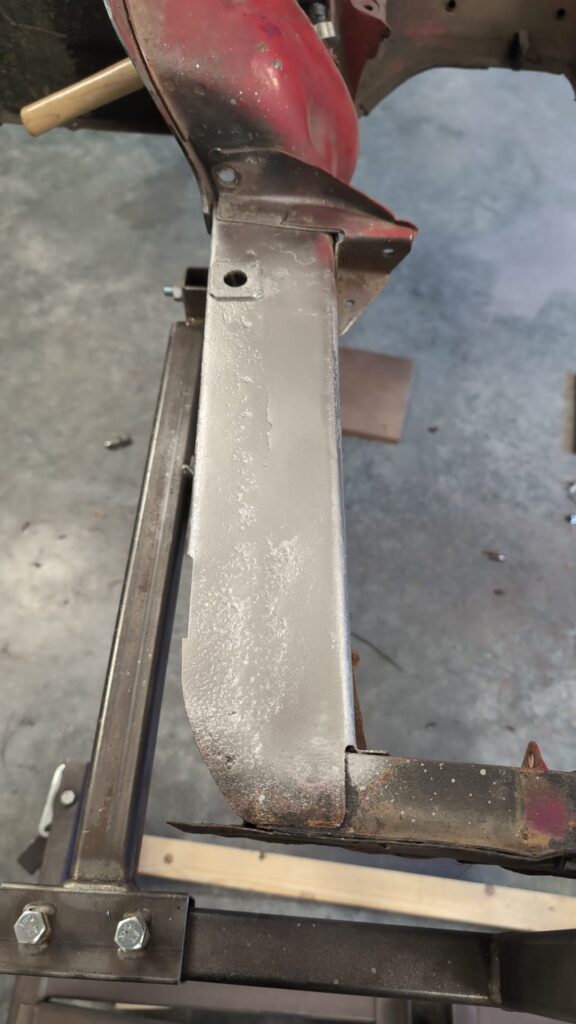
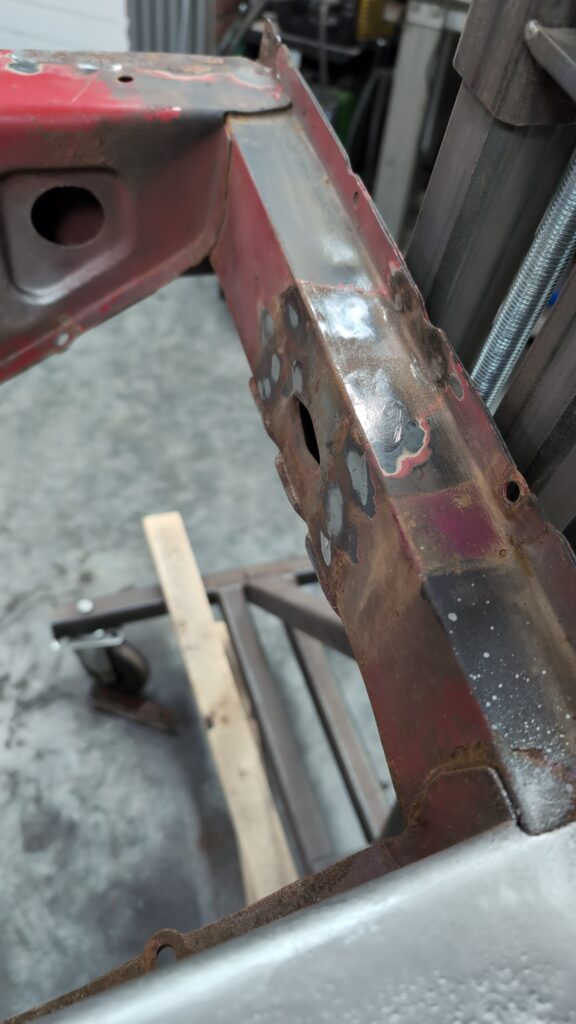
I still have some work to do on the front of the car. The right main chassis member has rusted through where the battery was sitting on top of it. I cut out the rotten area of the chassis member and make a custom-made plate to weld into place. After spraying the inside of the chassis member and the bottom of the plate with Inox spray, I weld the plate in place.
March 3, 2026
Now that the chassis member has been repaired, I can construct the floor in the old engine bay. The floor is part of the reinforcements between the chassis members. Apparently, for the rally car, it was necessary to stiffen up the chassis members which were only connected by a single crossbar, a bit more firmly. It is not difficult to imagine that the load on the front suspension increases considerably when the car is used for rallies. In the Renault 5 Turbo, the box beams are connected by a floor at the bottom, and one or two tubes are welded between the upper shock absorber mounts. The Renault 5 Maxi Turbo had an additional reinforcement between the chassis members. I first need to check if I have space in my car for such an extra reinforcement.
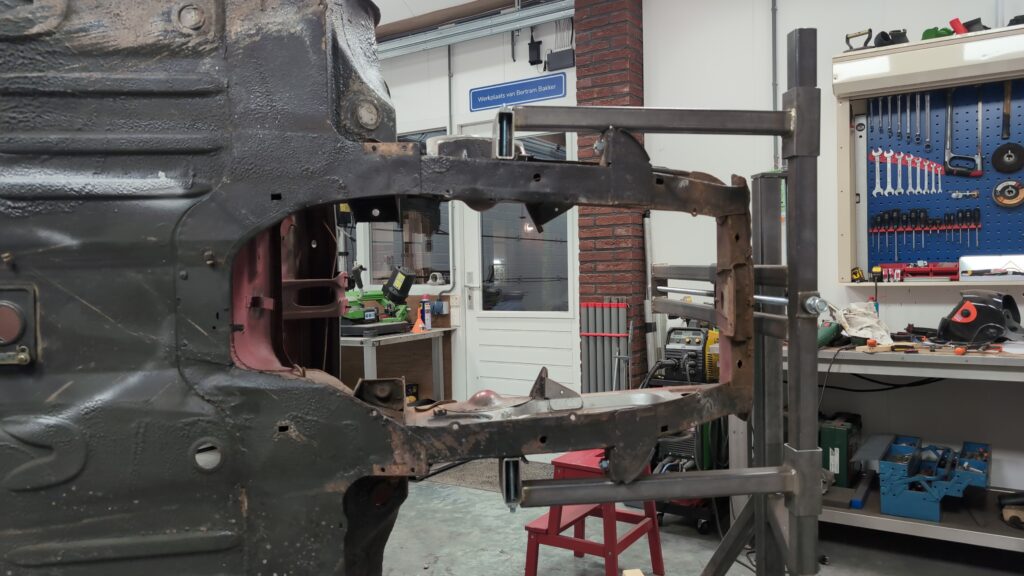
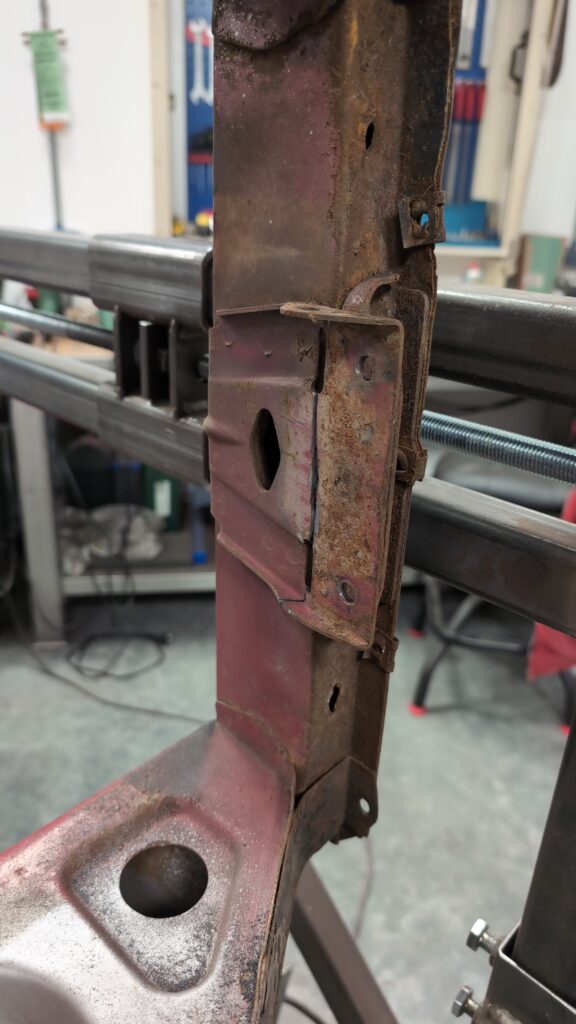
The gearbox support is still attached to the front crossbeam. This needs to be removed. This turns out to be quite a job; the gearbox mount is made of thick sheet metal, and the person who was tasked with spot-welding this mount to the crossbeam 50 years ago had a good day. I had a lot of work.
March 8, 2026
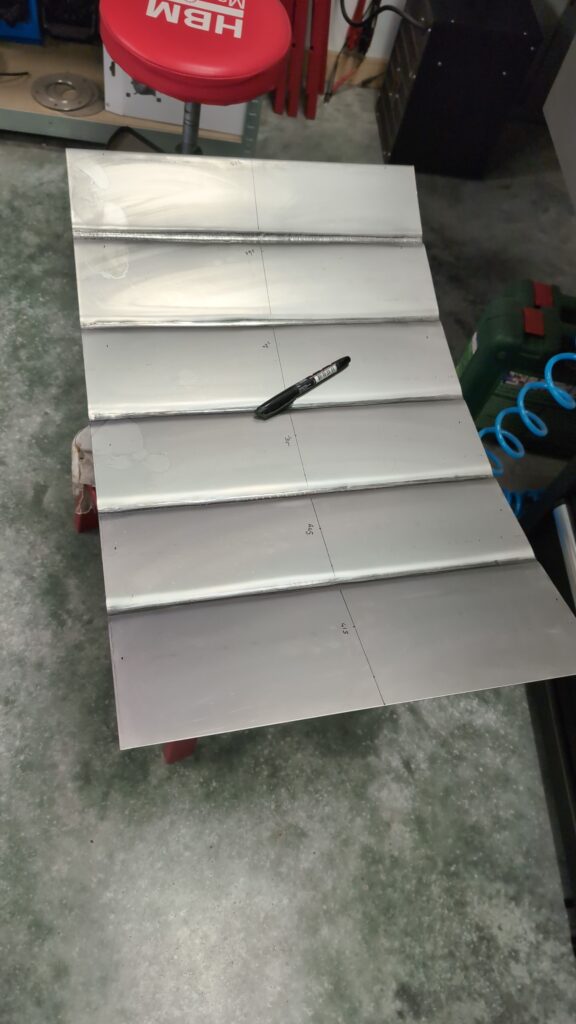
I had already prepared the floor a few months ago. Now I have to cut it to the correct length and width. Additionally, the flanges at the bottom of the chassis members to which the floor will be welded are not perfectly straight everywhere.
March 15, 2026
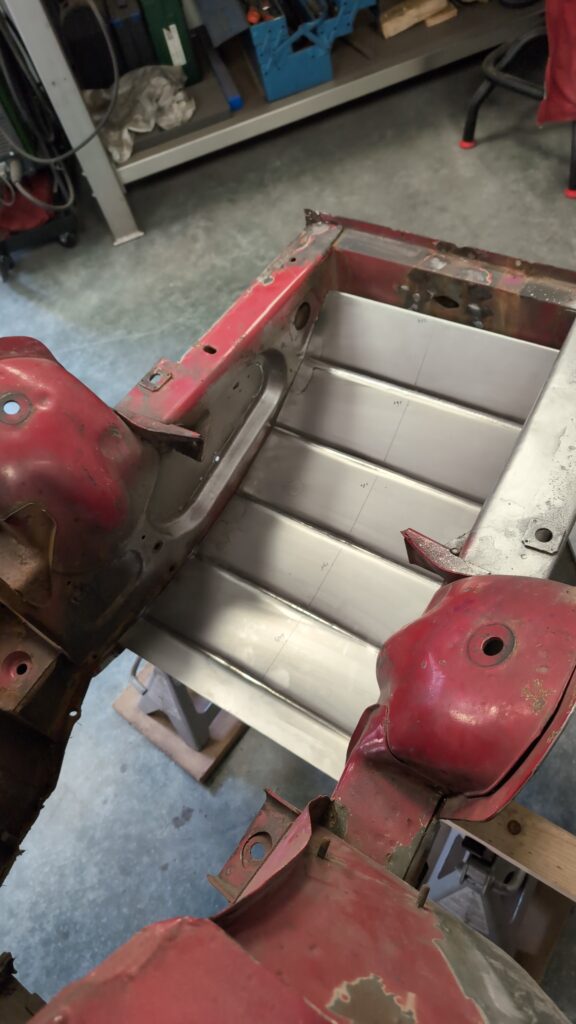
I think it looks like the floor is almost finished in the pictures above. The reality is different. The floor only fits approximately, and to be able to weld it in, all paint and sealant must be completely removed.
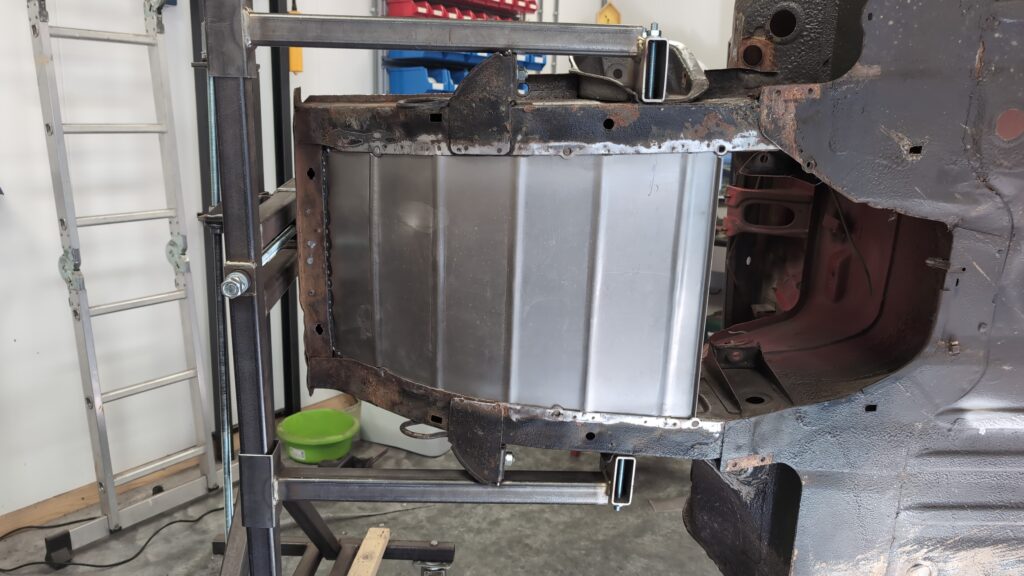
After I have made the floor to fit exactly, I weld it into place. I decide to bend the floor over one more time at the end. Optionally, I can bend the edge 180 degrees; then the edge certainly won’t be in the way and I will have some extra rigidity.
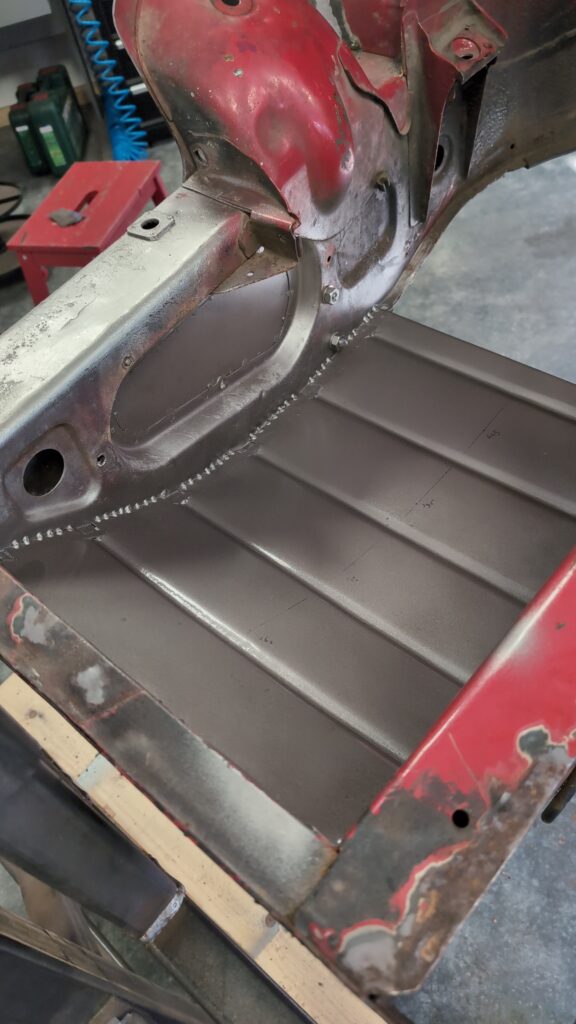
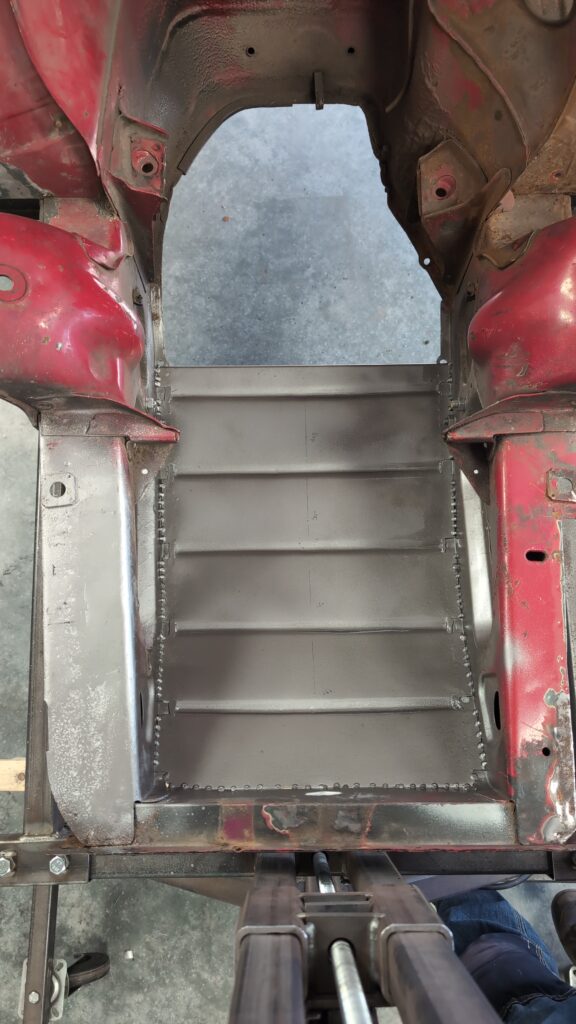
A few months ago, I received the polyester bodywork for my car. It is, of course, very tempting to fit everything to the car immediately and pretend you are almost finished. I chose not to do that. But today, I cannot resist the temptation. The next job will be mounting the inner fenders. The headlights are attached to the inner fenders, but also connect to the hood and fenders.
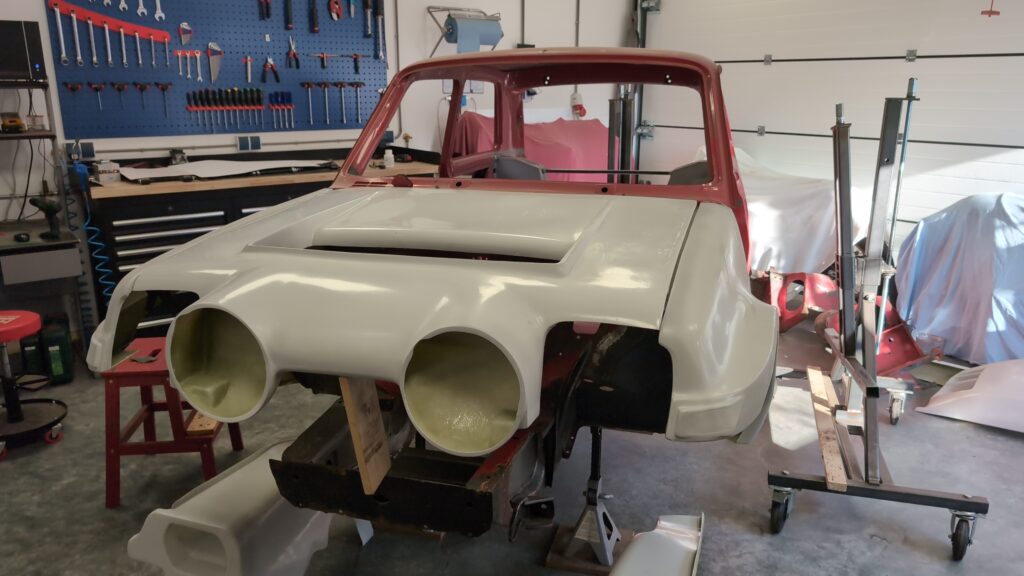

March 28, 2026
Today I continue with the front of the car. The fiberglass inner fenders cannot simply be attached to the bodywork; I first need to weld some sheet metal to the box sections. First, the passenger side:
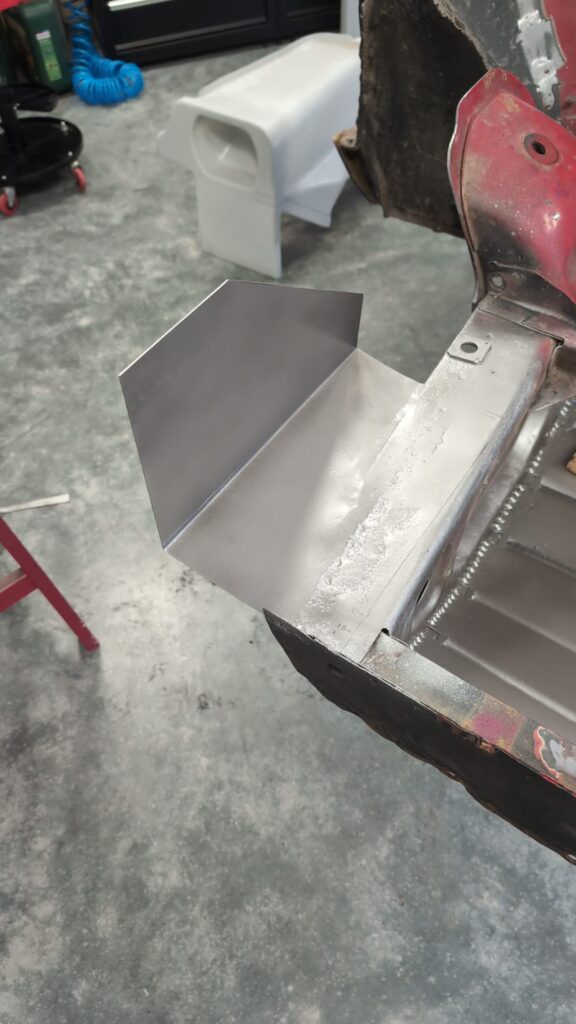

Now I have to try to figure out how the inner fenders are attached to the car on the Maxi. That turns out not to be so simple, because most of the photos I find online are of the so-called “TDC” (Tour de Corse) spec. On the TDC cars, there is a folded sheet metal part at the bottom of the front of the inner fenders that holds the fenders in place:
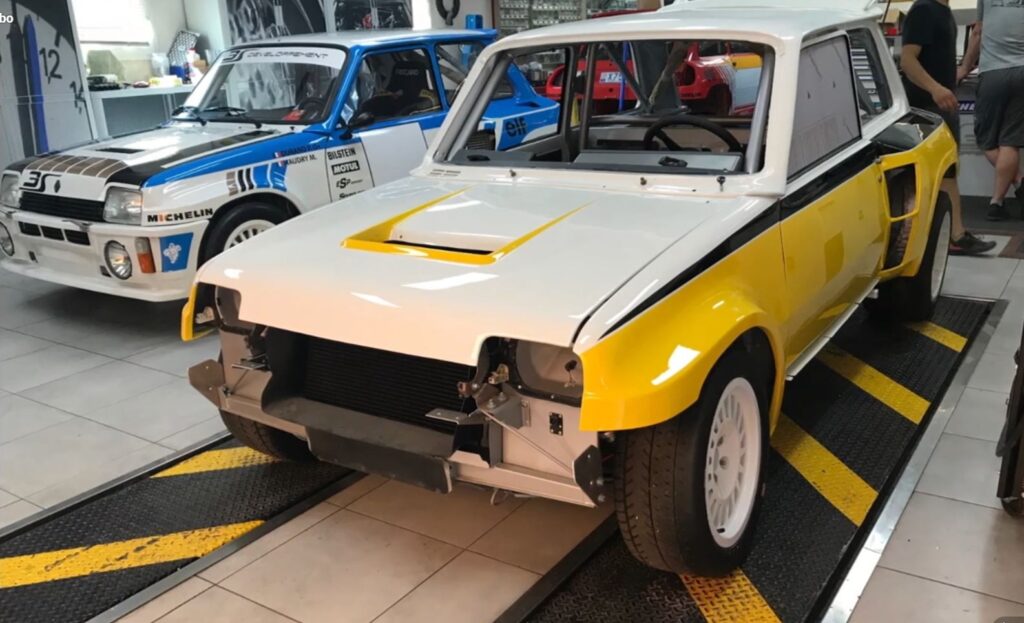
I understood that the Maxi uses a different construction. Eventually, I managed to get hold of a few photos of the front of a Maxi without bodywork:
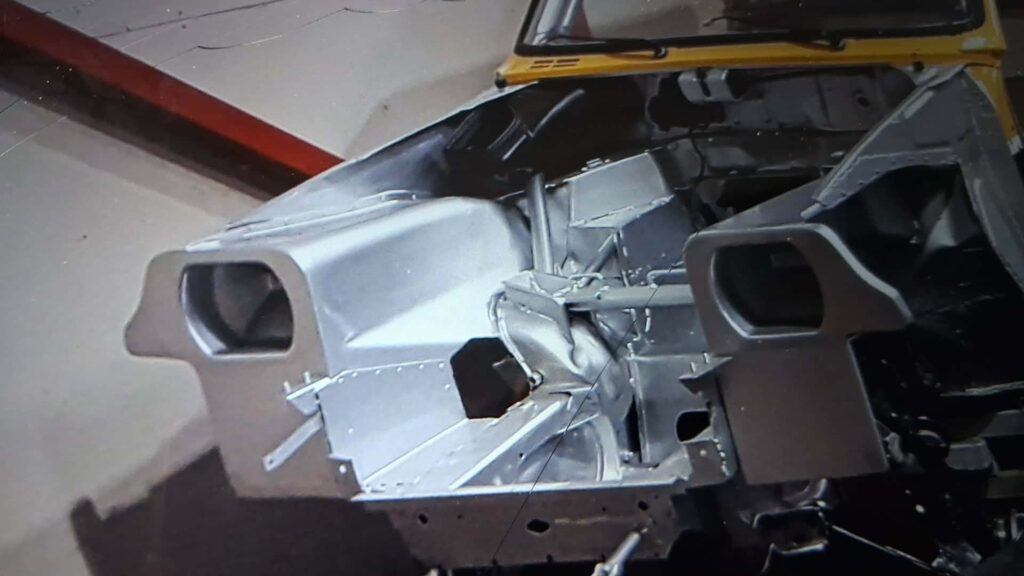
So, the Maxi had NO support at the bottom of the front of the inner fenders! I wonder if this construction, which probably worked fine for the race car, will also suffice for my car. Maybe I should start with the construction as shown in the photo above. If that isn’t sufficient, I can always add something.
First, let’s install the extra sheet metal on the driver’s side:
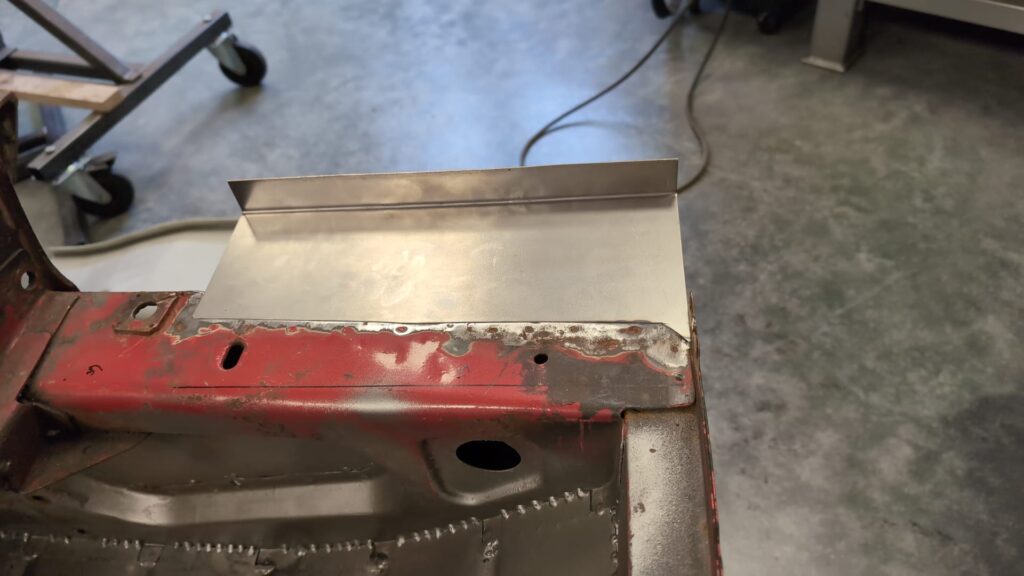
Once I have welded this piece of sheet metal as well, I can fit the inner fenders.

It’s starting to look like it. The inner fenders aren’t attached yet, so I don’t know yet if this will be strong enough. I continue by fitting the bumper.

Okay, it isn’t perfectly straight, but it does give you an idea. In the photo of the original Maxi, two brackets can be seen just below the headlights. That is probably where the bumper was attached. On the 3S Development website, I found a set of brackets that are supposed to be for a Maxi bumper. I don’t quite understand exactly where those brackets need to be mounted yet.
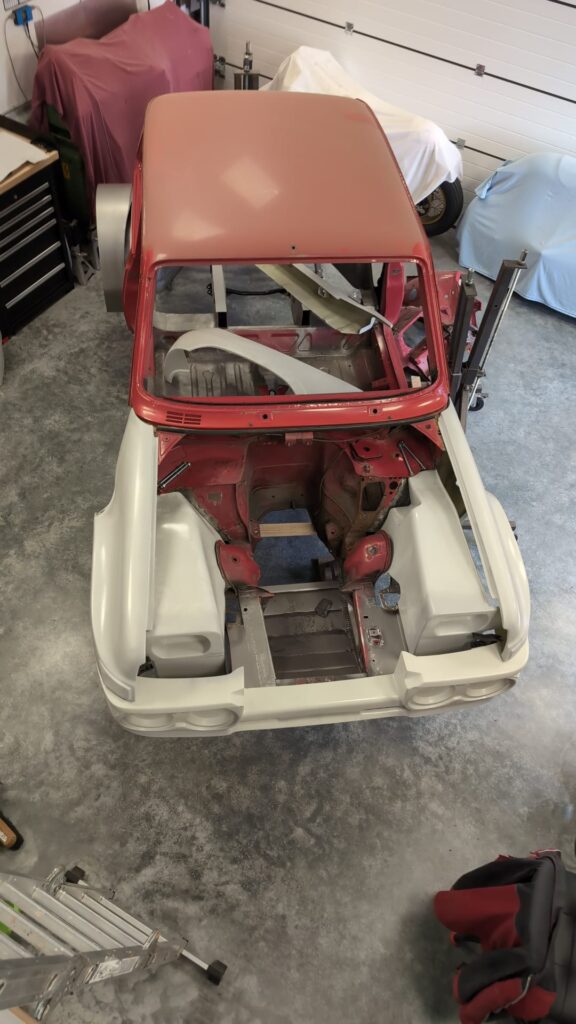
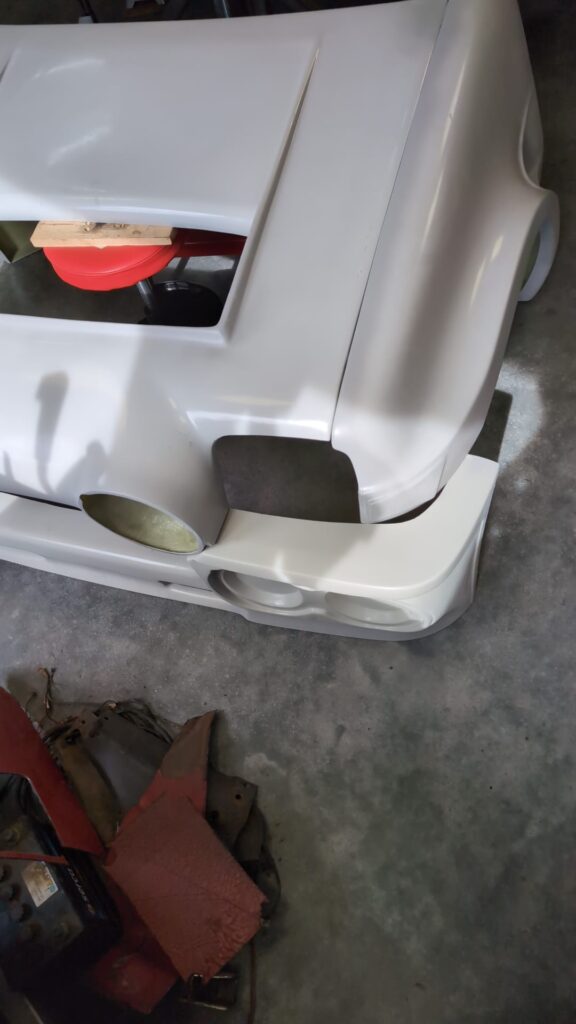
Now everything is starting to come together. It will still require quite a bit of fitting and measuring to get all the fiberglass parts neatly onto the car. But it’s a start!