January 1, 2026
Today I’m continuing the work on the front of the car. Neatly finishing the remains of the fenders is time-consuming, but the result is excellent.

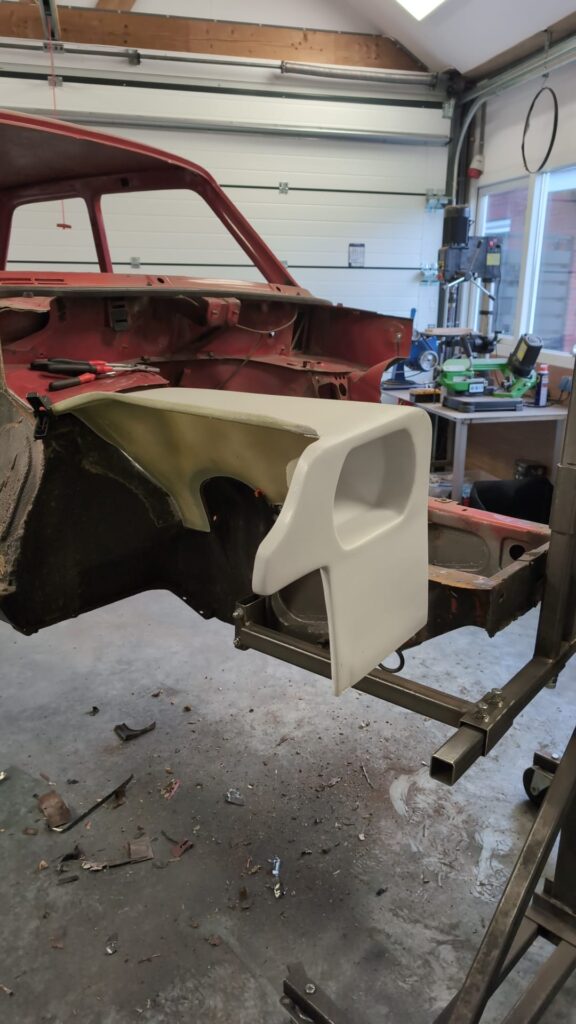
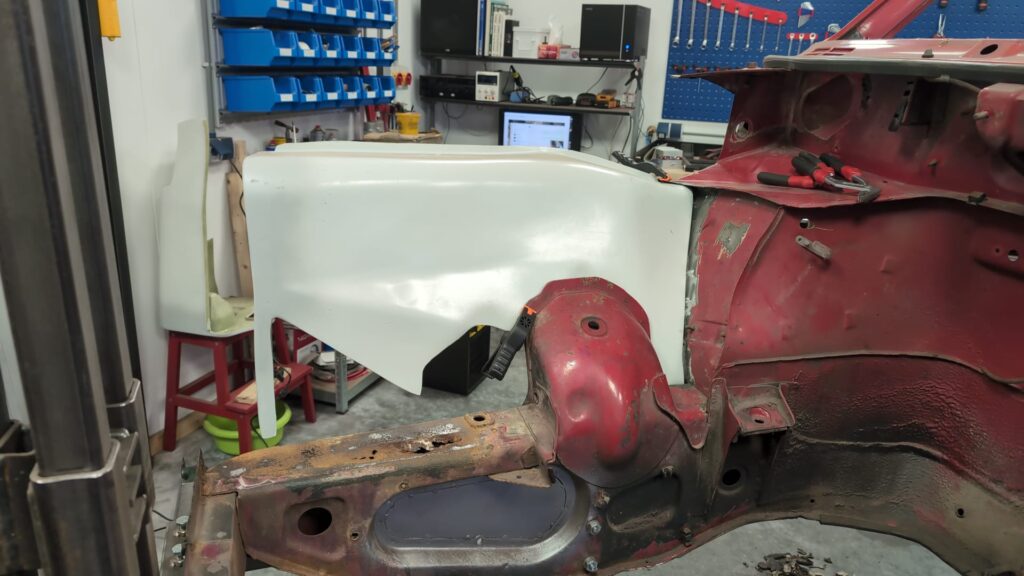
A steel plate will be placed on top of the new polyester fenders. The outer fender will then rest on the steel plate. I have no idea why this construction is like this. A new steel section also needs to be fabricated between the main chassis member and the new fender.
January 3, 2026
Today, Bart Jan is coming to help me with the rear fenders. It helps to have someone to brainstorm with about the best way to do this. Bart Jan and I have already spent many hours tinkering together, so we only need a few words to understand each other.
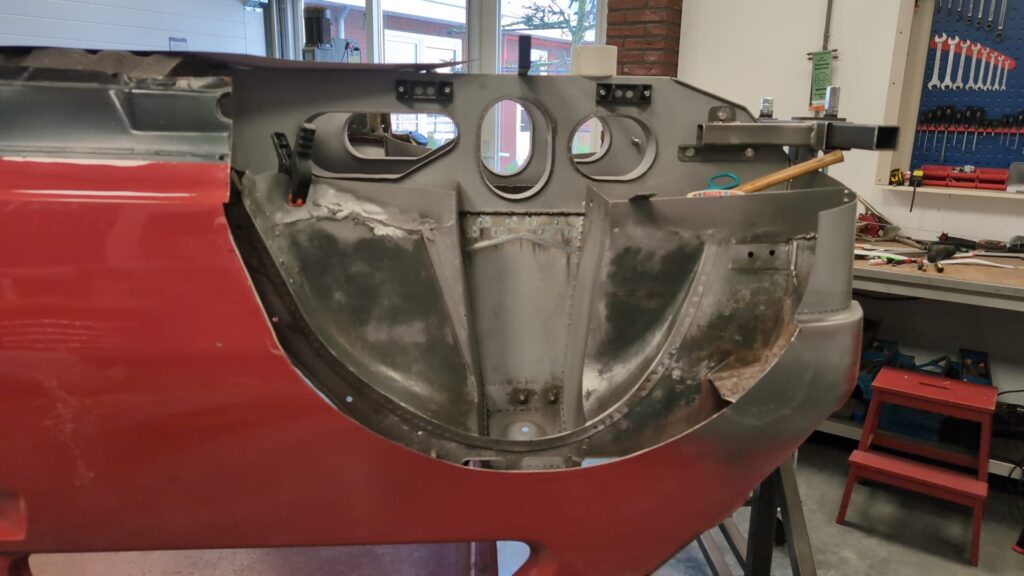
First, we measure very precisely how much of the outer fender still needs to be removed so that it follows the line of the inner fender exactly. Behind the center of the axle, we follow the radius of the (future) wheel. We fit the polyester outer fender and modify the rear of the car to fit the fender.
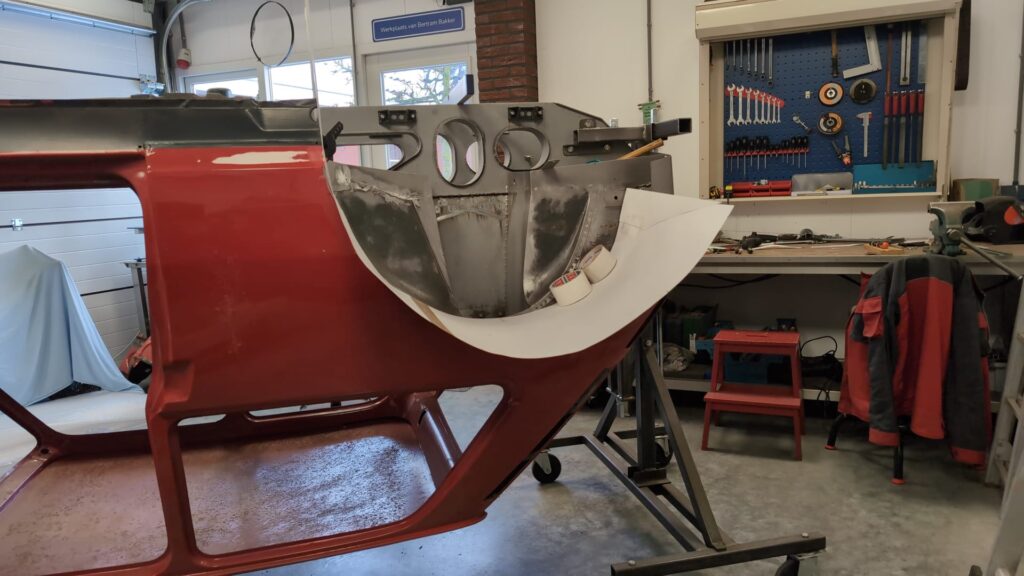
After we have cut the outer fender to size, we make a new template for the new steel fender that will go under the polyester fender. Using a laser, we determine the width every 5 cm, which we then transfer to a piece of cardboard. It actually fits perfectly the first time. @Bart Jan: Thanks for your help!
January 4
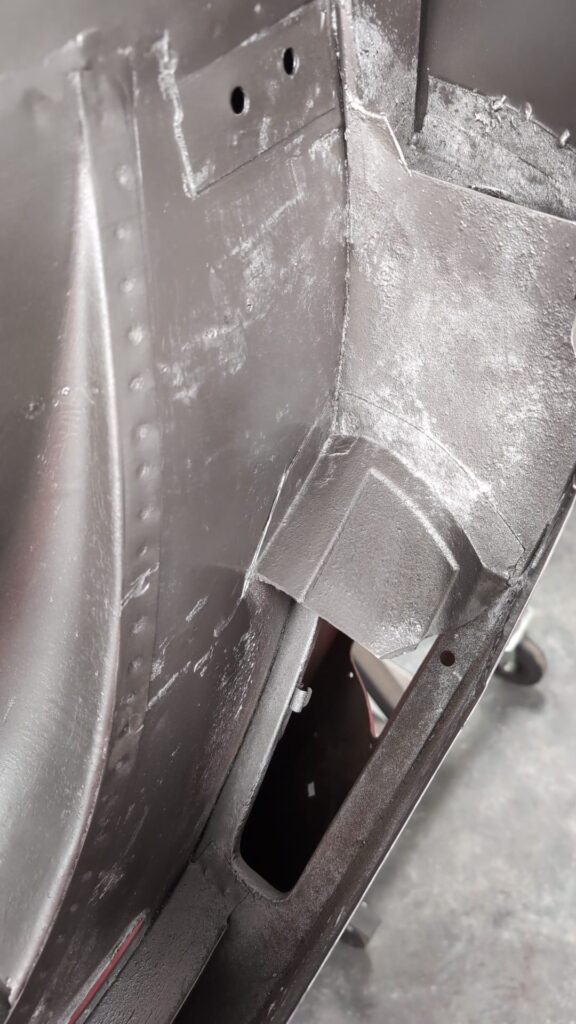
The new fender still needs to be made to fit the bodywork perfectly at both ends. The rear is easy to do, but there’s something else to do at the front of the fender first. The exhaust will exit in front of the right rear wheel, in a spot where the chassis is right now. With the polyester fender and side skirt in place, I determine where the exhaust should exit. I make a template for a new piece of sheet metal. This will be used to finish the half-cut-away box section.

January 24
Today I’m continuing work on the opening for the exhaust. I’m fitting the fender and side skirt once more, and I’m not sure I have enough room for the exhaust. The exhaust also needs to be attached somehow, I need space for the suspension too.
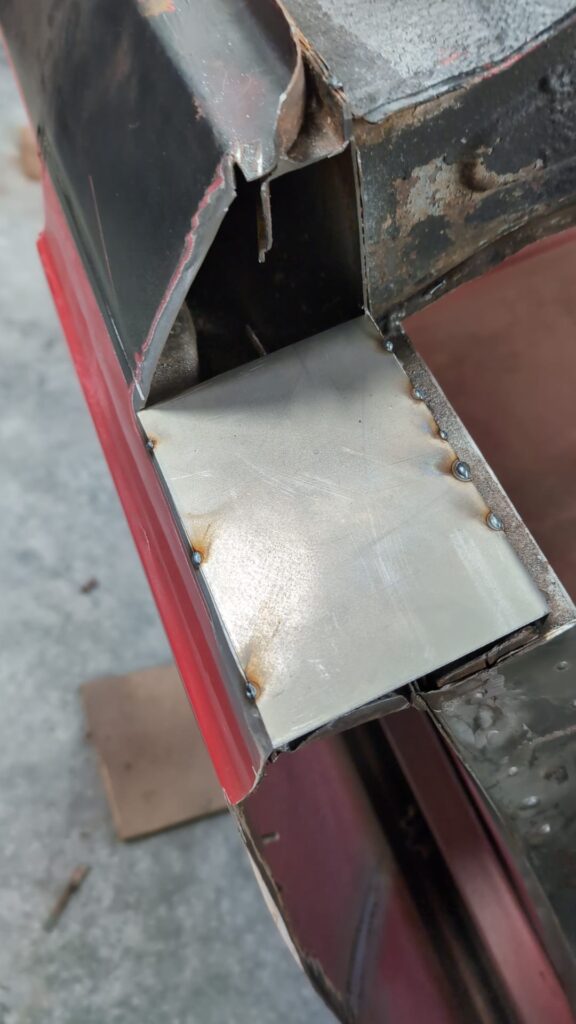

I decide to make the opening a bit larger. I’m pretty much on my own here; most builders (and there aren’t many) opt for a rear-exiting exhaust. That’s how all the road cars had it, and the rally cars except the Maxi also had a rear exhaust. I have a few photos; I’ll have to figure out the rest myself.
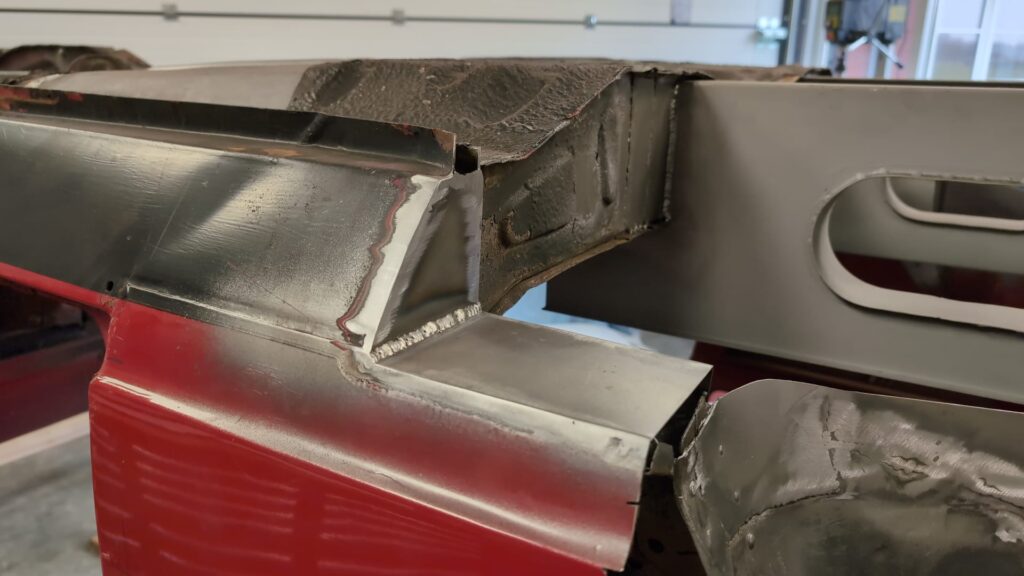
This is how it turned out in the end. Next step is the rear fender!
January 31
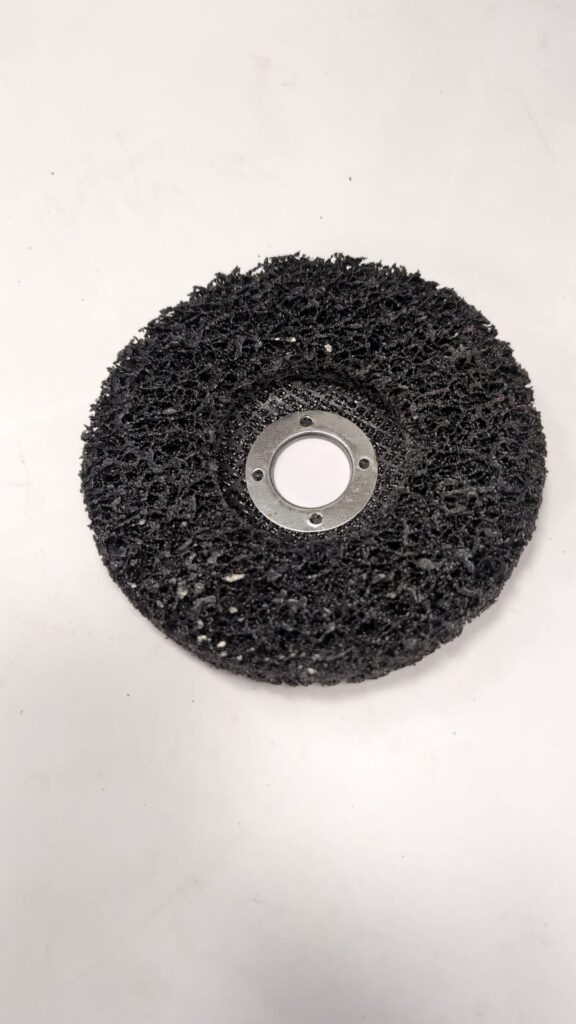
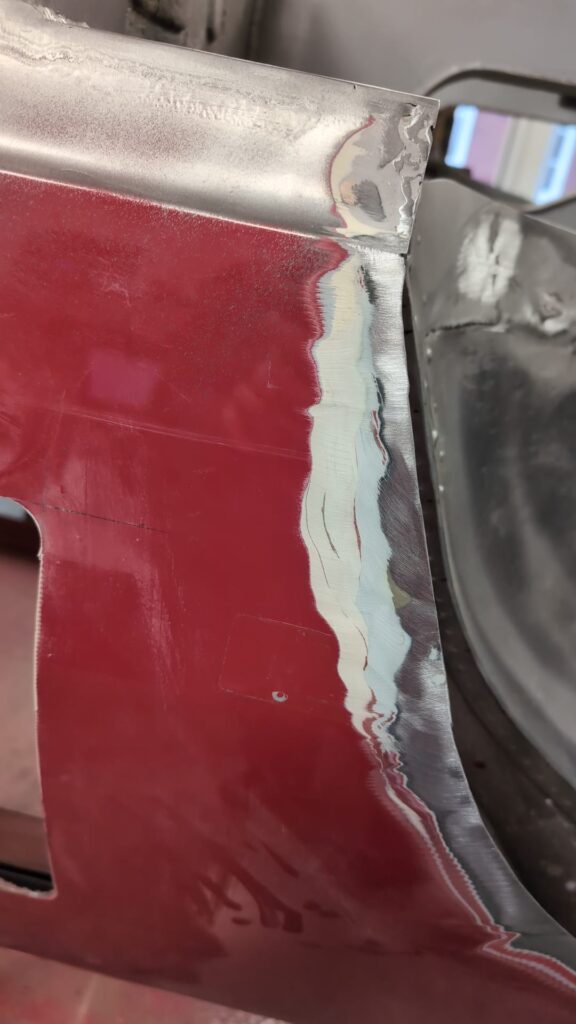
Today I want to try to weld the rear fender onto the car. Before I can do so, a few things need to be prepared. This morning, I picked up a cleaning disc from Toolstation. There’s a thick layer of filler on the car’s fender. Of course this has to come off, otherwise I can’t weld. The cleaning disc works perfectly; I get rid of the paint and filler in no time. It’s just flying around like crazy!
Then I grab the template that Bart Jan and I made earlier this month. After fitting it for one last time, I transfer the shape of the template to a piece of 1 mm sheet metal. The template is much thinner than the sheet metal. This will mean the length of the template is not exactly correct. Because the sheet metal is thicker, I expect it will have to be shorter than the template. I mark out most of the template first, but I wait with the left end.
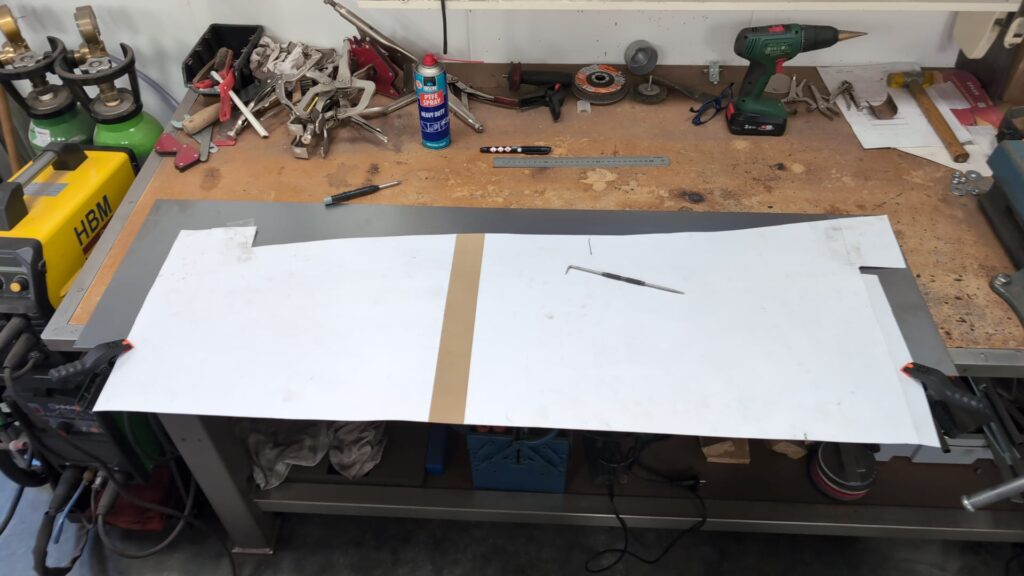
There’s a folded edge on the back of the fender. I use a bevel angle to determine the angle, and then I fold the edge. Then I carefully bend the panel into the correct shape. After much trial and error, it’s starting to look good.
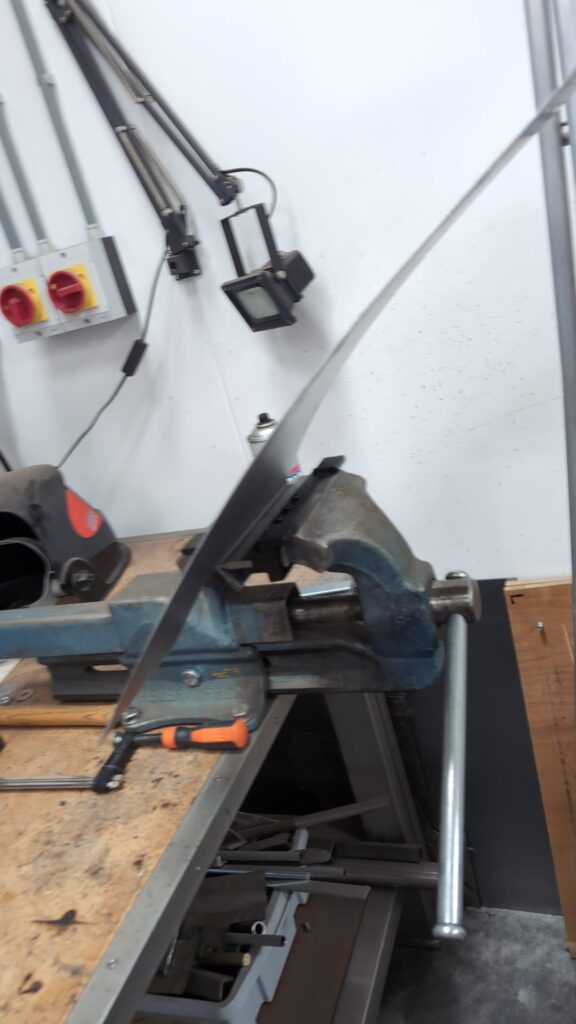
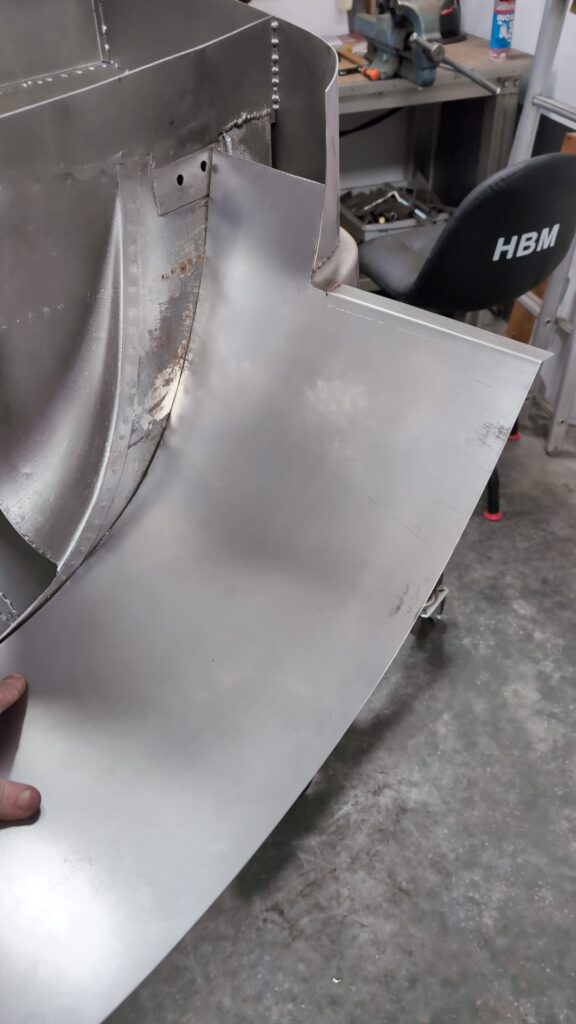
Now that the back fits neatly, I can see how much the length of the template deviates. The panel needs to be a centimeter longer than the template. I had not expected that. Perhaps this difference is because the panel does not flex so easily?
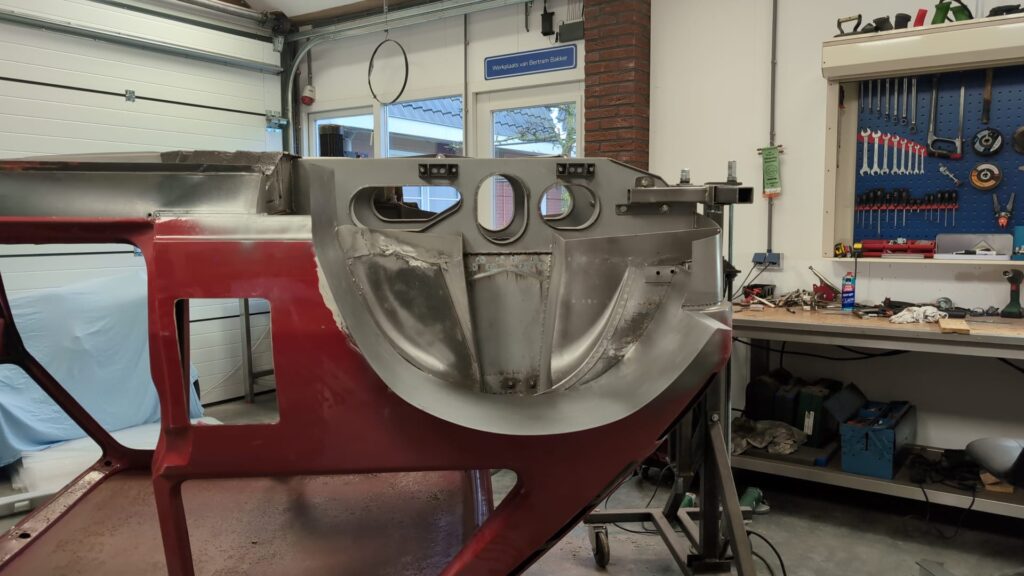
The panel now fits so well that it stays in place on its own. Before I weld the panel in place, I spray a layer of Inox Spray on everything I won’t be able to reach later. Then I tack the panel in place.
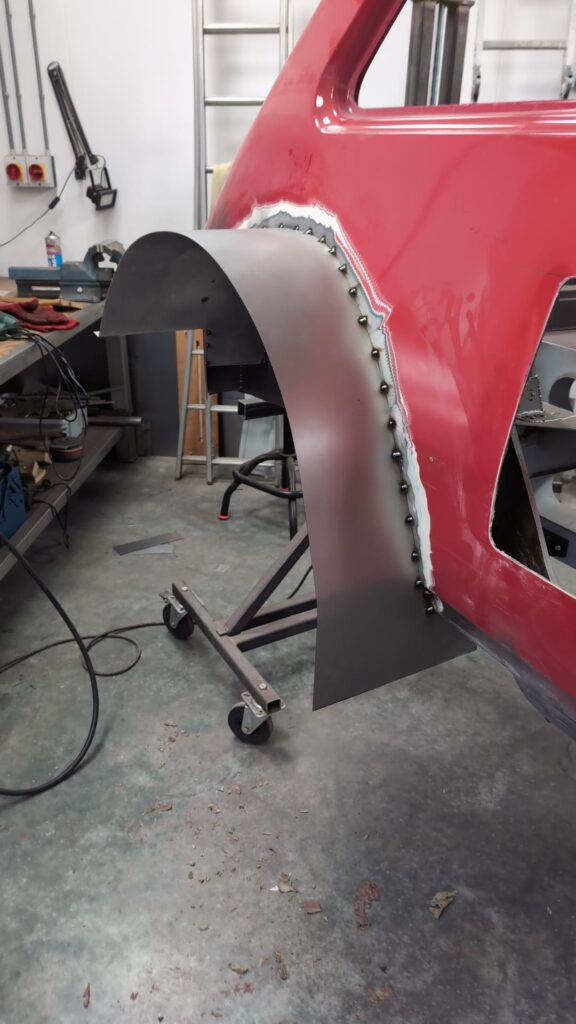
Next, I tack the inner fender every centimeter.

Finally, I also spray the new inner fender with Inox Spray. This was a really tricky job. I couldn’t have done it without Bart Jan’s help. The result is exactly what I’m looking for. One down, one to go!