April 2, 2026
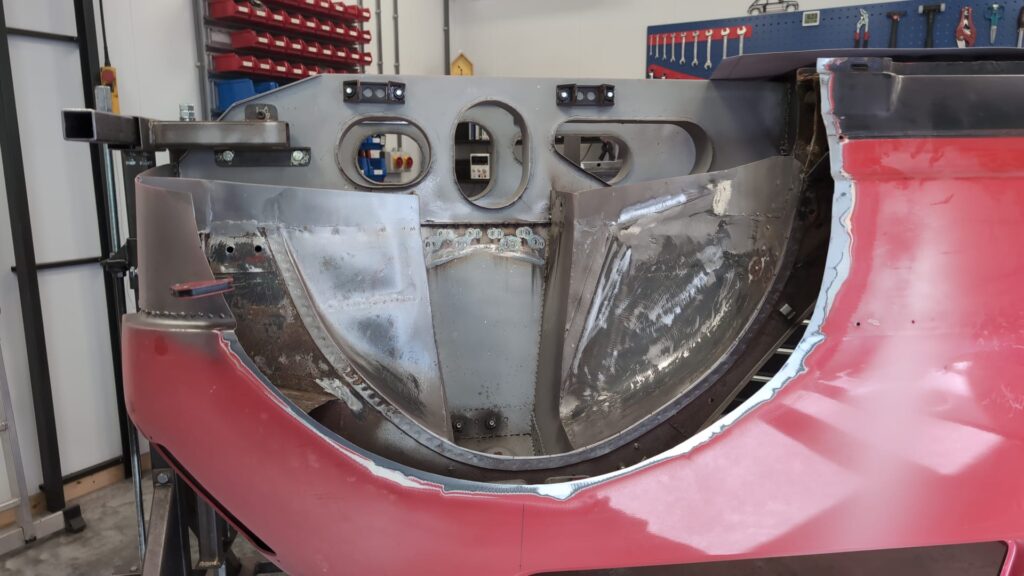
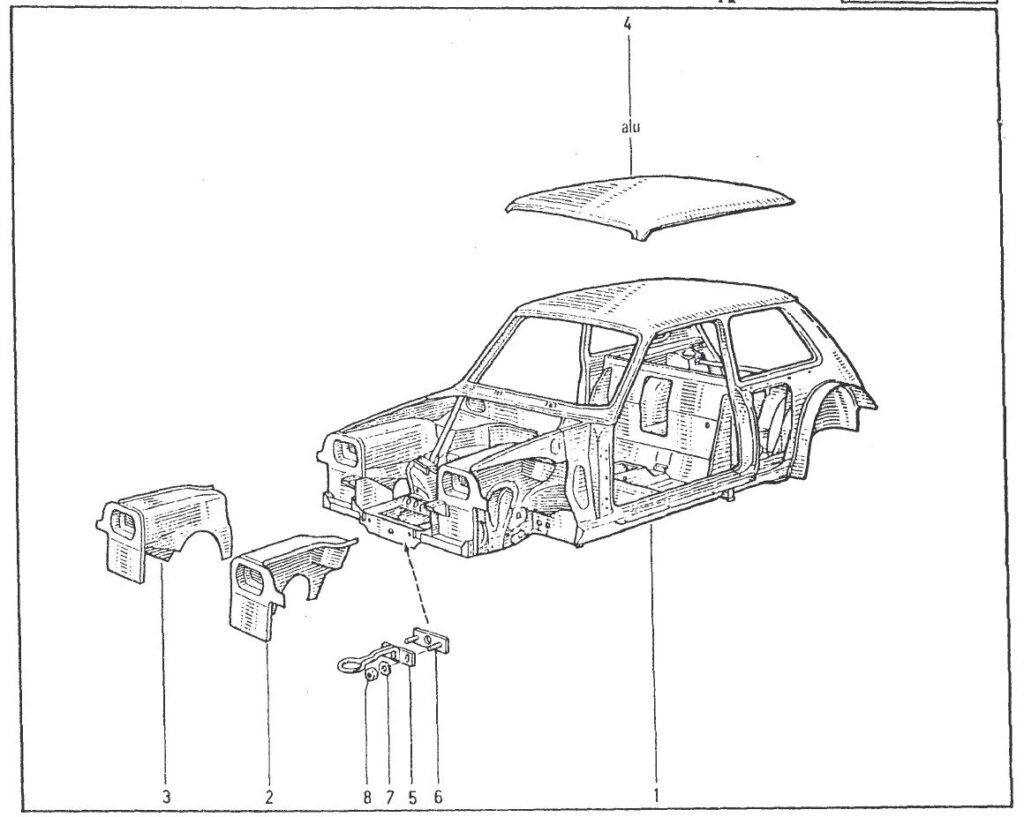
The sturdiness and stability of the inner fender construction is bothering me. I don’t understand how the front of the car can be stable without the front inner fenders being held steady. In search of more information, I flick through the homologation papers of the Renault 5 Maxi Turbo. And look what I find there:

Apparently, the car as it was presented for homologation at the time did have a construction that kept the inner fenders stable. That is remarkable. In the parts catalog, I find confirmation that the supports under the inner fenders do indeed belong to the Maxi. I know what I have to do this weekend.
April 4, 2026
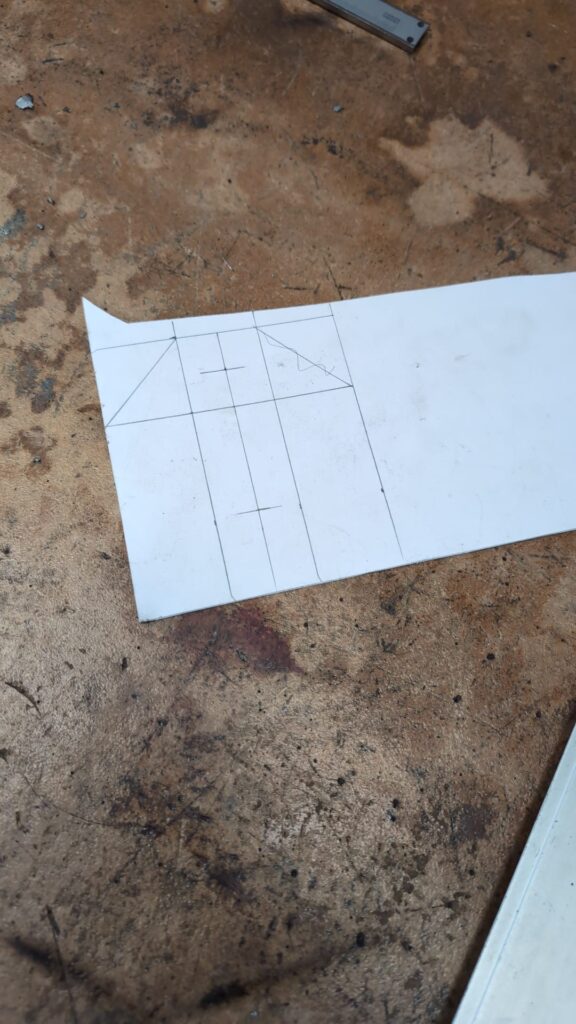
My goal for today is clear: I am going to try to make the supports for the inner fenders. This starts with cutting out a piece of sheet metal. On my sanding belt, I adjust the sheet metal part exactly to size.
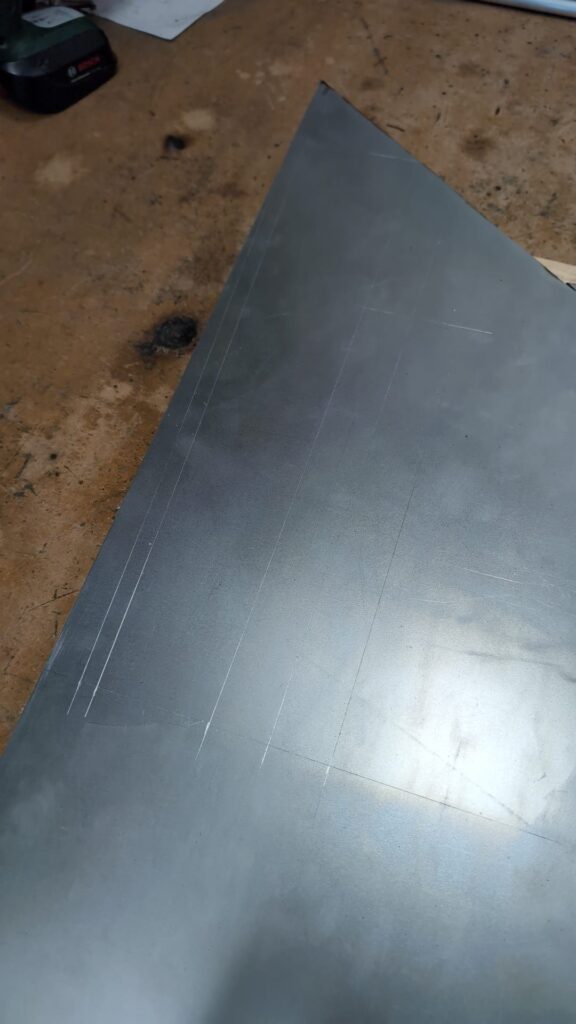
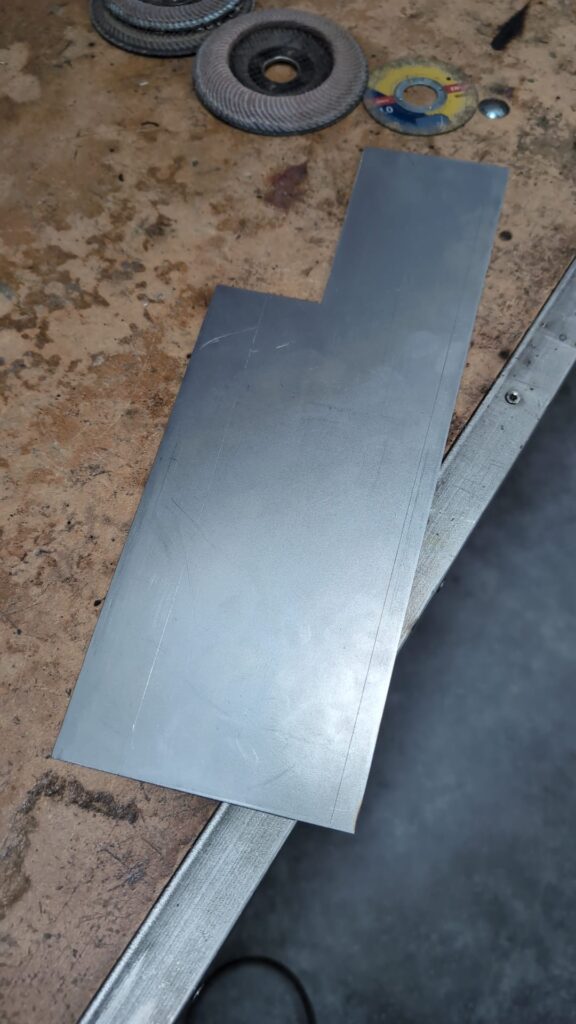
The readers of my site might think that I have a mini machine shop at my disposal, but that is not true. Ideally, one would cut sheet metal to the correct size. And bending is best done in a bending machine, but I don’t have one of those either. I use a simple jig in the vise. It takes a little longer, but it works just as well.
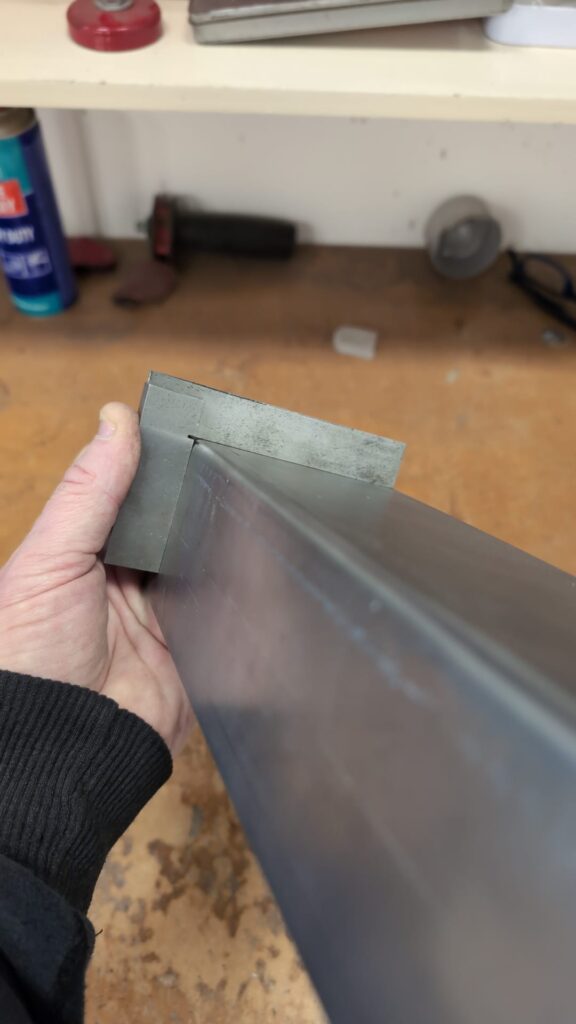
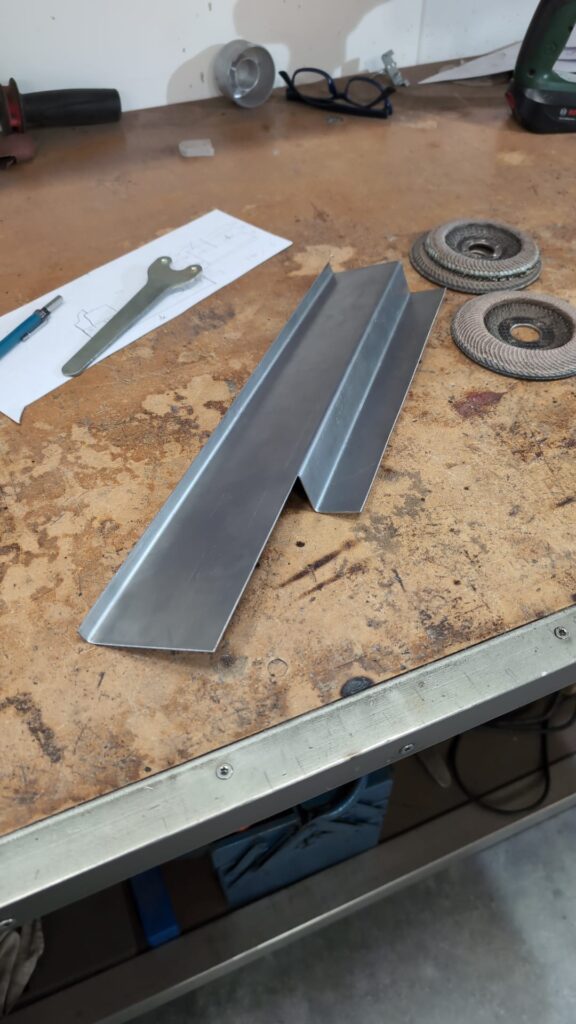
Next, I tack the new part into place.
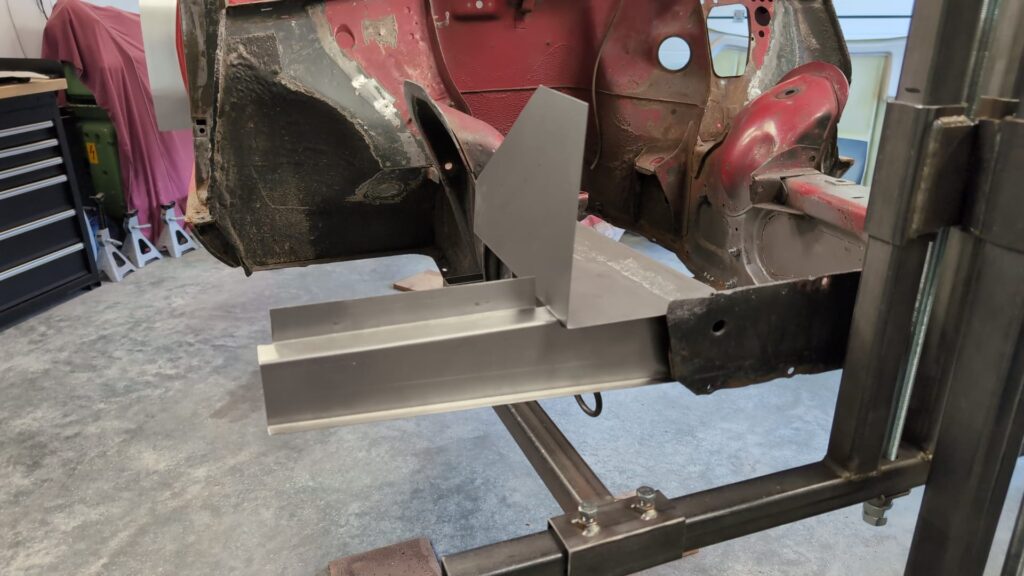
I make a mirrored part for the other side. When everything is assembled, it looks like this:
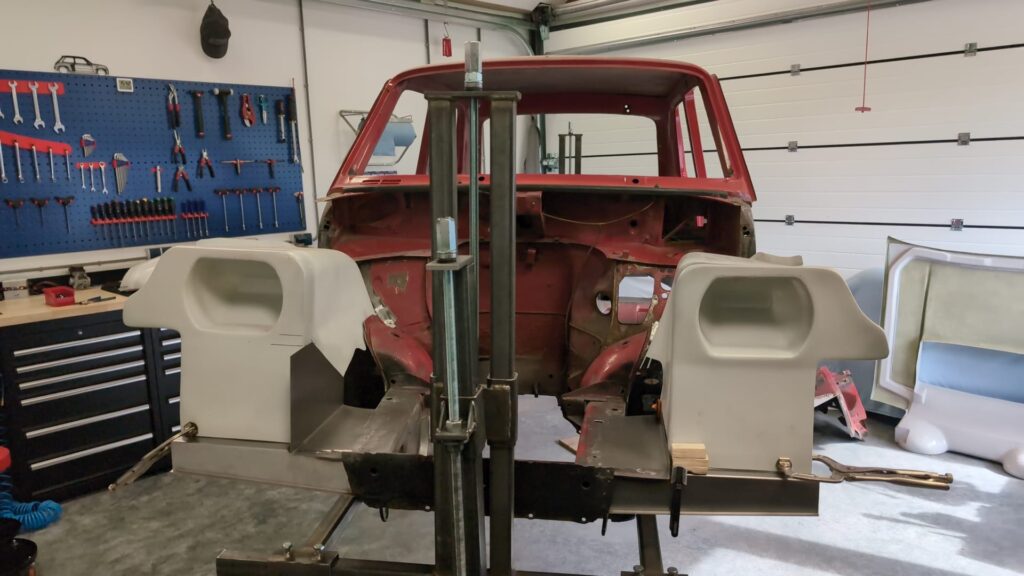
I am amazed at how firmly the inner fenders are now in place. I cannot imagine that without the supports under the inner fenders, the front of the car would be stable enough.
April 5, 2026
I found a number of parts for the bumper and hood suspension on the 3S Développement website. However, I don’t understand how they are mounted. I am trying to find the parts in the parts catalog.

Numbers 16 and 14/15 form the brackets that attach the bumper to the front of the car. How 14/15 are attached to the car is still a mystery to me, but I’m sure that will become clear when I get there. Number 12/13 is a mysterious part. It looks like these attach to the supports on the front of the inner fenders. It takes a while, but at some point I think I get it….
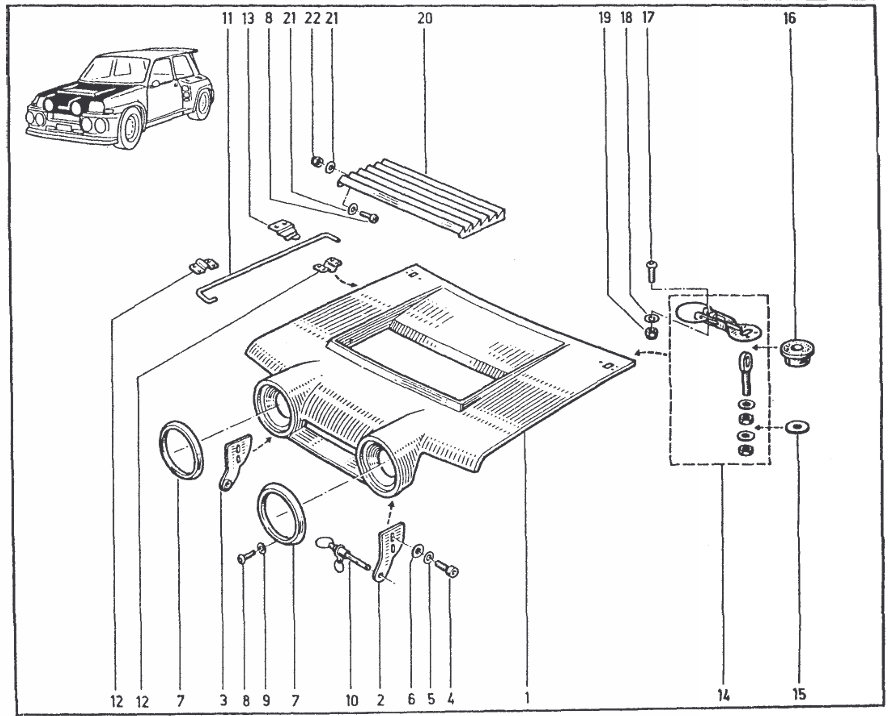
The hood hinges on two quick-release fasteners, number 10 in the image above. Those quick-release fasteners obviously have to go into something. That can only be in number 12/13 in the image of the bumper!
April 6, 2026
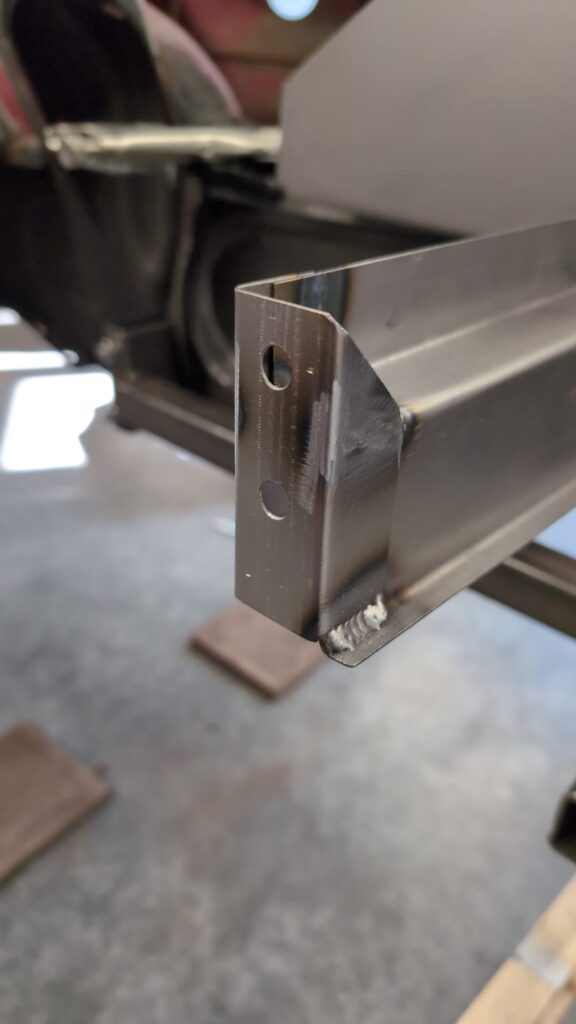
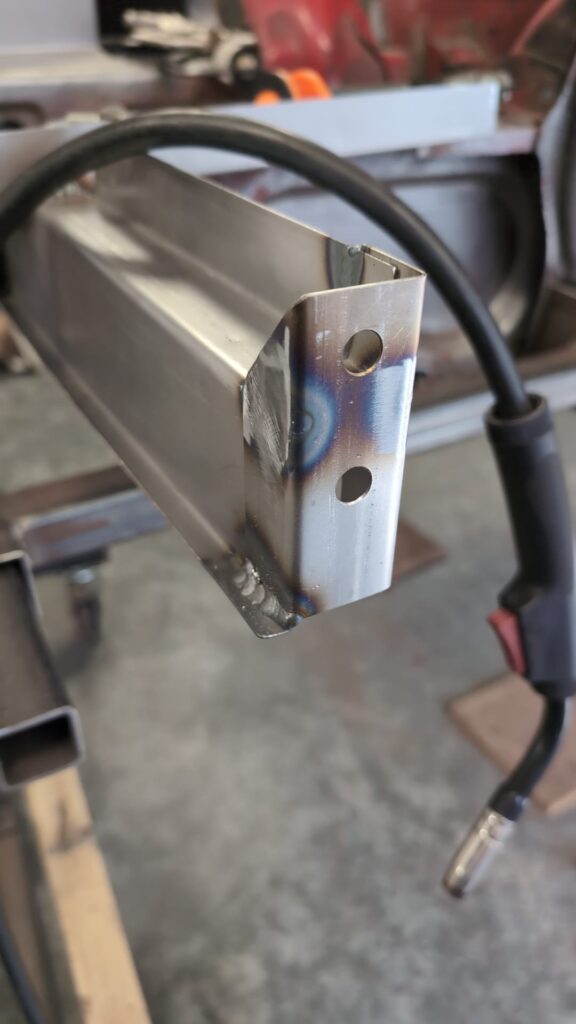
Before I can start on the bumper and hood mounts, there are a few other things to finish first. The inner fender supports have a bracket at the end to which the bumper is attached (?). In any case, the Maxi had these brackets, so I am replicating them.
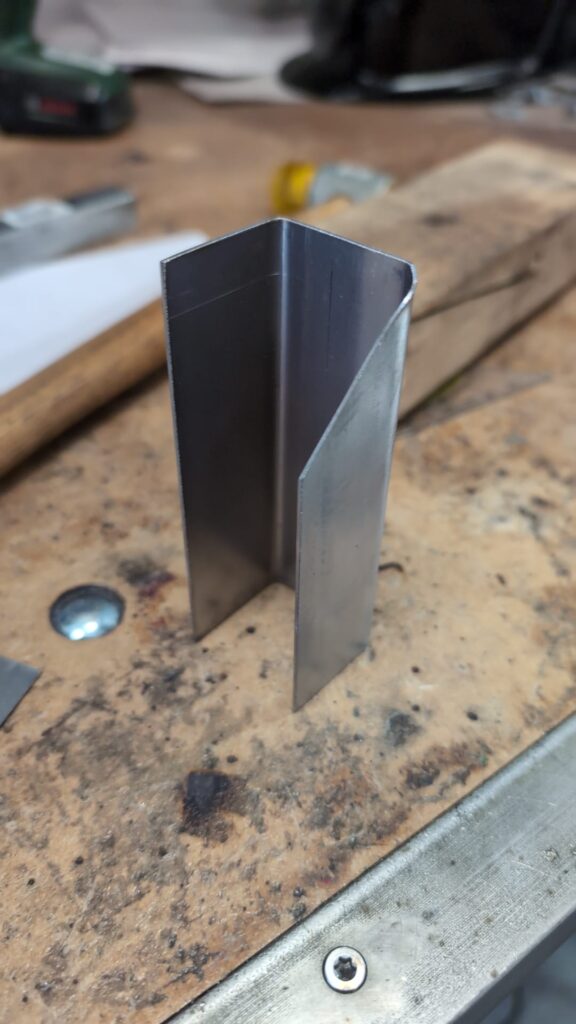
I am deviating slightly from the original construction; my inner fenders are not long enough to be secured behind the supports. Therefore, I have to attach the brackets behind the inner fenders.
Finally, I weld a piece of sheet metal at the level of the left inner fender. The support that sits on the front of the inner fender will be welded to this later. To weld two pieces of sheet metal together exactly in line with each other, I use a jig.

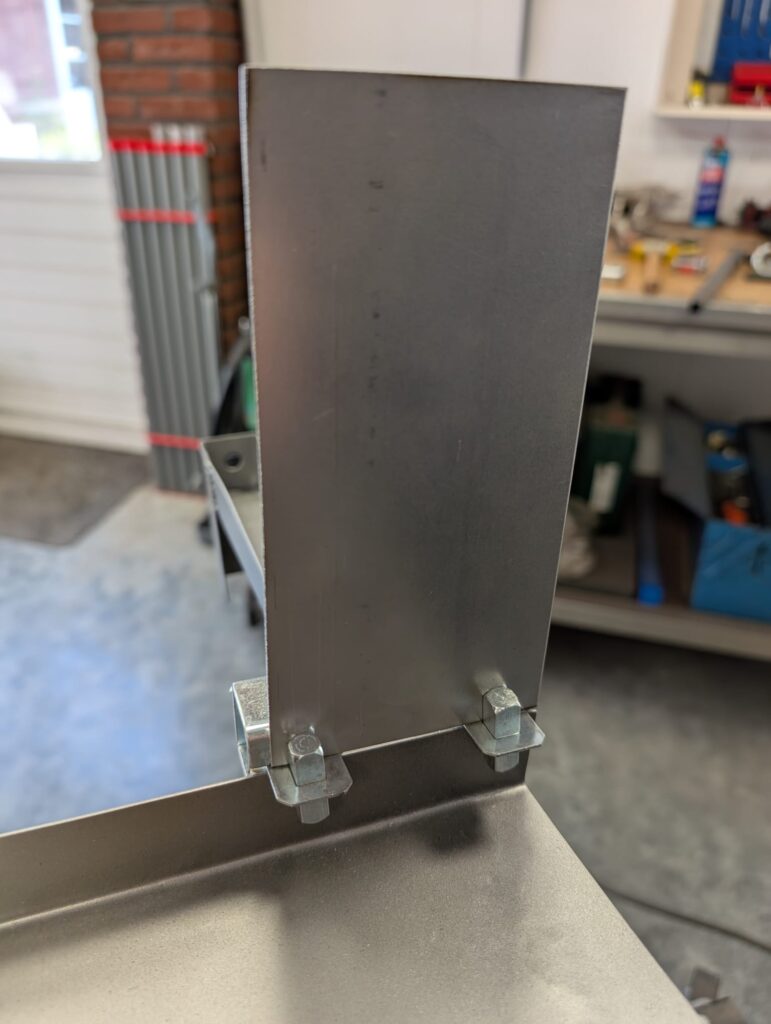
Time to fit the whole thing together again.
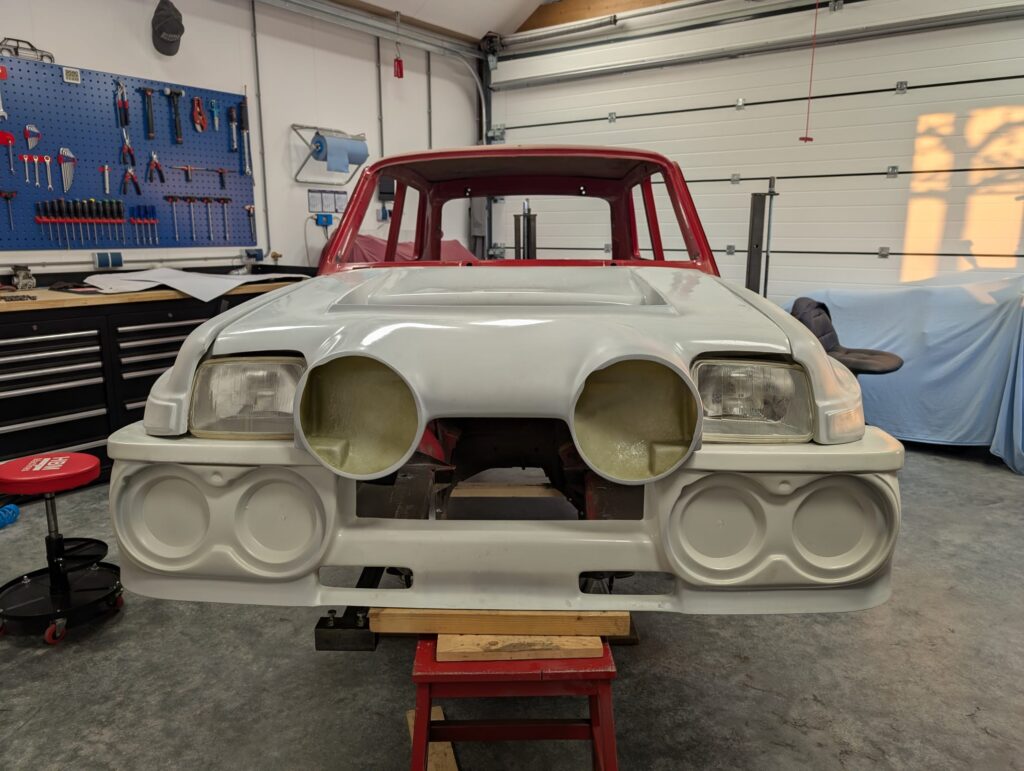
The headlights are not fixed. And there is still some adjusting to be done on the body parts here and there. But this is starting to look pretty good.
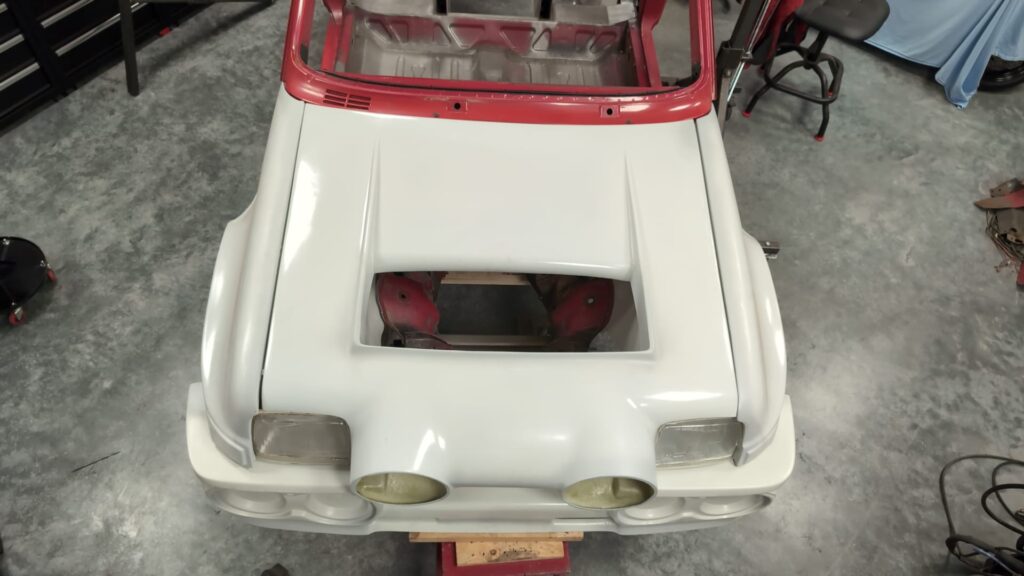
What I find strange is that the bumper is wider than the front fenders. The original car didn’t have this:
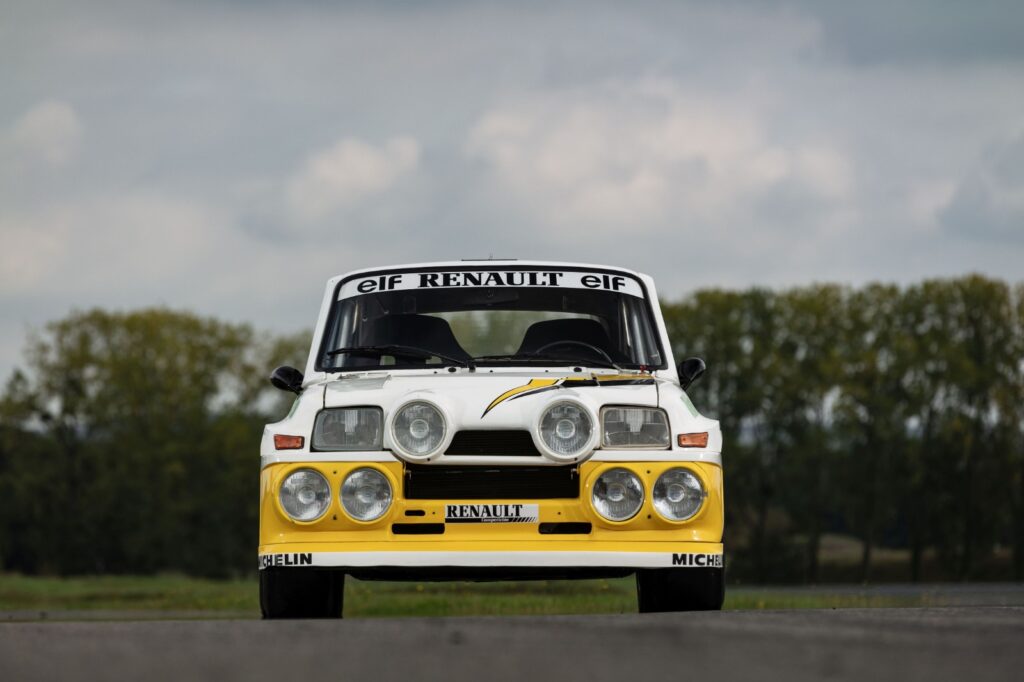
Saturday, April 11
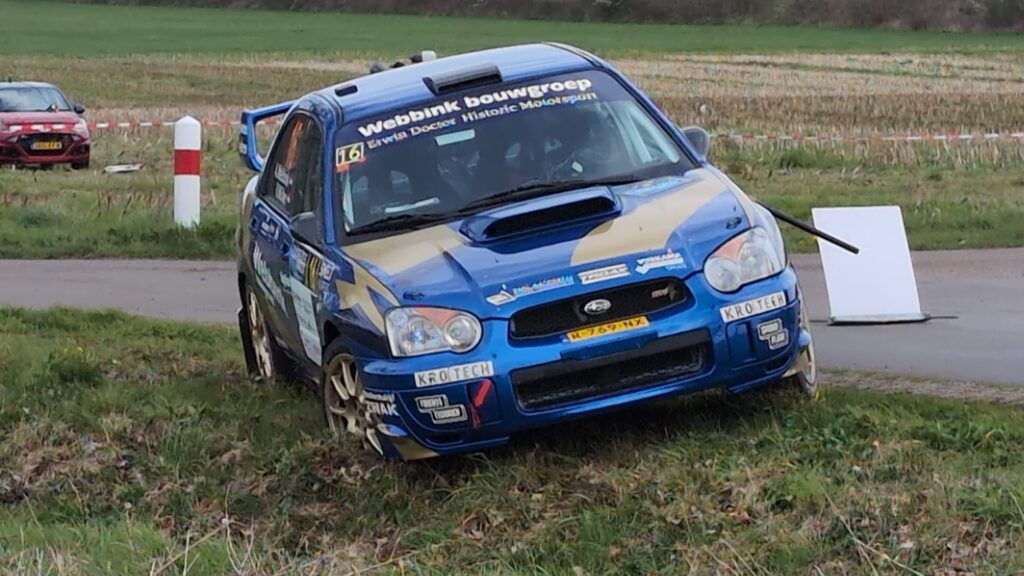
As a rally enthusiast, I simply cannot pass up the opportunity to visit the Zuiderzee Rally today. One of the stages finishes just 600 meters from our house. Note the position of the front wheels of the car below…..
Monday, April 13
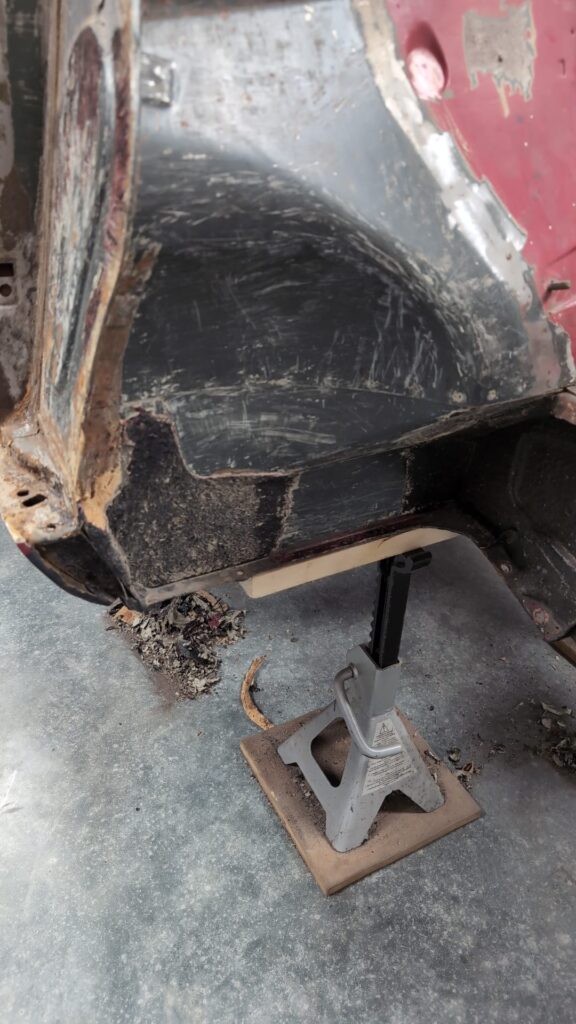
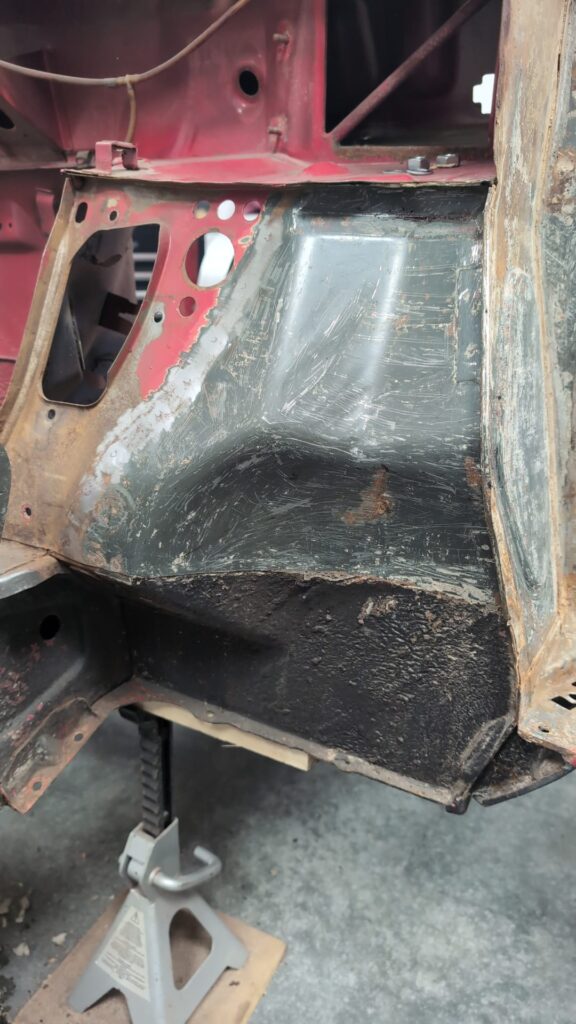
Since I am not quite sure yet how to proceed with the difference in width between the bumper and the front fender, I move on to another job first. Because the wheels will be positioned further outwards than on the “regular” Renault 5, space needs to be created in the wheel arches. I need to enlarge the wheel arch where the occupants rest their feet. To do this, I am first removing the undercoat from the bodywork.
Sunday, April 19
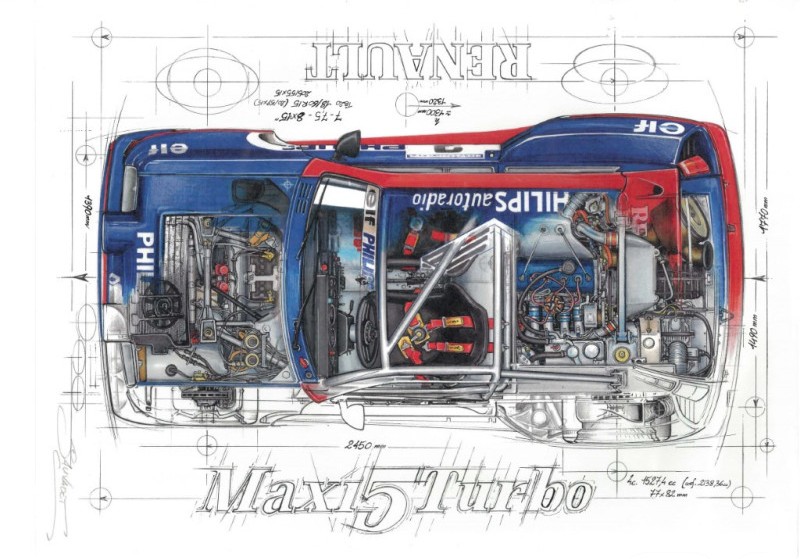
The poor fit of the body parts is still bothering me. The (beautiful) drawing below clearly shows that the sides of the car are more or less parallel, and that the front bumper is not flat, but curves. Neither is the case with my body parts
Wednesday, April 2
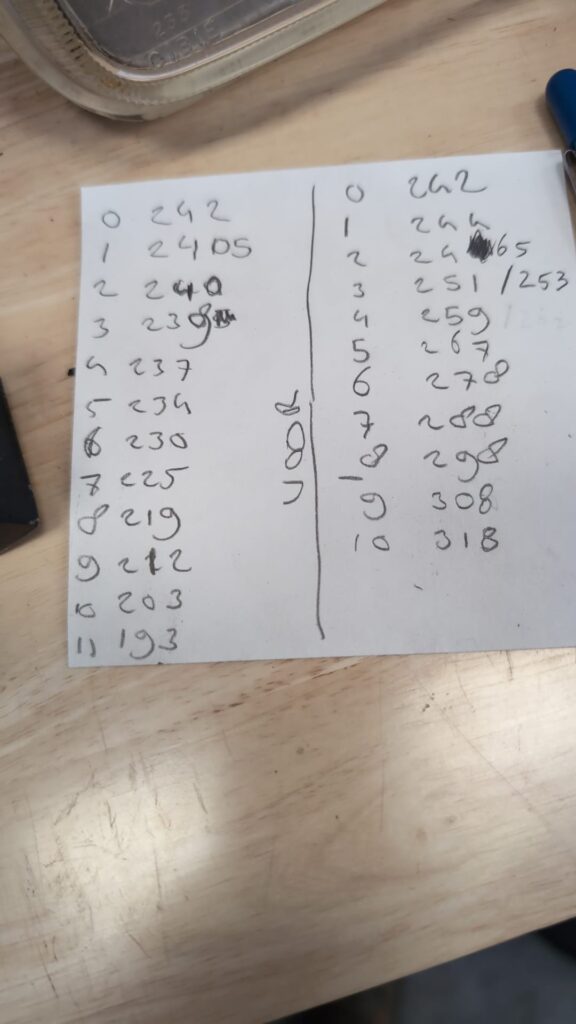
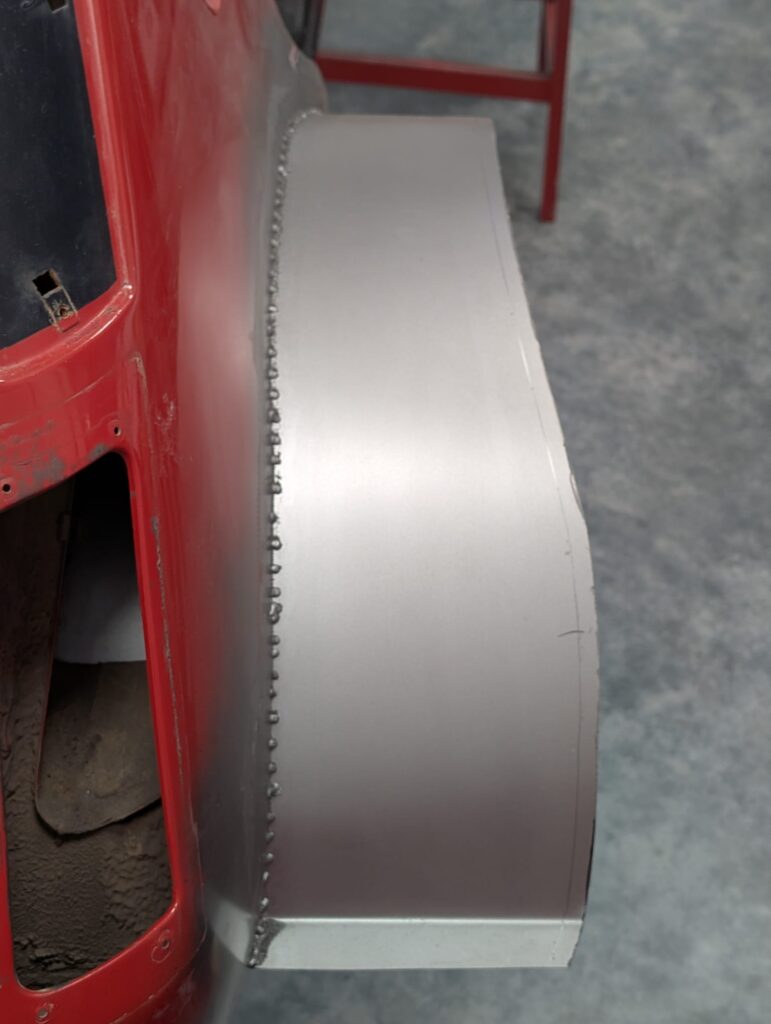
I have big plans for today. Well, me? We! Together with my colleague Bart Jan, we want to try to make the left rear fender in the car. We have done this before, so we know how to proceed. The outer fender needs to be cut away exactly up to the height of the inner fender. That is a tricky job. We start by determining the centerline of the rear axle. A piece of string through the top mounting points of the shock absorbers gives us the reference points. Next, we use a laser to position an aluminum rod exactly parallel to the rear axle.
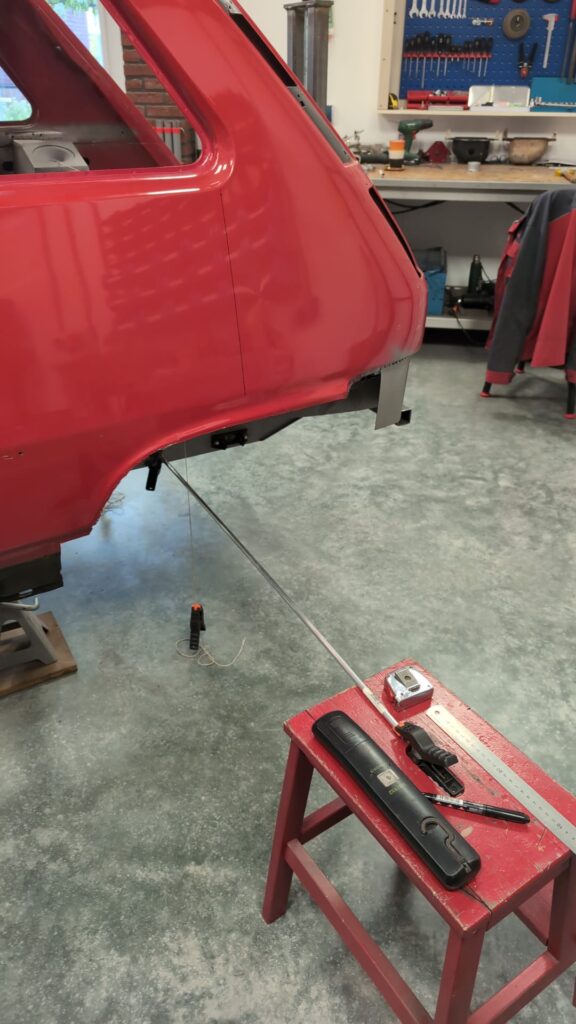
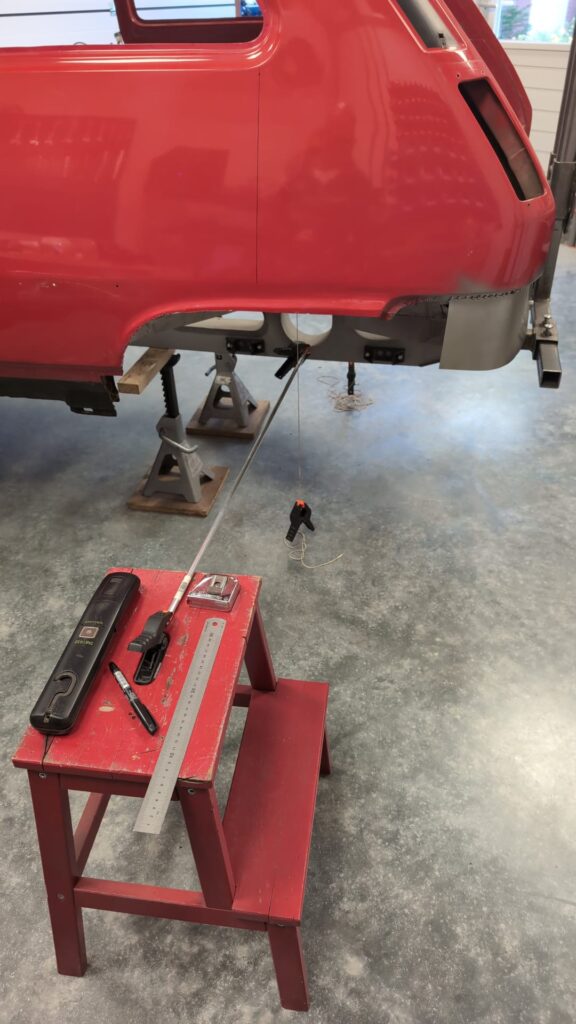
Next, we divide the curve of the inner fender into sections of 5 centimeters. From the aluminum rod, we measure the distance to the points on the arch of the inner fender, and then transfer them to the outside.

We draw a line through these points, and along that line, we cut away the fender.
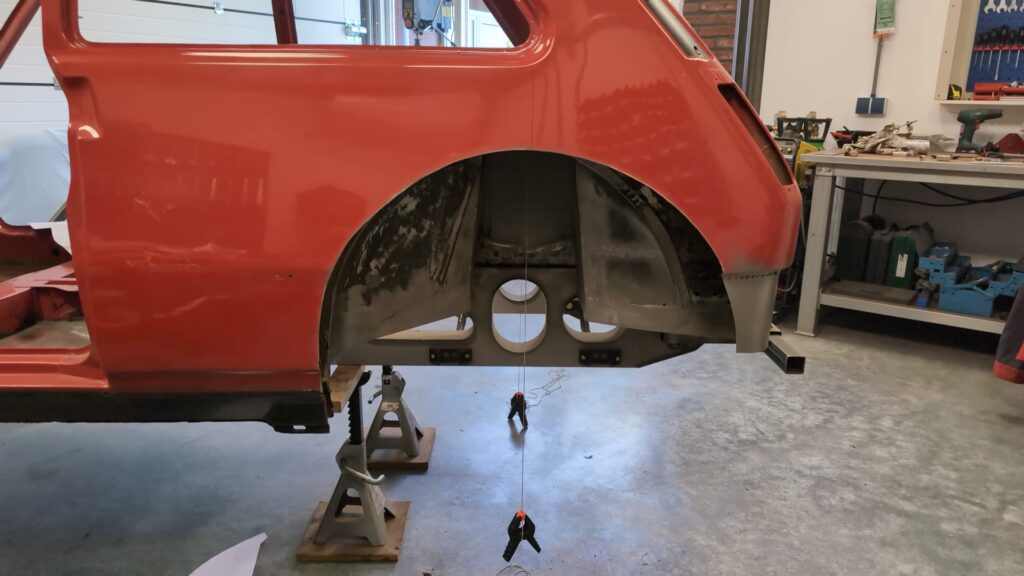
To determine the shape of the sheet that will soon form the inner fender, we place a laser parallel to the car and measure the distance from the laser reference to the points where the sheet needs to be welded to the inner fender. Finally, we cut the inner fender on the right side of the car to the correct width. Also not really a job to do by yourself….
Thursday, April 23
A day too late, the rims I ordered from Compomotive arrive.
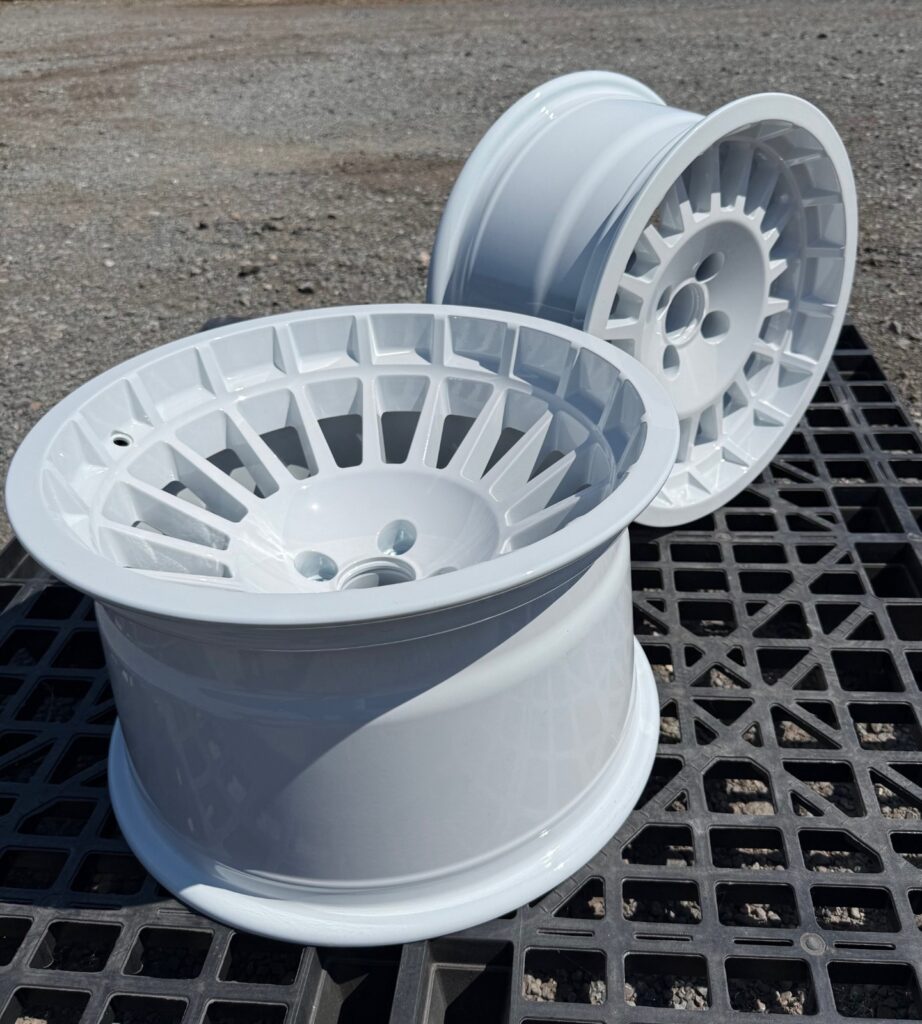
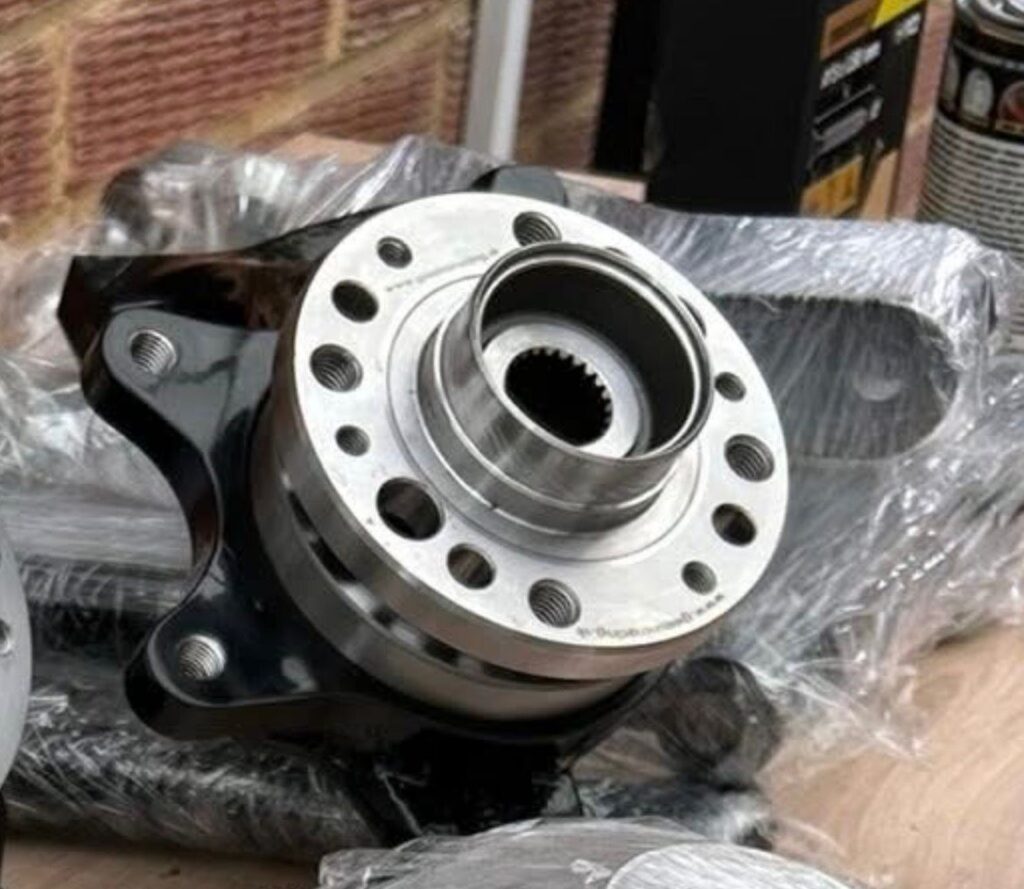
Unfortunately, I didn’t pay attention; the rims have a PDC of 4 x 98, while my hubs are 4 x 100. And the hub diameter of my hubs is too large. Oh well, I can fix that.
I received some photos from Michal of how he modifies the hubs. He simply drills 4 extra holes in them on the correct PDC. My lathe has a dividing device on the main spindle, which helps. What I don’t have (yet) is a drill spindle that I can mount on the support. If I want to achieve the required accuracy this will be necessary.
April 26, 2026
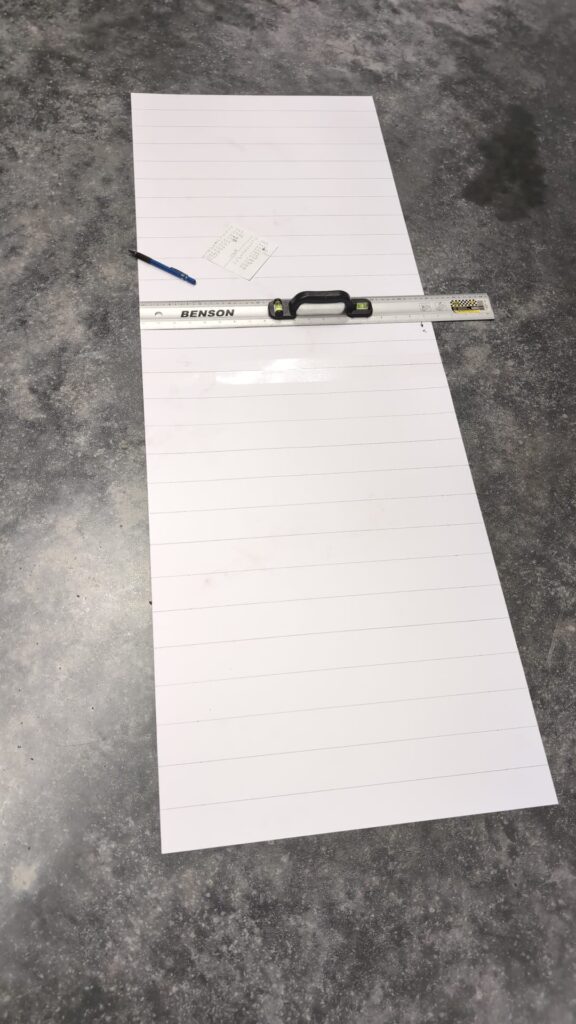
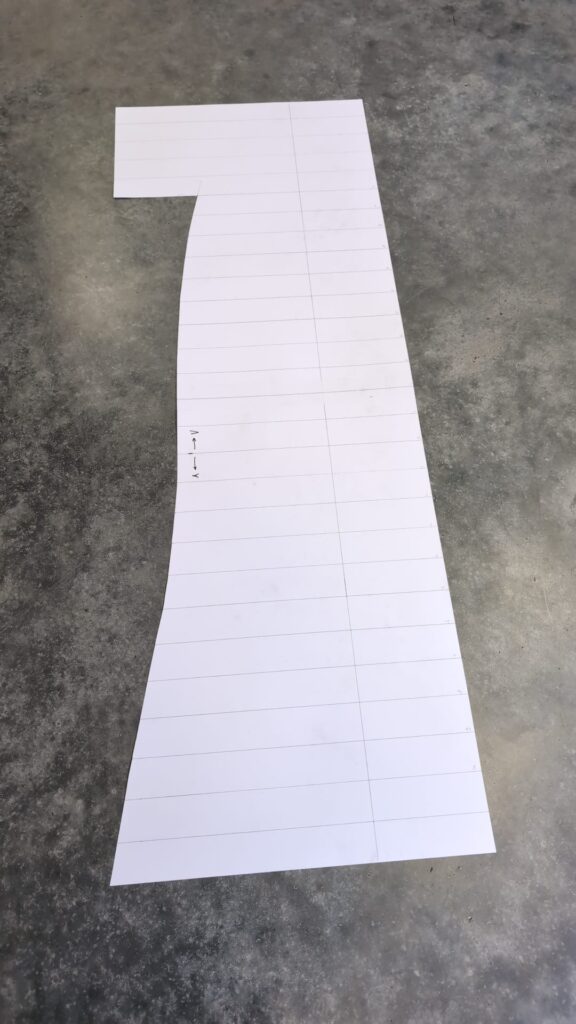
Today I want to try to make the template for the left inner fender. I have a list of dimensions, and I am transferring them onto a large piece of thin cardboard. Next, I cut out the shape of the inner fender.
Before I can weld the inner fender in place, I have to remove all paint and undercoat from the areas where I need to weld.