June 1, 2025
Today I have a fellow builder visiting me: Jeroen. Together we have an intensive look at my car. We exchange ideas about which parts to use, how to approach the build, where certain parts can be bought, etc. A full day is far too short. Full of ideas and new motivation, we say goodbye to each other.
June 2, 2025
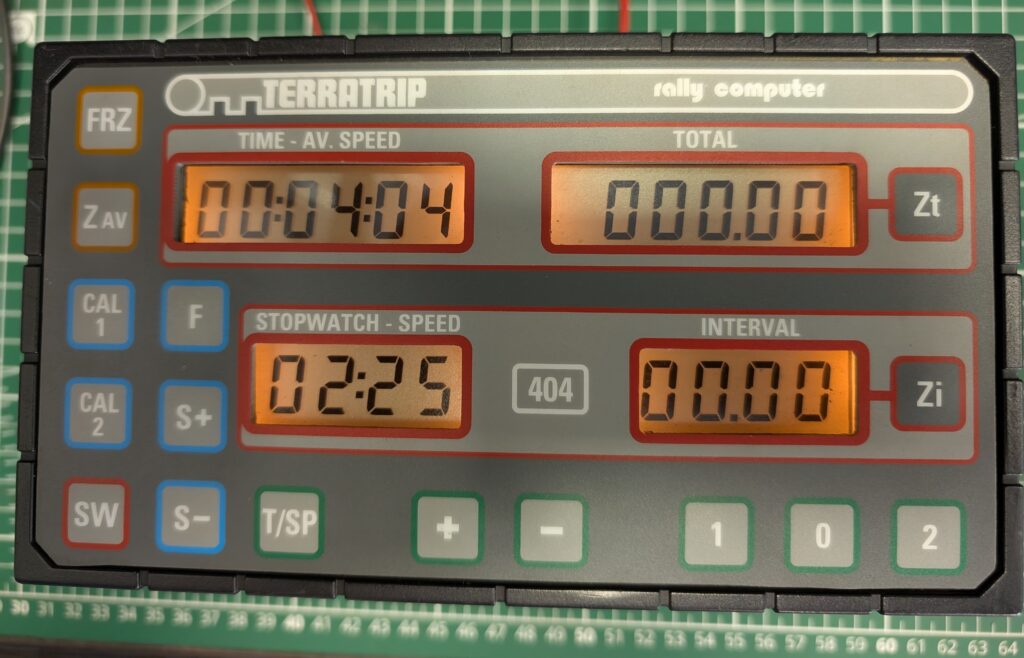
Last week I came across a Terratrip Rally Computer on the Dutch equivalent of Ebay: Marktplaats. This is a model from the time of the Renault 5 Maxi Turbo. The factory cars were equipped with different Terratrips. Carlos Sainz used had a similar model at the time. If it’s good enough for Carlos Sainz, it’s certainly good enough for me! Carlos’ navigator also had a (wired!) remote control in the door. It would be nice if I could find one of those one day.
June 8, 2025
I have already repaired the left side rear floor with a repair part. The right hand side has already been repaired once, unfortunately with a flat piece of plate. The floor will soon be hidden under the seats, but I still decide to repair this side as well.
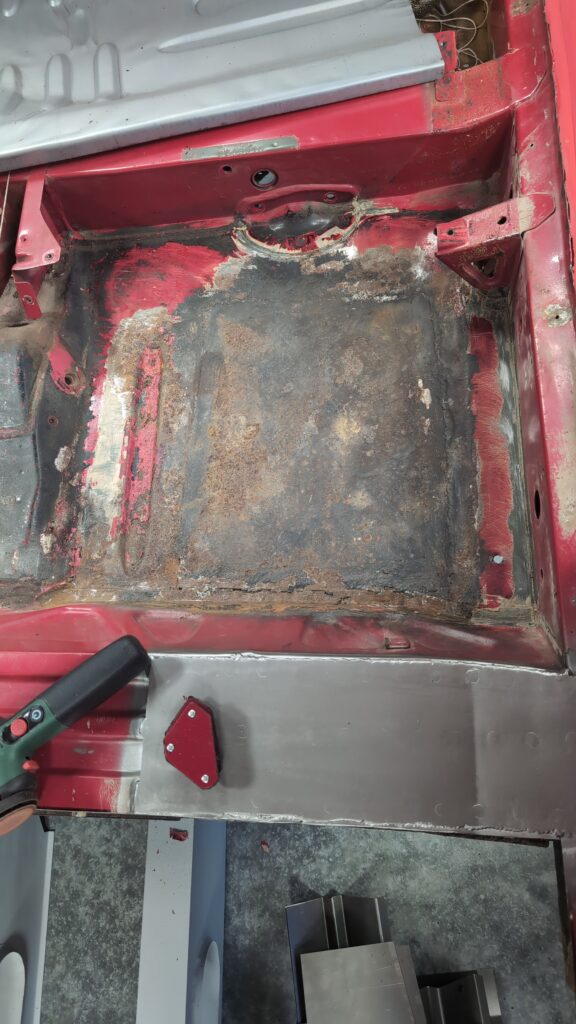
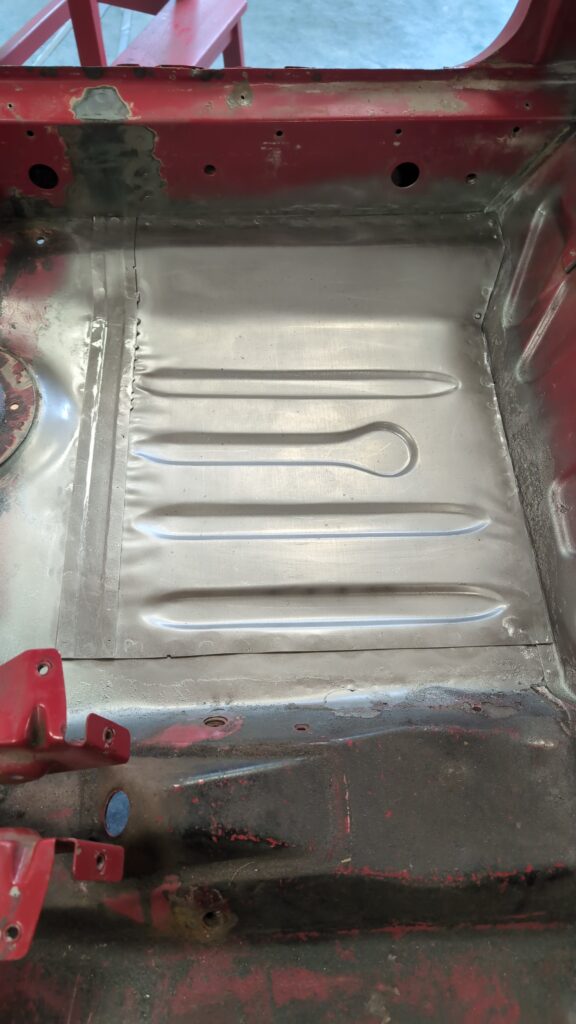
The repair panel is just too short to completely replace the flat piece of plate. So I start by making a strip with which I can make the repair panel a bit larger. Then I mark out on the floor how big the repair part is. One centimeter within this circumference I grind out the old floor and with a series of plug welds I secure the repair panel.
June 9, 2025
The next challenge is one of the few places that have rotten badly. The Renault 5 did not have seat belts in the back of the car in 1974, but for some reason seat belt attachment points were welded into the bodywork. Behind the inner mudguard, a sturdy plate is spot welded. Why Renault chose not to seal these plates is a mystery to me. The result is that there is little left of the inner mudguard:
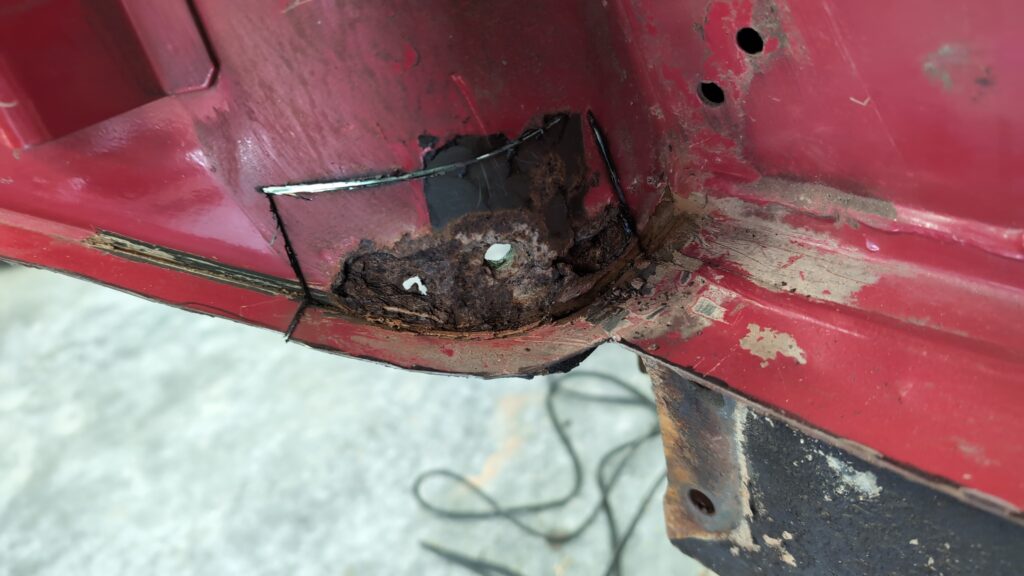
My angle grinder was faster than my camera…. From the wheel arch I grind as close as possible around the reinforcement plate. With a piece of cardboard I make a template of the part I need to fill the resulting hole
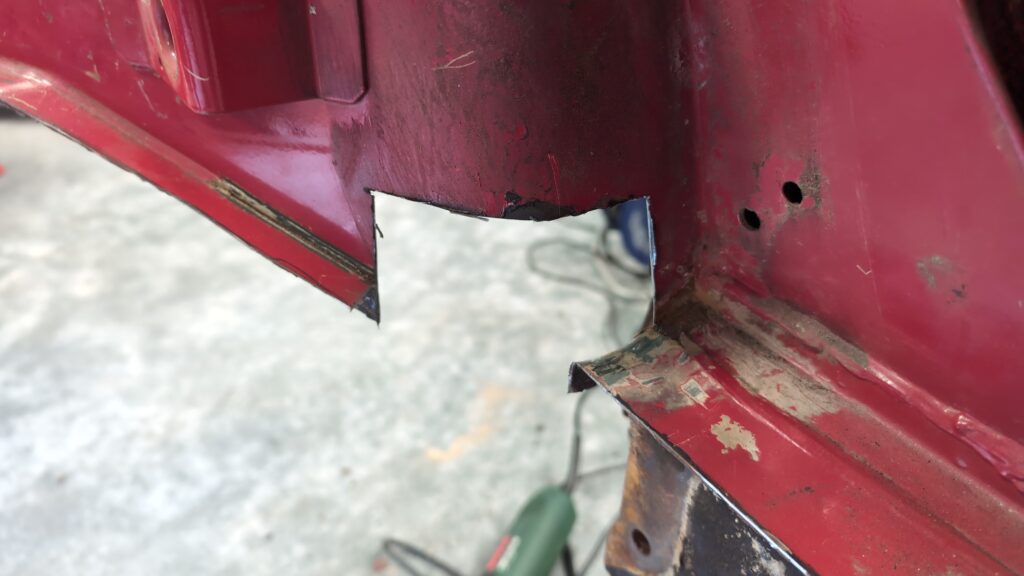
I bend the new piece of plate into the right shape by hand. I am surprised at how easily I can make a precisely fitting part.
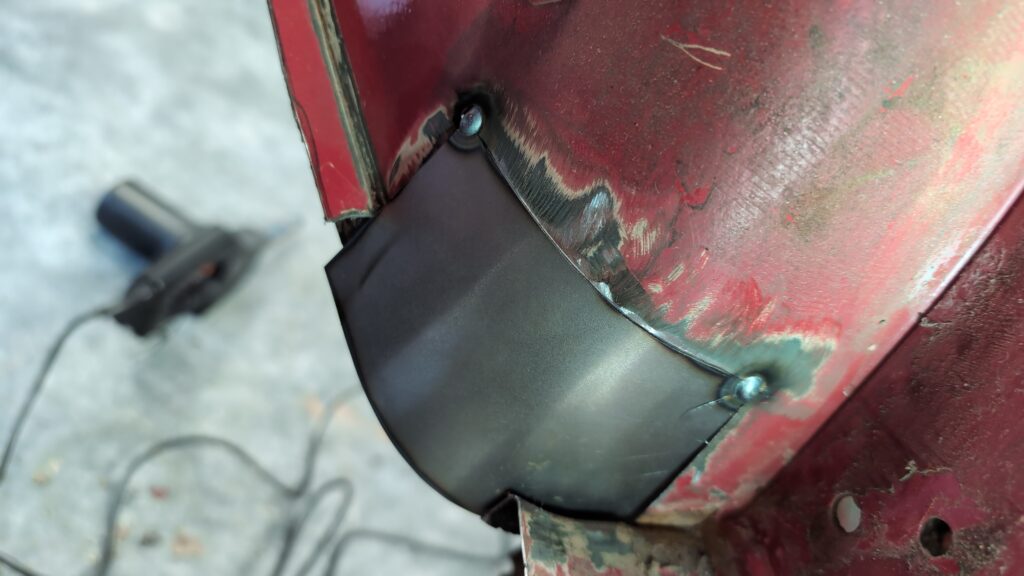
I then weld around the whole thing and protect the bare steel against rust with some inox spray. I do the same on the other side.
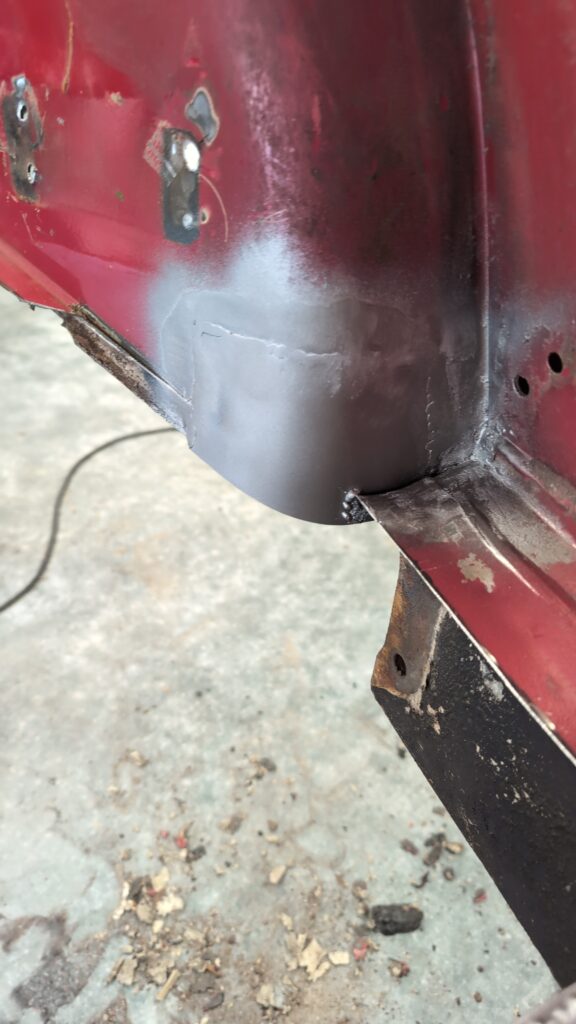
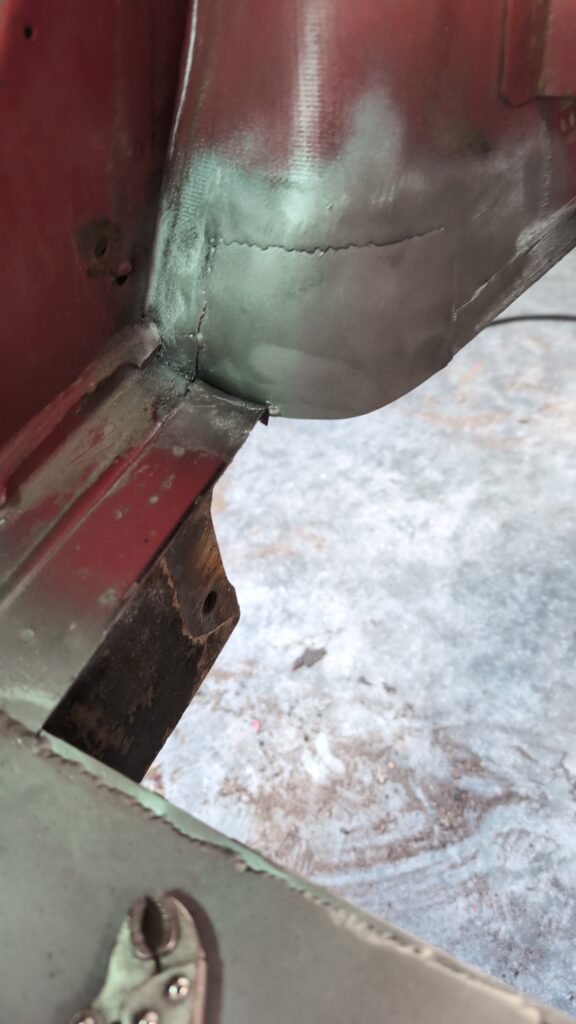
The left side turned out better than the right side. There must be something left to be desired. A reinforcement plate will be placed over the inner mudguard later, so you won’t be able to see anything .
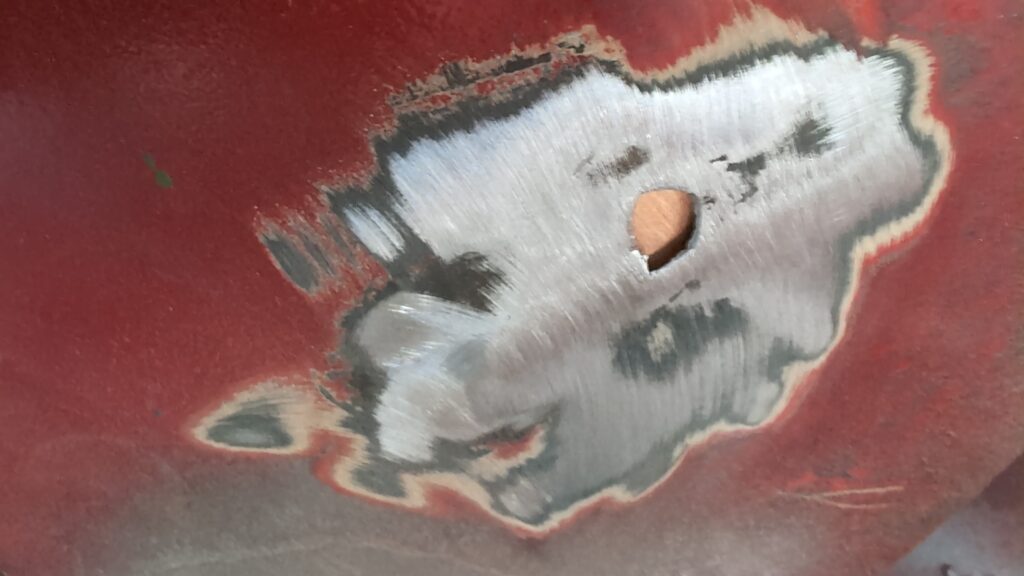
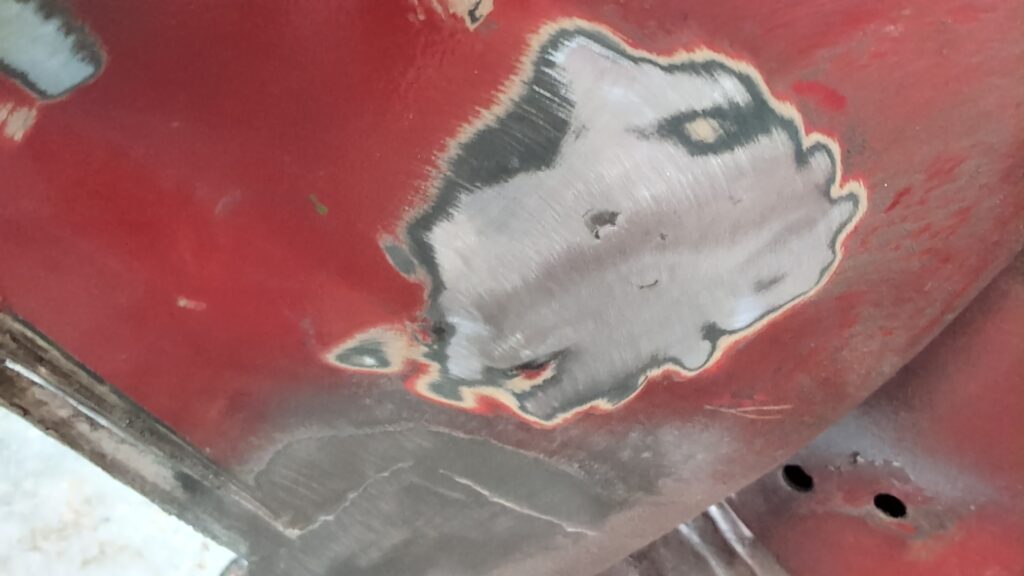
I still have to remove some brackets from the back seat. Just like with previous attempts to remove spot-welded brackets, this is not easy. I carefully try to grind away as much of the part to be removed as possible, but I don’t want to touch the inner fender where the brackets are welded to. The inner fenders are wafer-thin; 0.7 mm. Just like in the previous attempts, I use a chisel to separate the parts and just like in the previous attempts, holes appear in the inner fender where the spot welds were. So now I’m stuck with a gaping hole in a 0.7 mm plate.
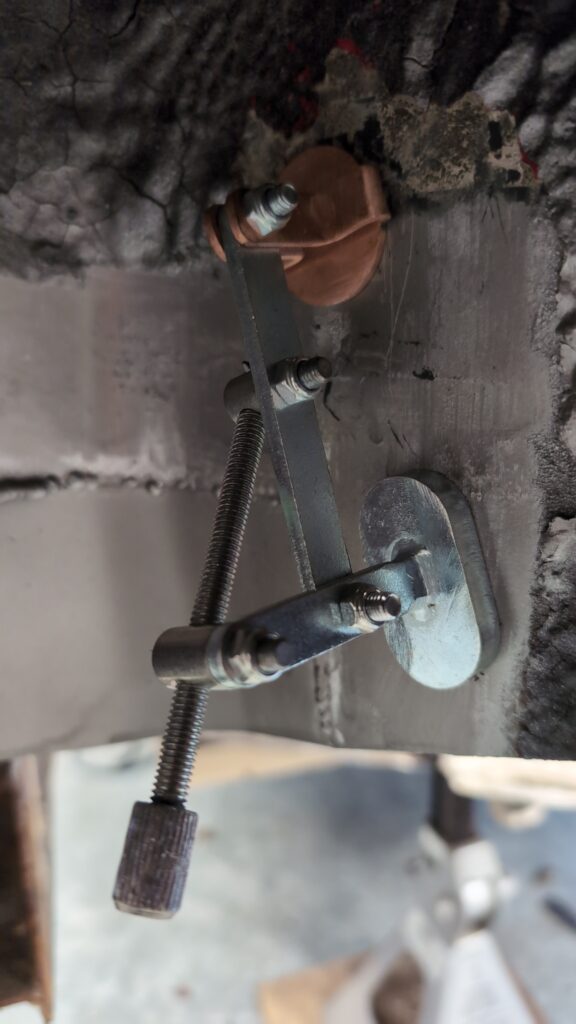
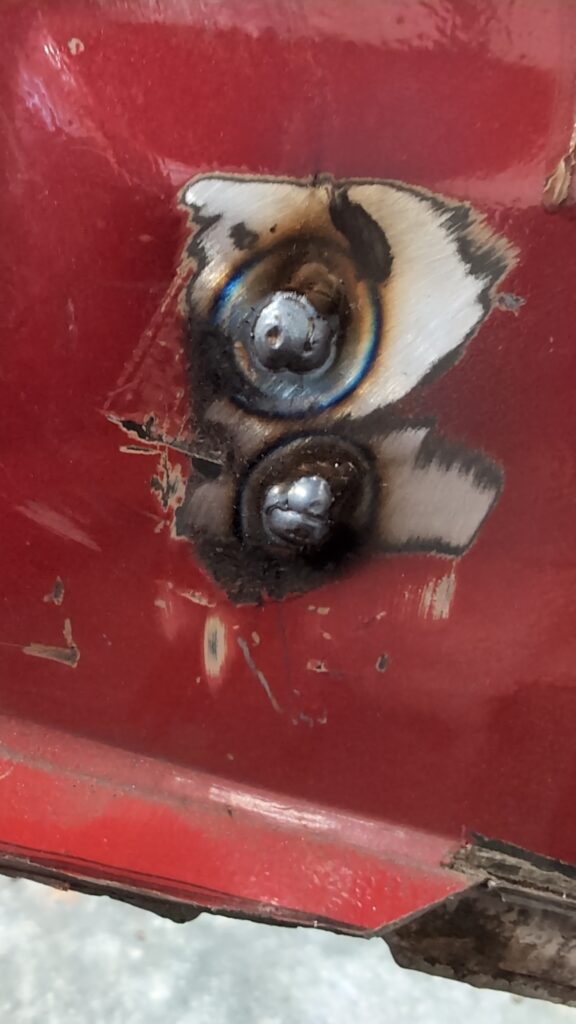
For these kinds of situations, I bought a nice tool a while ago. You place the magnetic foot next to the hole you want to weld closed. You place the copper disk behind the hole. The copper disk quickly dissipates the heat, making it almost impossible to burn a (larger) hole in your material.
June 12, 2025
The bottom of the rally car is reinforced with two longitudinal members. I will have to weld these to the bodywork at some point. For that, it would be very useful if I could turn the car upside down. I have seen that some people buy an old mattress at the thrift store and then put the car on its side. Not exactly the solution that suits me, so I start looking for a rotisserie;
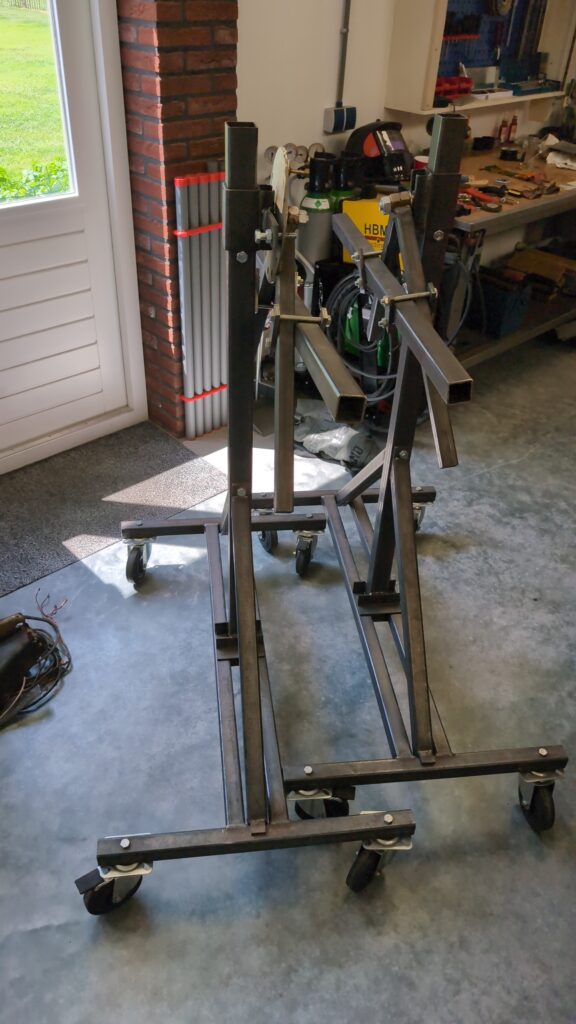

It turns out that there is exactly one company in the Netherlands that makes these things: HMD Creations. Given the prices that HMD Creations charges, welding it together yourself seems very attractive. But after some searching on our local variant of ebay I find a second-hand rotisserie that has never been used.
June 18, 2025
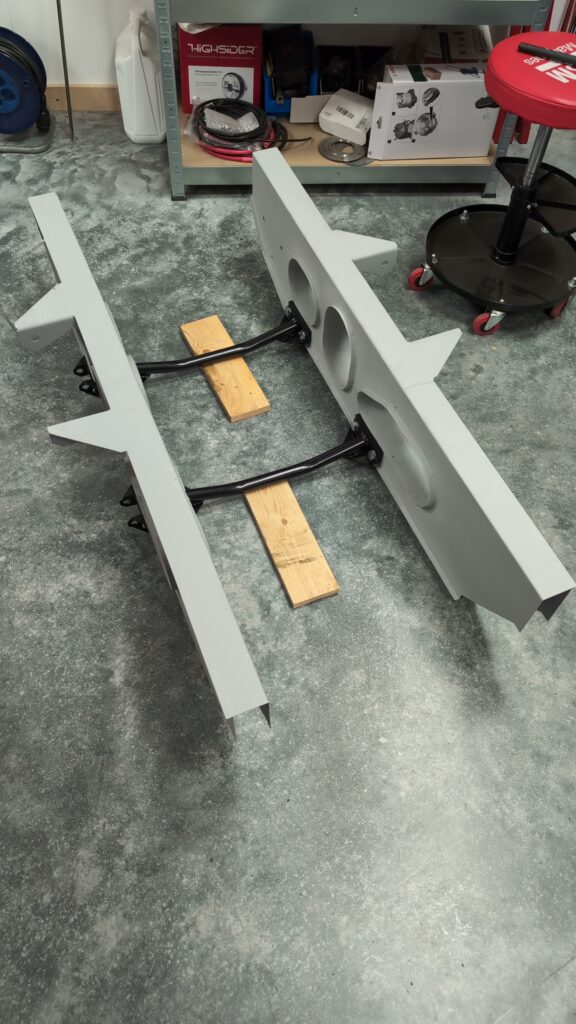
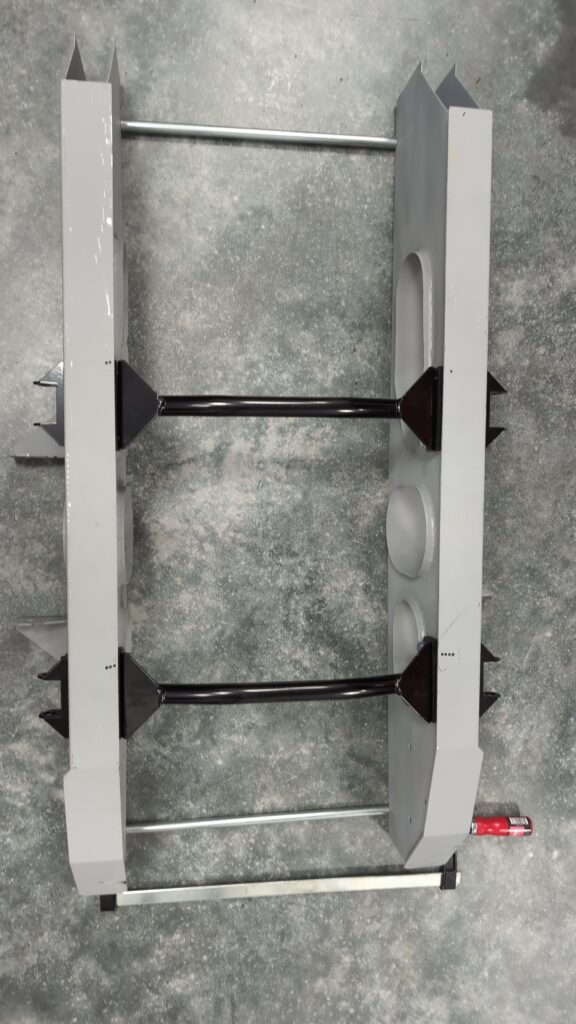
Now that the repairs to the bodywork are done, it’s time for what feels like the “real work”. Tonight I’m putting together the “Longerons”. The longerons are the longitudional members to which the rear suspension and the engine + gearbox are attached. The longerons must be exactly parallel to the bodywork. To make it easy for myself, I cut off a few pieces of pipe to exactly 420mm, which is the distance between the longerons
June 22, 2025
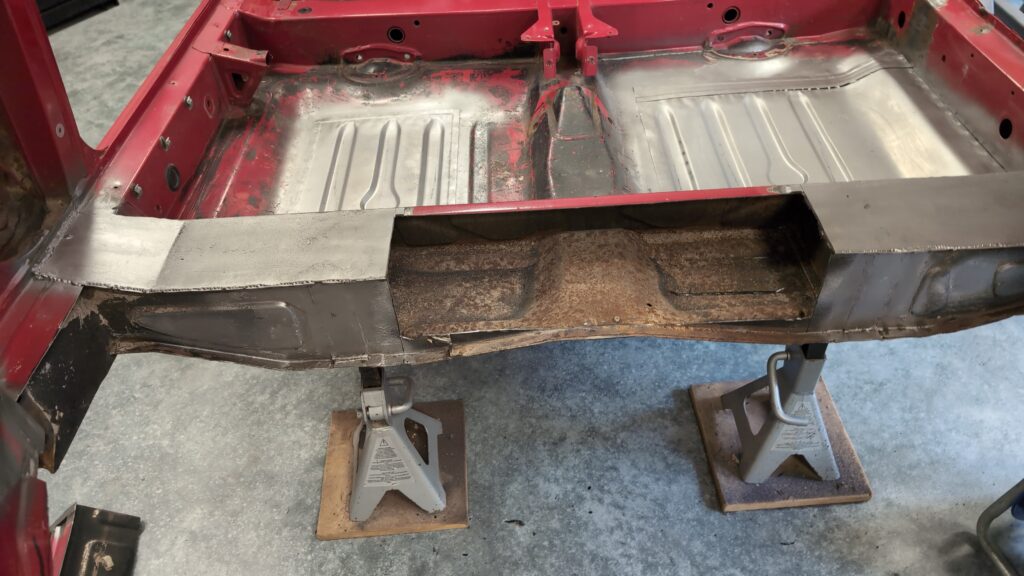
Today I have a productive day. Now that the longerons are connected, it’s time to prepare the bodywork. First, I cut a huge hole in the rear cross member of the bodywork. Using a jack, I put the longerons in place. After I have convinced myself that everything is straight, square and in the right place I weld the longons to the body.
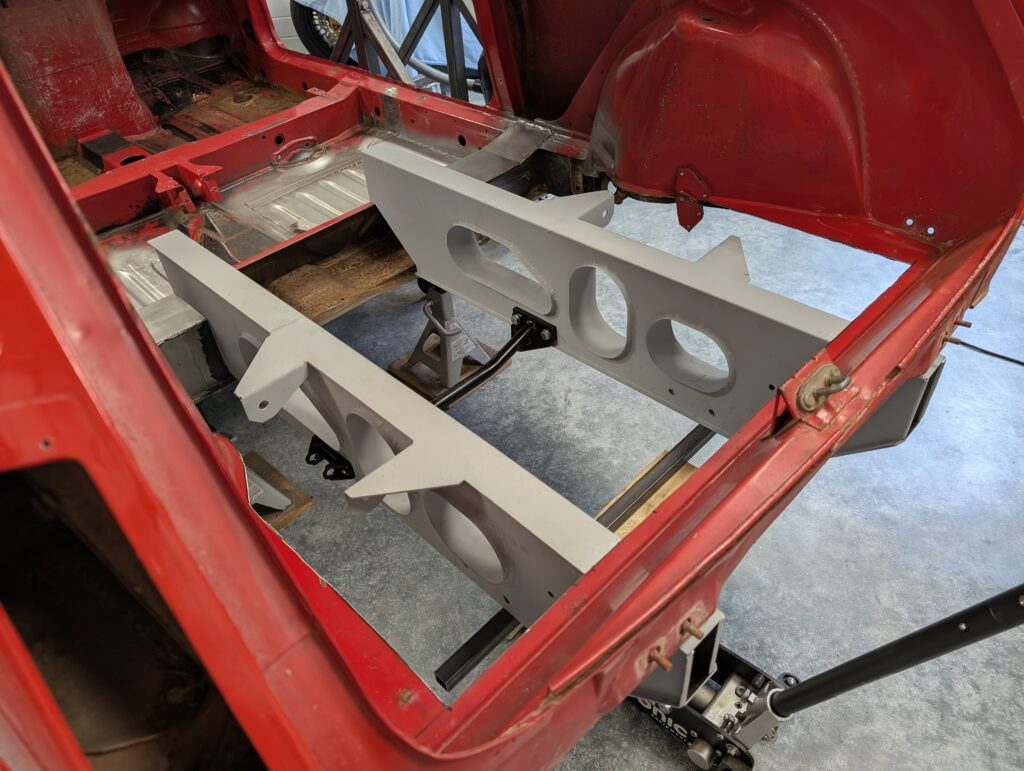
Then I make a template from a piece of cardboard for the 2 reinforcement plates which connect the longons to the body. I weld these in place according to Michal’s instructions. Finally I provide a bit of corrosion protection with some Inox spray.

June 27, 2025
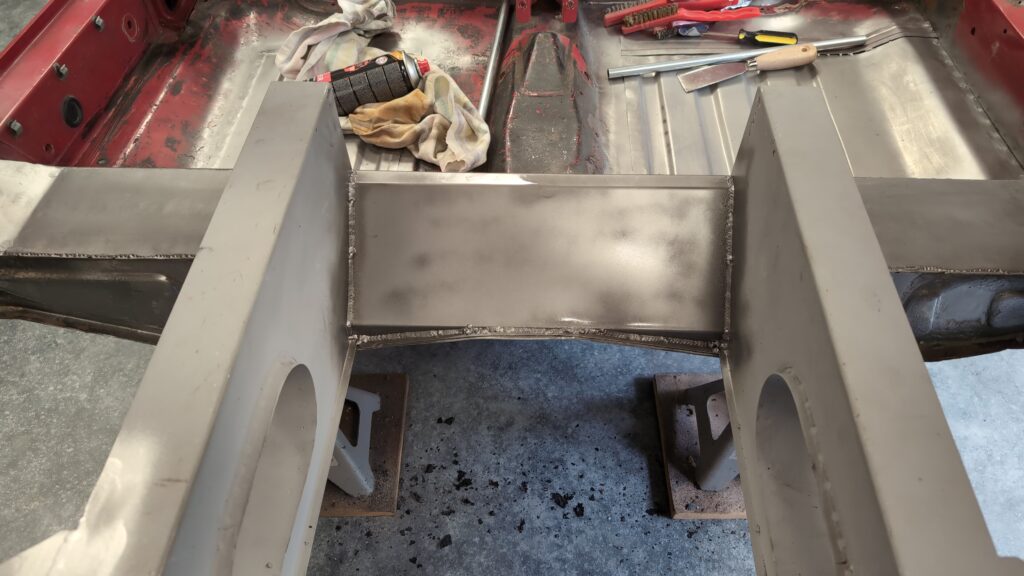
Now that the longerons are in place, I still have to weld them firmly to the car. The crossbeam of the body also has to be closed again. I cut a cover plate from a piece of sheet metal. The new cover plate has a different shape than the original. The engine will be positioned between the longerons. How far the engine can move forward is determined by the cover plate.
June 29, 2025
Today is all about the Renault 5 Turbo. But not in the way you are used to. This morning I drove to Rotterdam to view the Renault 5 Turbo 3E. Renault has a pop-up store in the center of Rotterdam. In this pop-up store, a mock-up of the Renault 5 Turbo 3E can be viewed temporarily. I have an appointment with Jeroen in Rotterdam. We Take the opportunity to have a close look at the car. There is also a racing simulator available with which you can drive a virtual lap around a circuit with the Renault 5 Turbo 3E.

In the afternoon I visit the car meeting of the Renault 5 GT Turbo club in Eemnes. The Renault 5 GT Turbo sometimes causes confusion. After Renault had had a lot of success with the Renault 5 Turbo and the Renault 5 Turbo 2, Renault came up with the Renault 5 GT Turbo. In contrast to the Renault 5 Turbo, this car was based on the Renault Super 5, which is the second generation Renault 5. The Renault 5 GT Turbo has the engine in the front, and is front-wheel drive. Nice to see so many Renault 5’s together. The car that was missing in Rotterdam was here: the Alpine A290 which is based on the new Renault 5:


Funny detail: the steering wheel and the seat of the racing simulator in Rotterdam are supposed to be the same parts as in the Renault 5 Turbo 3E. My conclusion is that Renault uses the same steering wheel for the 5 Turbo 3E as Alpine for the A290.