November 9, 2025
I can’t really continue with the rear fenders until I have my polyester parts. So I order them from MC Racing in France. The photo below clearly shows that quite a few different parts will be added to the car. The only parts of the car as I bought in France are the the doors and the roof. The rest will be modified.
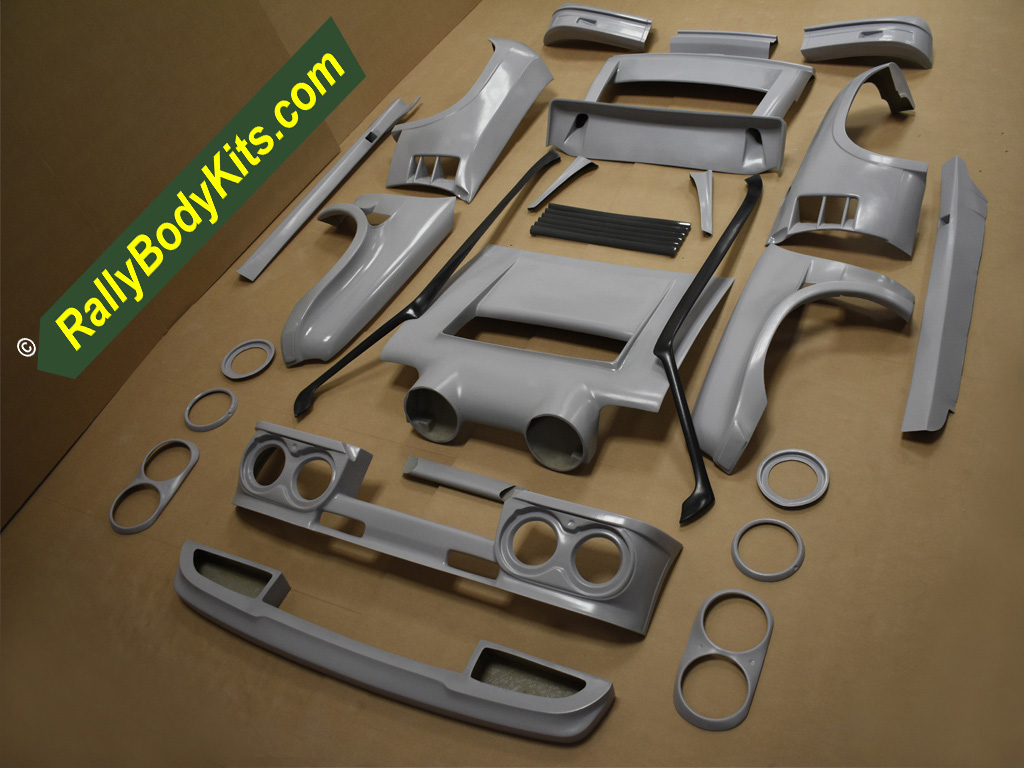
According to the manufacturer, these parts will be delivered in about two weeks. Let’s see.
November 16, 2025
Today I am continuing with the rear of the body. I welded the shock struts to the inner fenders a few months ago. What I haven’t done yet is fitting the shock absorber towers to the inner fenders. So I tackle that first.
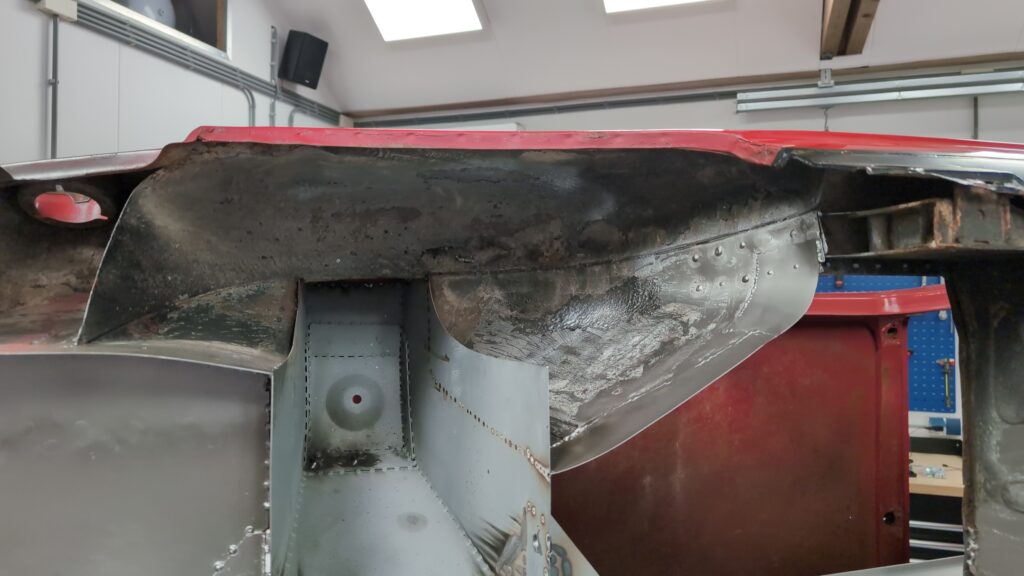
In the photo above, you can clearly see that (especially on the right side) a significant amount of material still needs to be removed.
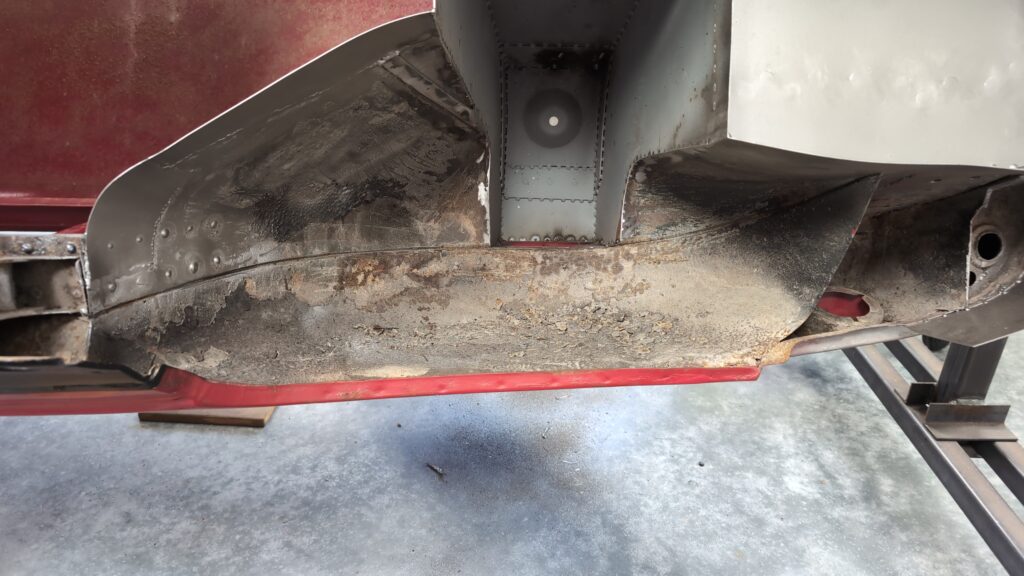
Unfortunately, the next photo was taken when the right side of the car was hanging down instead of up as in the previous photo. But with a little imagination, you’ll recognize something. The shock absorber tower is neatly finished.
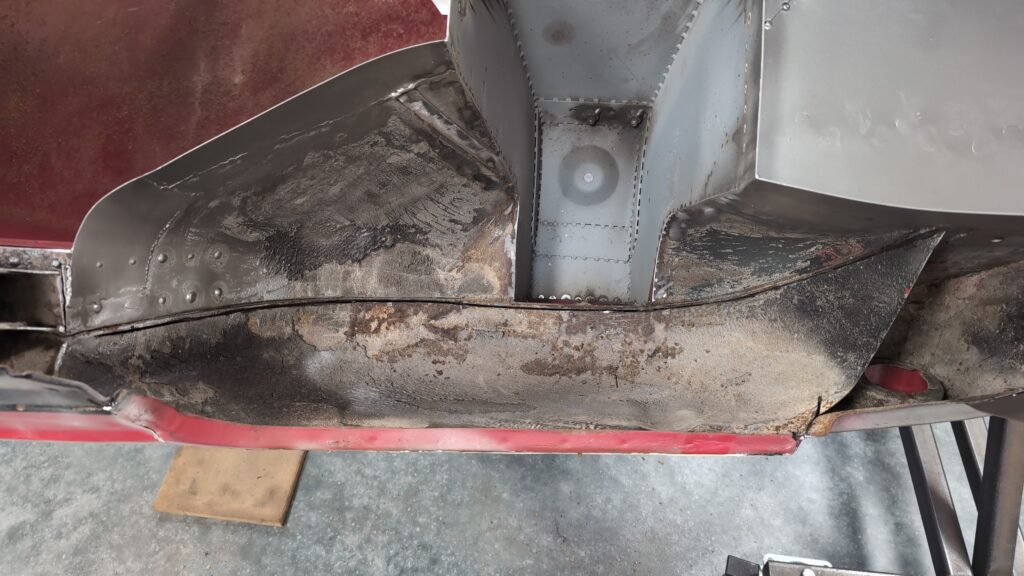
Next, I cut off the outer half of the inner fender. This part will be omitted and will be replaced with a fender with the correct width for the fat rear end.
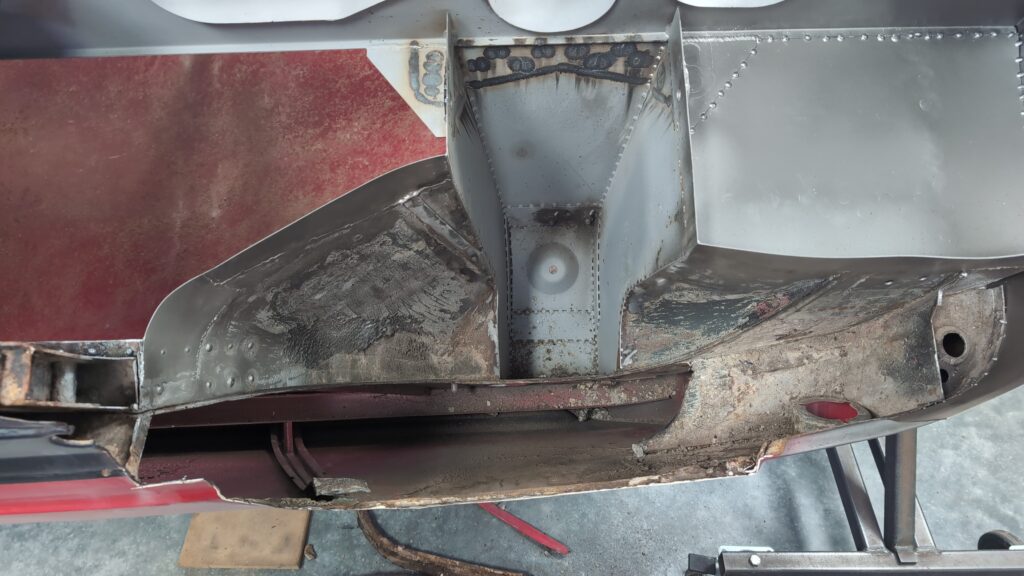
It is quite a bit of work, but the outer half of the inner fender is fairly easy to remove. In the photo above, the connection for the fuel filler cap is still clearly visible.
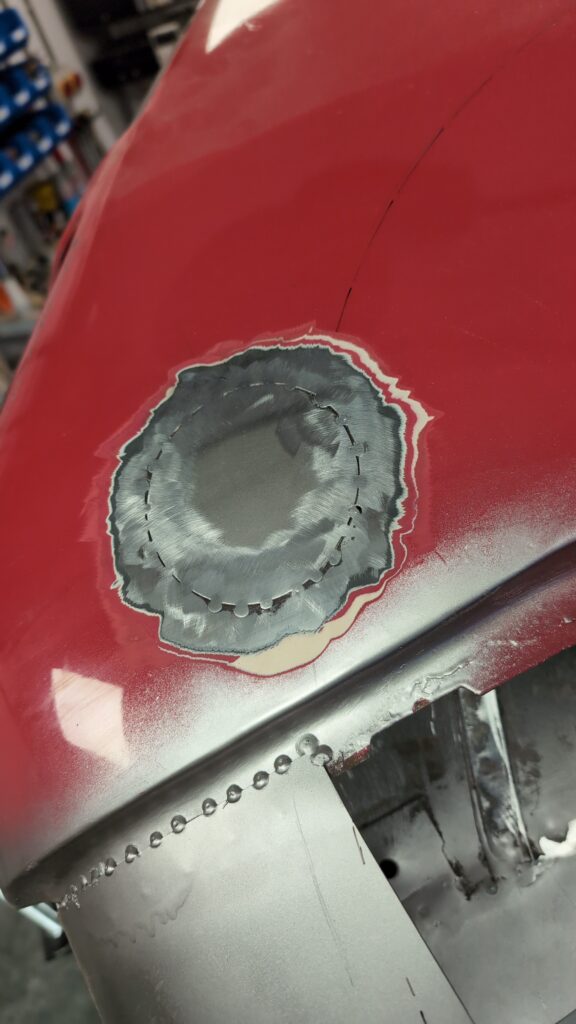
But that won’t take long. The new fuel tank will be fitted in the front of the car. The old gas cap is gone.
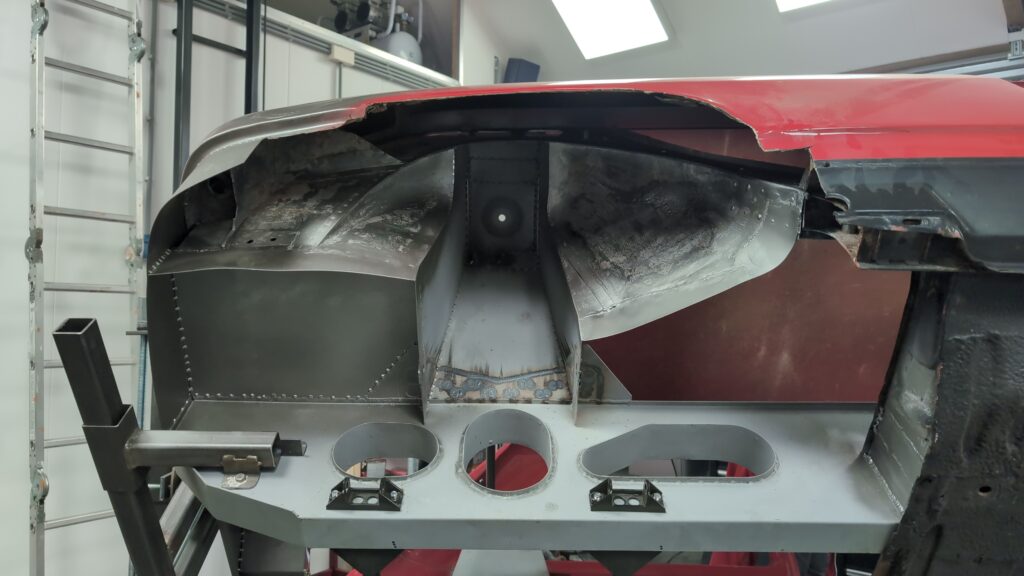
The result of a day of mostly grinding. Once I’ve finished the other side, I’ll have to fit the outer fenders to the inside. That’s going to be a tricky job. The most important thing is that my wheels don’t touch the bodywork, even in the highest position. So that has to be leading.
November 30, 2025
Yesterday I picked up a new supply of 1mm sheet metal. Today I want to try to make the floor that will go in the front of the car. My Renault 5 was equipped with a rod that connected the mounting points of the lower wishbones. In the rally car, this strengthening is done in a different way; the old engine compartment is closed off at the bottom with a metal sheet. This metal sheet has five reinforcing ribs. I don’t have a crimping machine, so I’ll have to come up with something else.
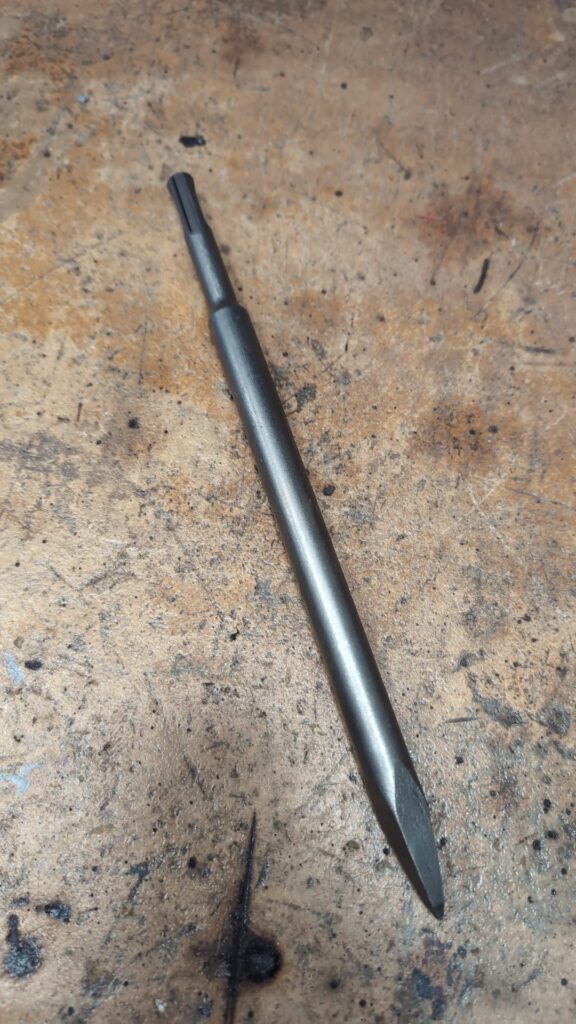
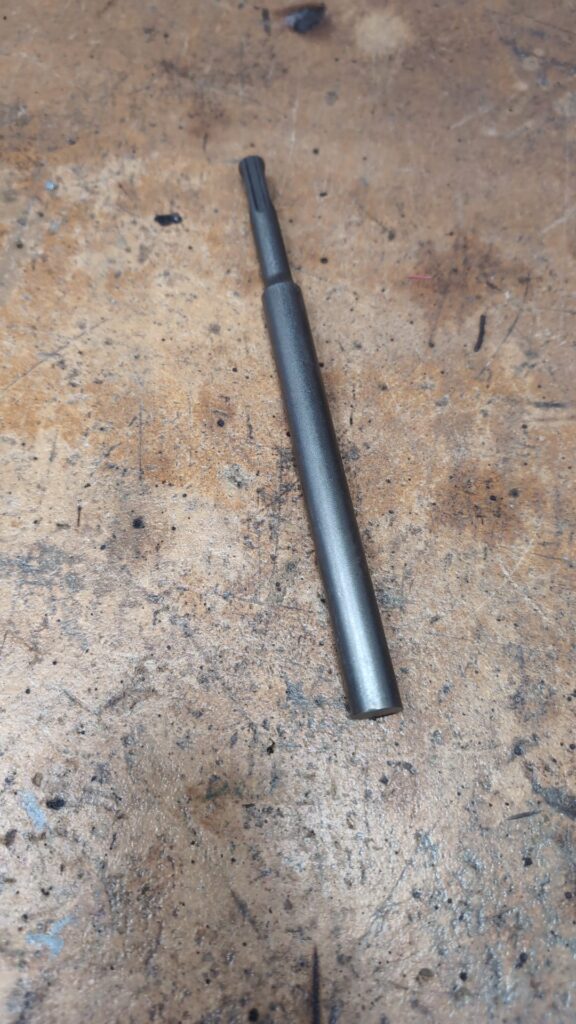
I want to try hammering the reinforcing ribs into the sheet metal. To be able to do so I need a jig and a pre-formed mandrel to get the right shape in the sheet. Of course, I could hammer with a hammer, but since I am lazy, I look for another solution. My hammer drill can also hammer without rotating. Seems worth a try. I pick up a chisel of the right diameter at the hardware store. I can’t use the point; I’ll grind it off with the angle grinder.
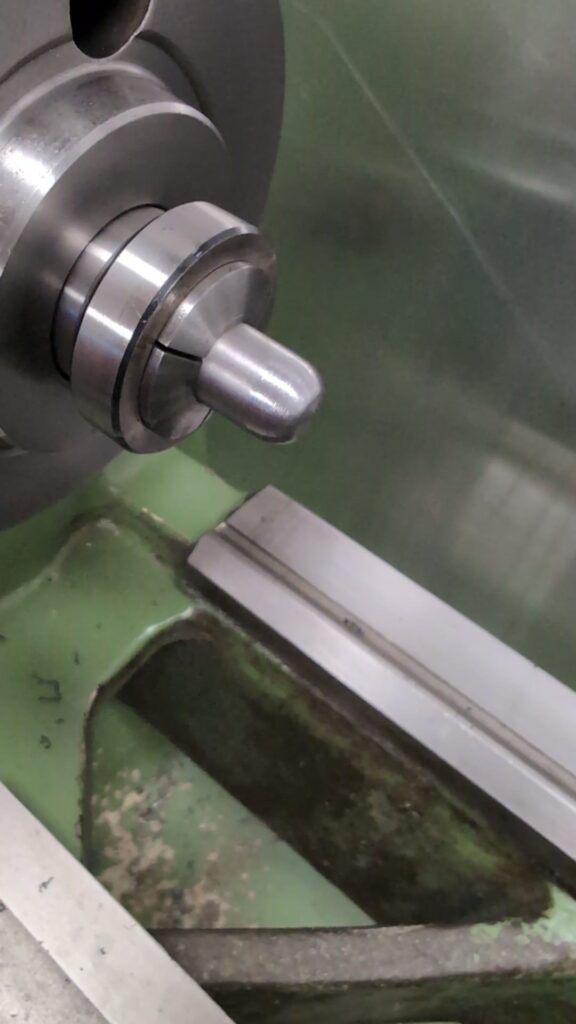
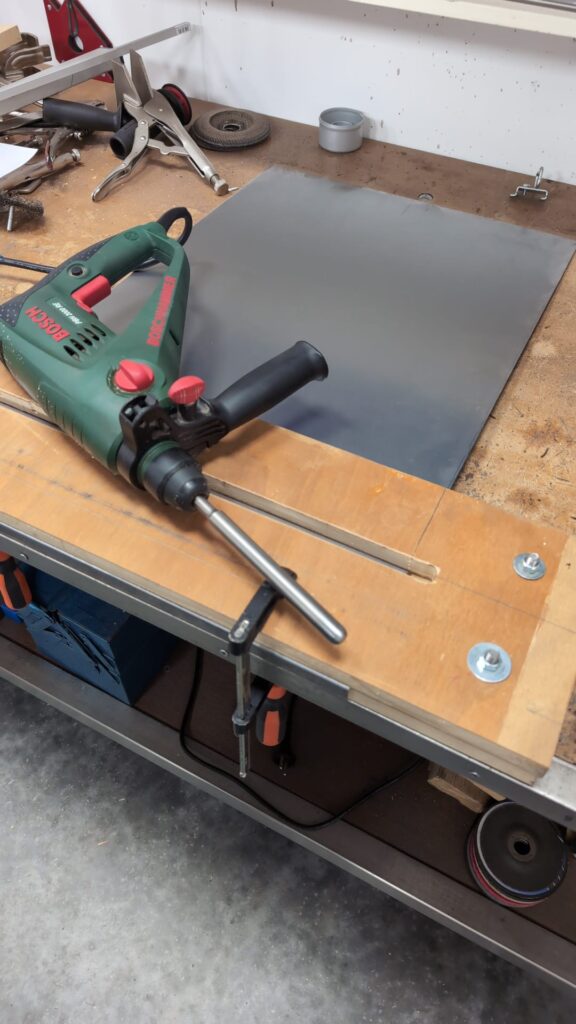
In the lathe, I create a half sphere on the end of the chisel. Then I put the chisel in the hammer drill, and I’m ready to go. Oh, wait a minute, I also need a jig.
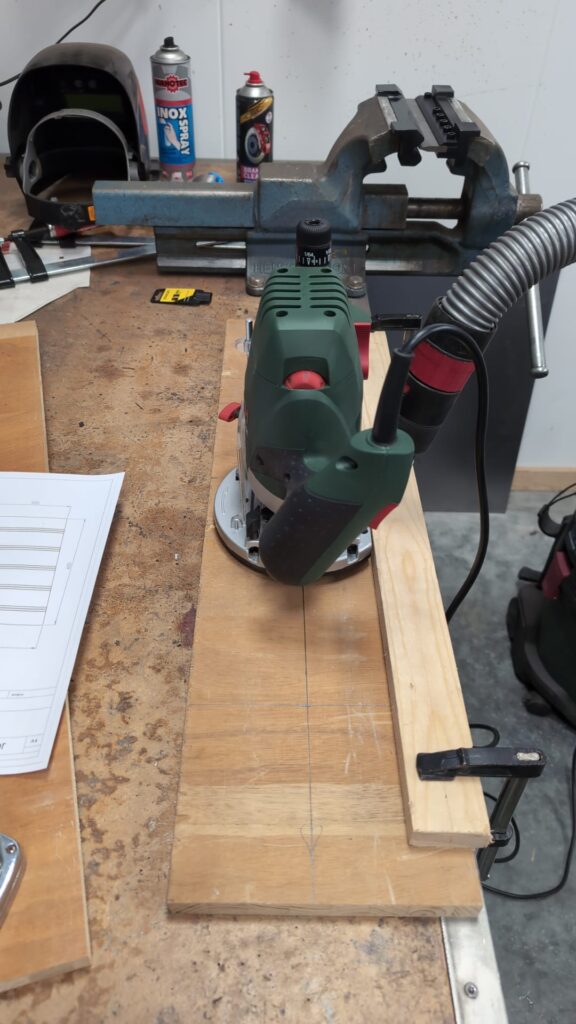

The jig consists of two parts. The bottom half has a semicircular groove. Using a ball-end mill, I make a groove twice as wide as deep.
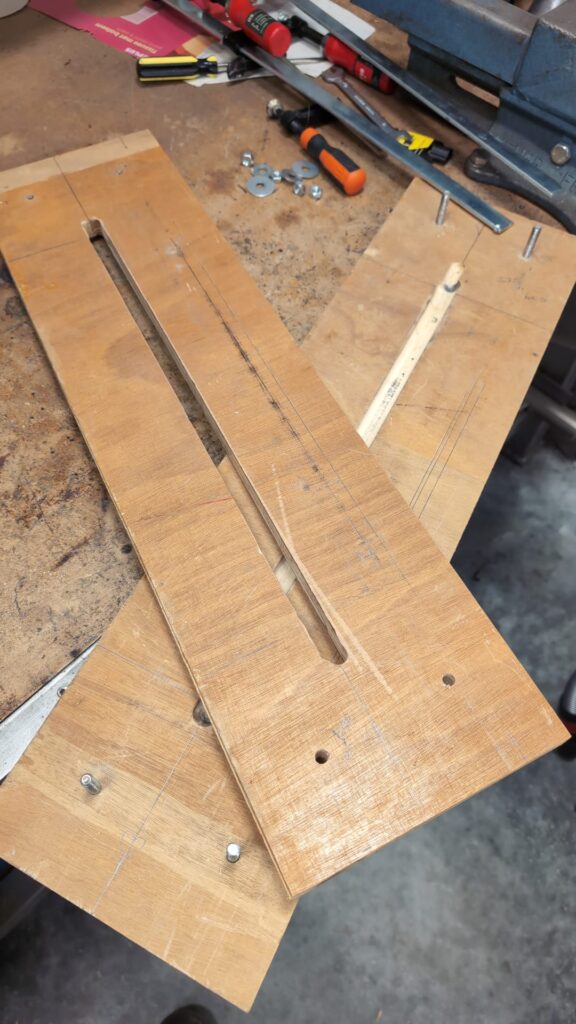
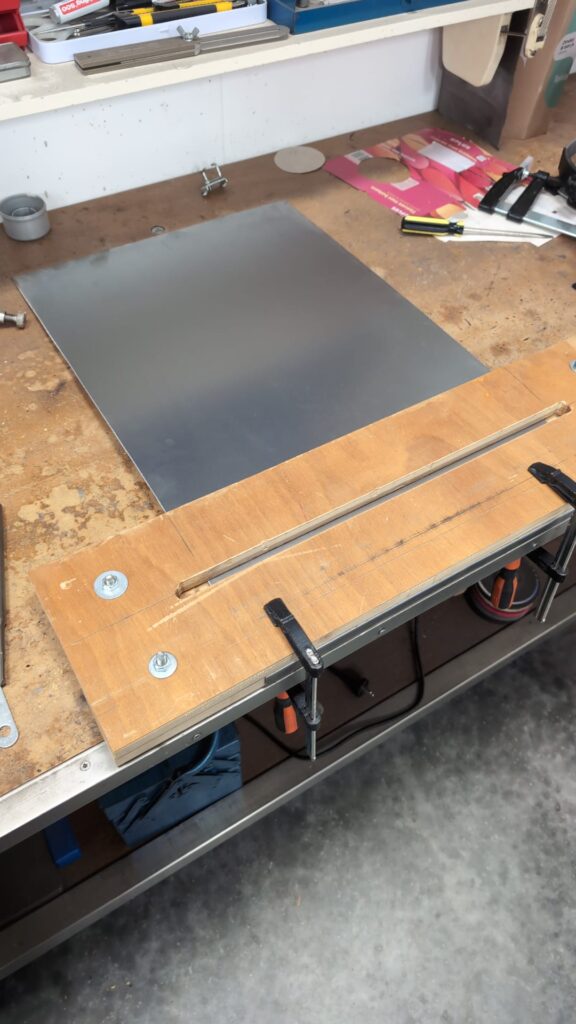
The top part of the jig can be bolted to the bottom half with four bolts. In the top jig, I mill a keyway that’s the same width as the diameter of my mandrel. I fold the edge of the floor over to prevent the panel from being pulled into the jig.
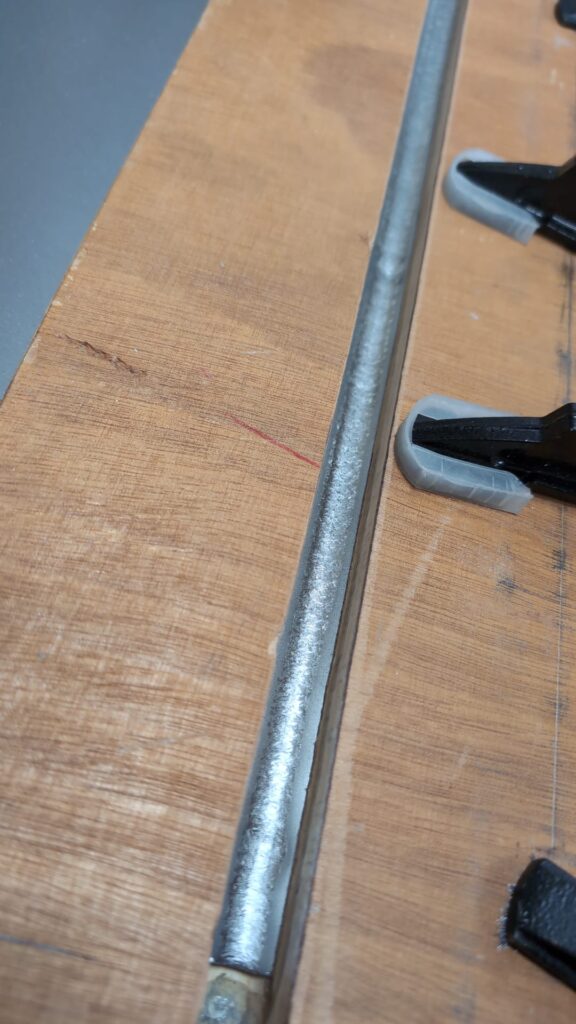
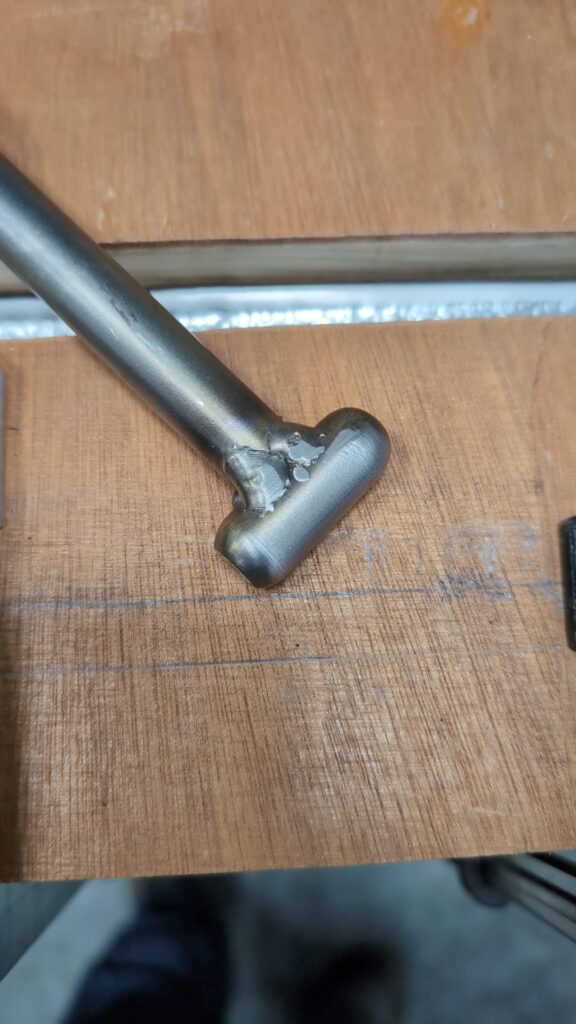
Then I place the hammer drill on the panel in the groove and hammer the first reinforcing rib into the panel. The mandrel with the round head creates quite a few dents, so I modify the mandrel a bit.
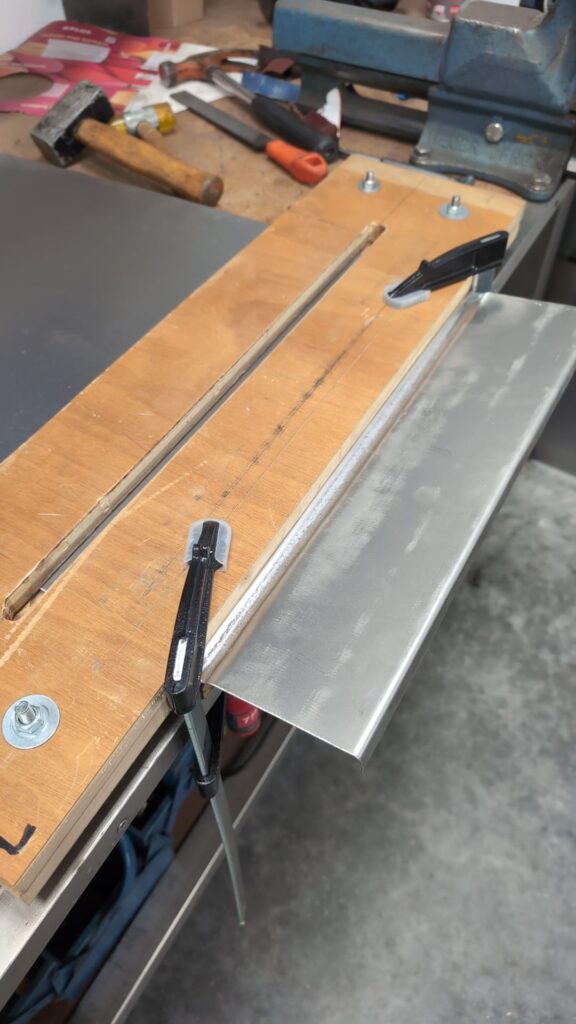
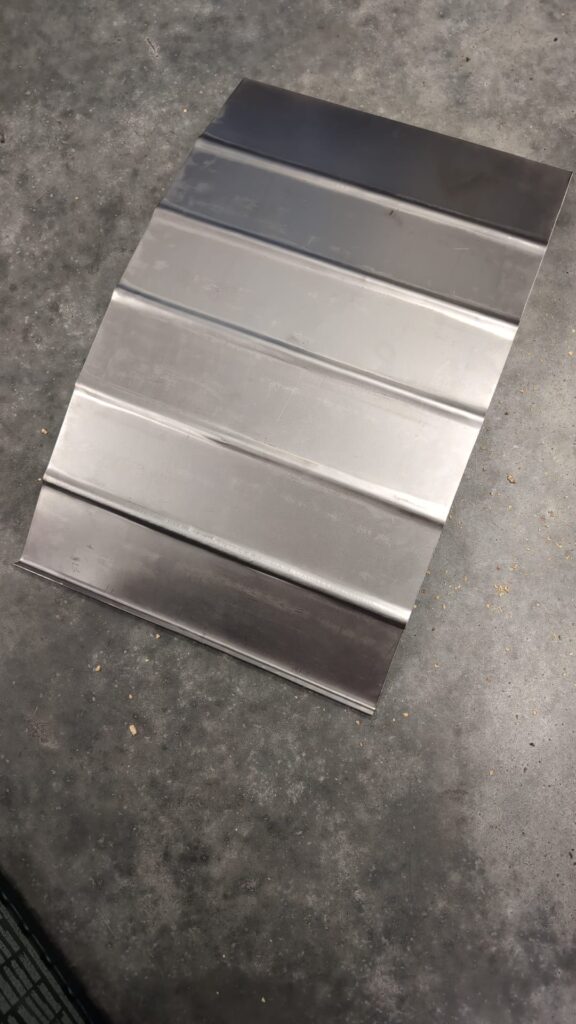
After the first reinforcing rib is in place, I open the mold and slide the panel until the first rib just protrudes outside the mold. This way, the panel is securely in place for the next rib. I create four more ribs this way. I still need to trim the panel to size, but I’m happy with the result.