October 5, 2025
As you can see in the photo below, there’s not much left of the original rear end of the car. The new rear end is welded to the longerons and to the last remaining piece of the original bodywork.

First, I weld the rear panels to the longerons, and then I bend them to the shape of the bodywork. The rear end is starting to look like a car again. Maybe I should try to see if the tailgate still fits soon?
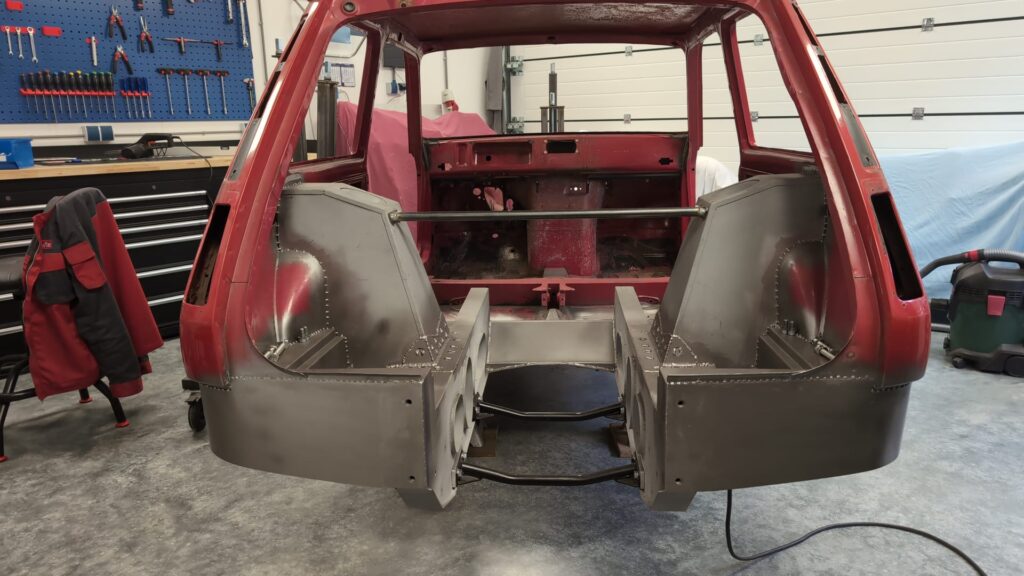
Finally, I assemble the center section. With the custom-made parts, this is actually quite easy. I think I understand why the center section looks a bit different than described in the instructions. Last week, I saw some photos of a fellow builder’s car whose gearbox didn’t fit under the center section. With the updated version, it will fit.
October 8, 2025
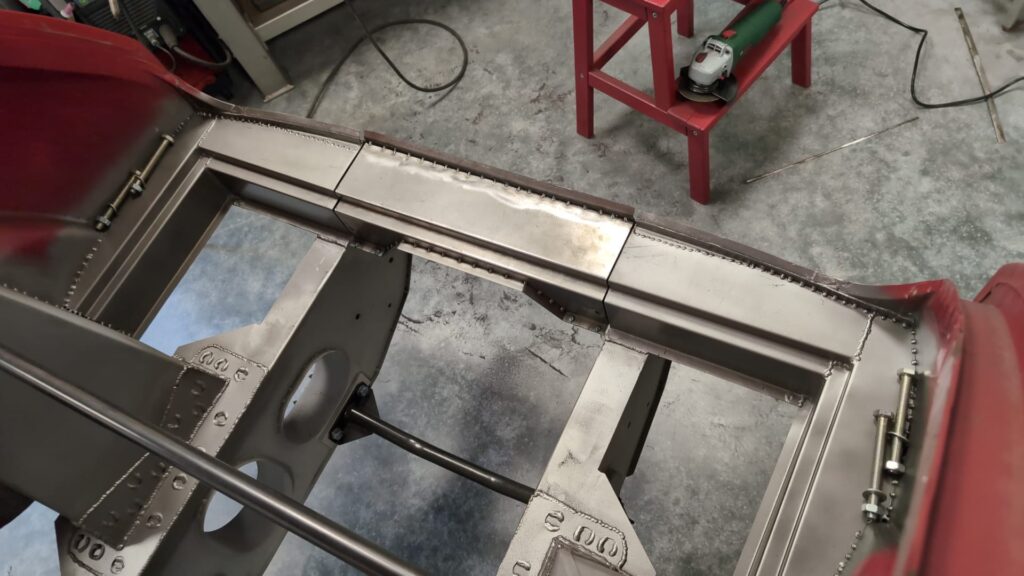
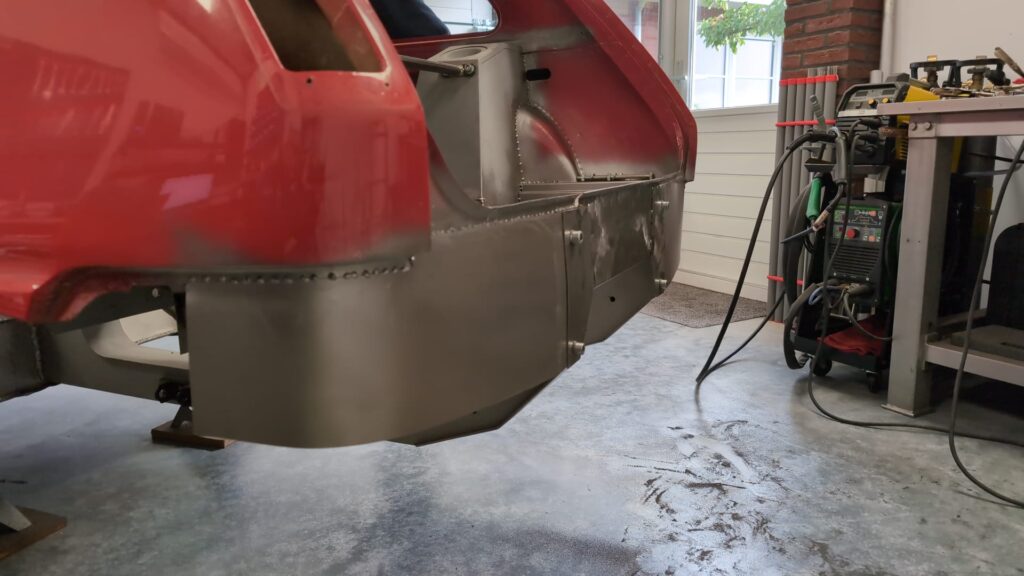
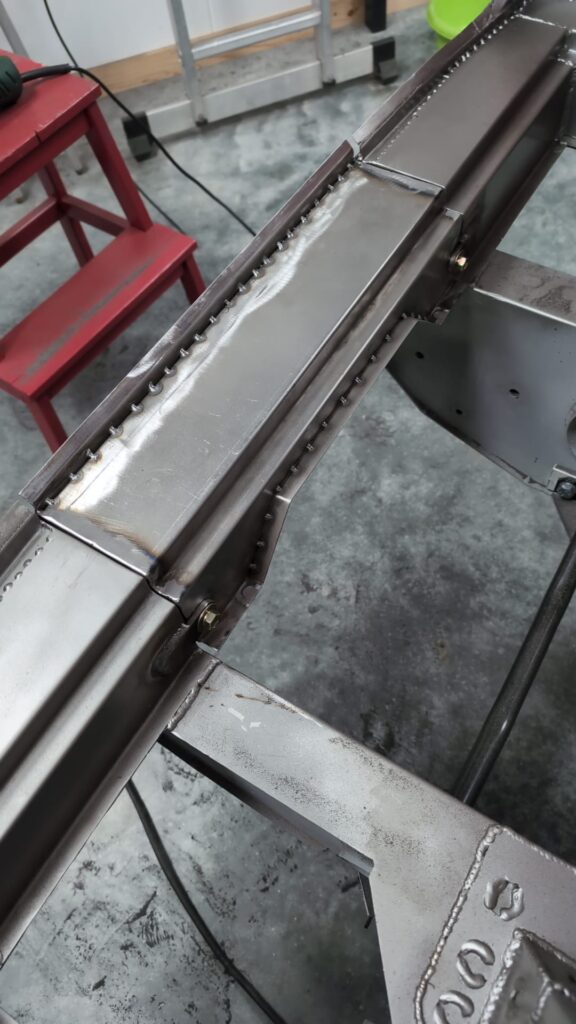
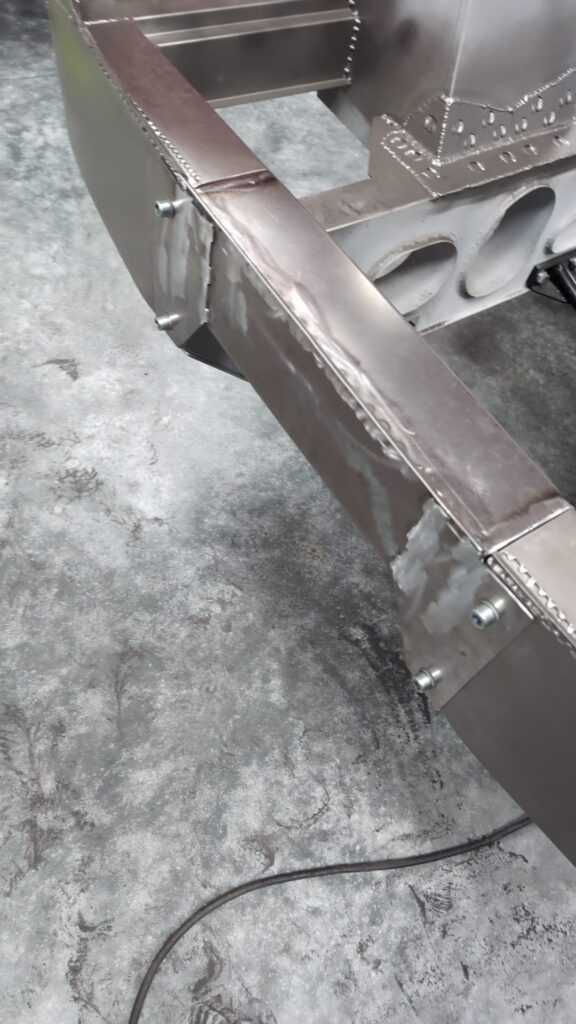
The center section is attached to the body with 6 bolts: 4 on the outside and 2 on the inside. I weld two strips into the rear of the car, and then use two bolts to secure the center section from the inside. This completes the center section.
October 9, 2025
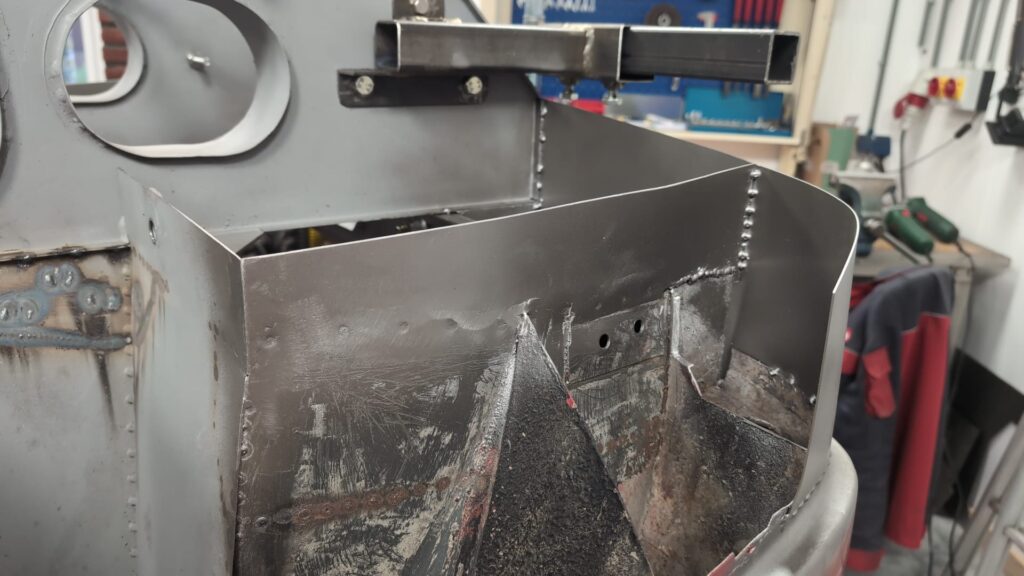
The shock struts protrude about 5 centimeters below the old floor of the car. I’m studying photos of the rally car and those of other builders to see what the bottom side should look like. I start with a template out of cardboard, which I then transfer to a piece of sheet metal. Finally, I weld the new piece into the body on both sides of the car.
October 13, 2025
The same applies to the other side of the shock struts; the inner fender needs to extend further down. So I repeat what I did on the other side; I make a template, trace it onto a piece of sheet metal, and weld the new part into the bodywork.
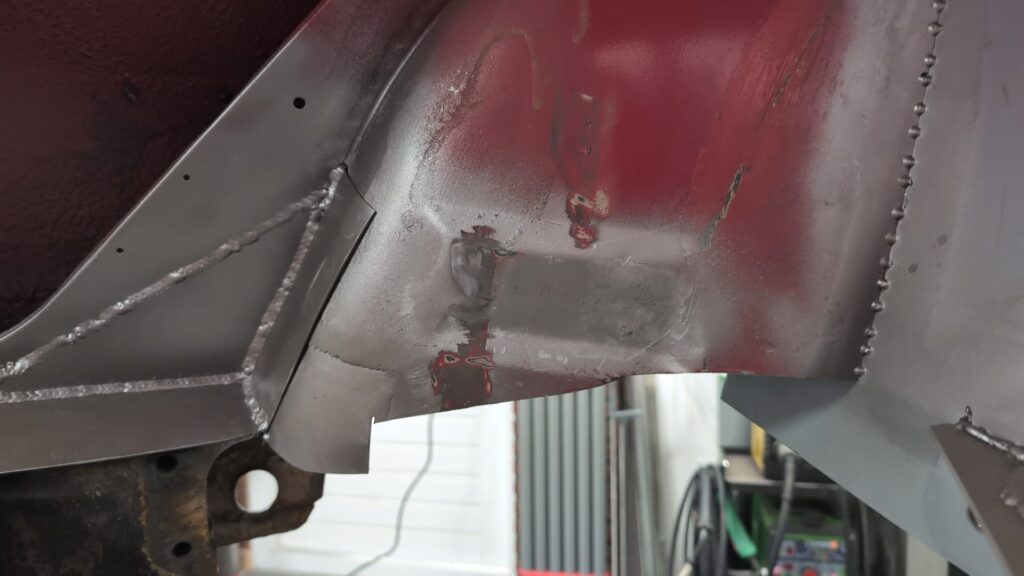
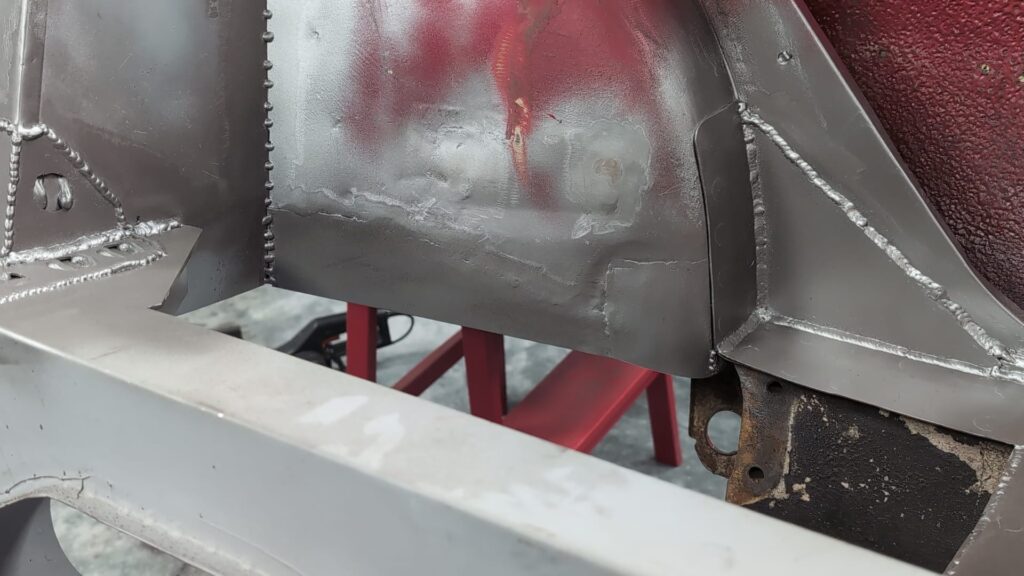
On the inner fender there used to be a bracket for the rear seats. To enable to spot-weld this bracket there’s a flat section in the inner fender. With a hammer and the head of a club hammert, which I use as a dollie, I manage to get the inner fender reasonably flat. I’m not completely satisfied yet, so this is a good excuse to invest in sheet metal working tools!
October 14, 2025
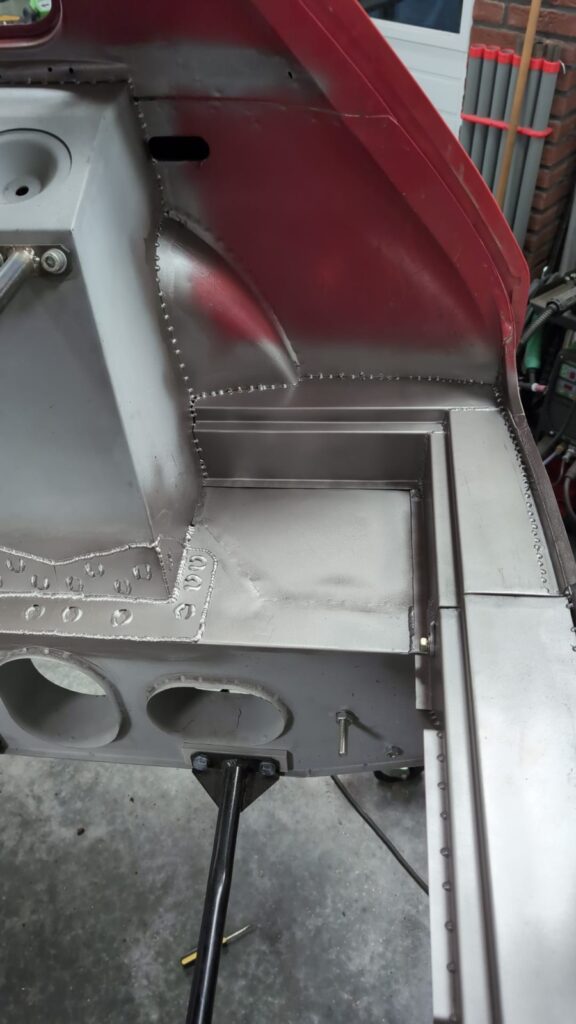
Unlike the road-going version of the Renault 5 turbo, the rally car has a solid floor behind the shock struts. The water injection tank and ECU will sit on the left side. The air filter will sit on the right side. I start again with a template made from a piece of cardboard.
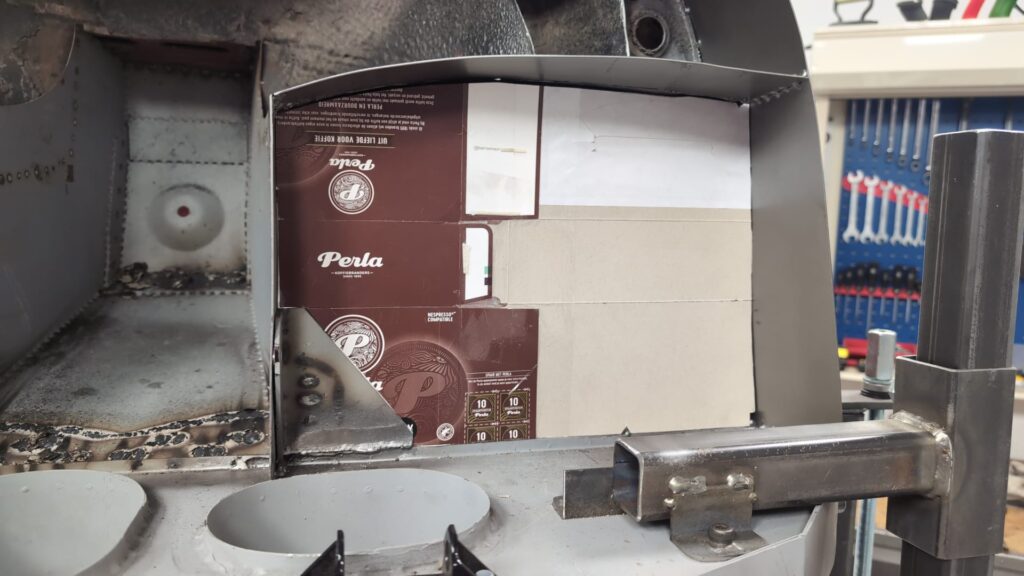
I transfer the shape of the template onto a piece of sheet metal, and then weld that into the bodywork.
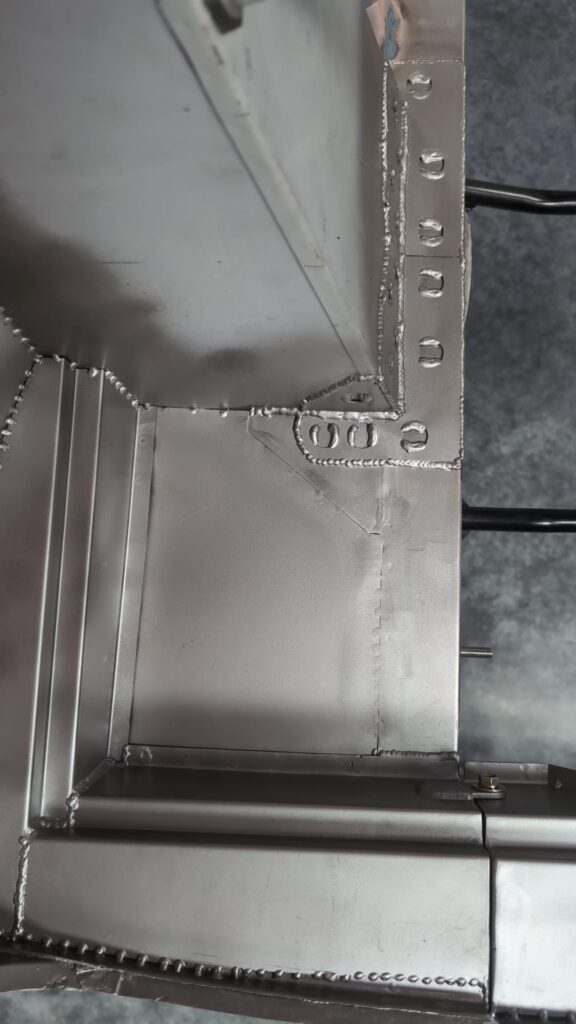
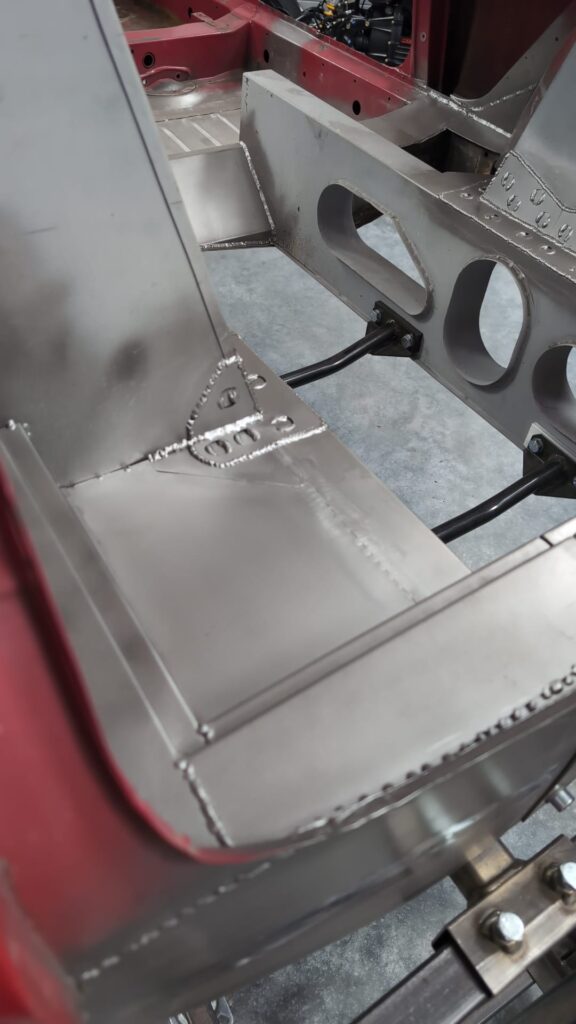
October 19, 2025
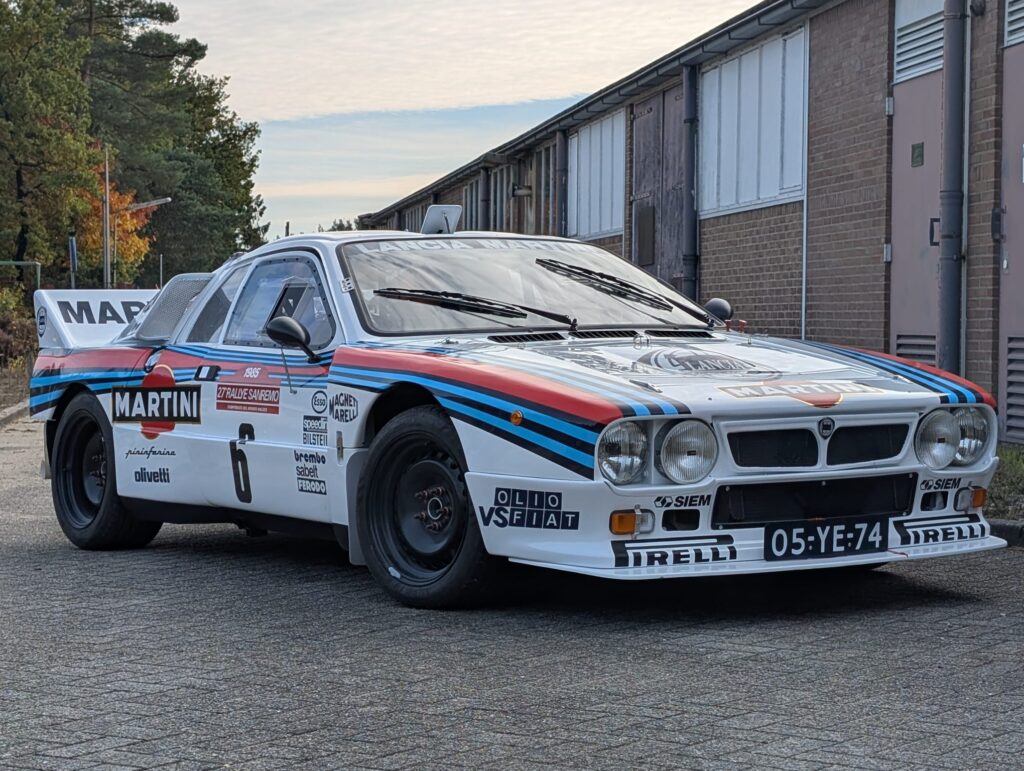
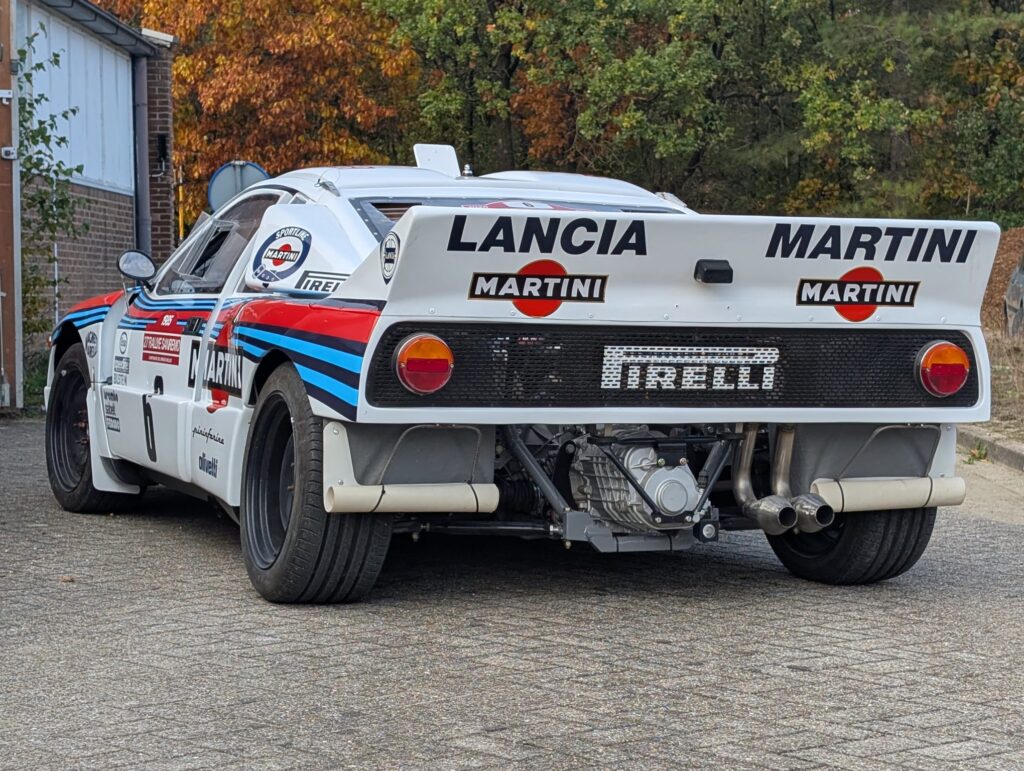
On this website, I’m reporting on the build of my Renault 5. I’ll deviate from that occasionally. As you’ve read, I’m a fan of Group B rally cars. Over the past few months, I’ve helped a fellow builder get the engine of his Lancia 037 running a few times. You can follow his progress here. I won’t repeat everything we did on his car, but I do want to share these two photos with you:
October 20, 2025
This afternoon, I’m making the floor section on the right side of the car. You’d think the left and right sides would be exactly the same, but that turns out not to be entirely true. I’m adjusting my template slightly, transferring the shape to my last piece of 1 mm sheet metal, and welding it into place:
October 26, 2025
Now that the modifications to the rear of the car are complete, it’s time for the next chapter: the rear fenders. A steel inner fender will be placed under the wide polyester fenders. This inner fender largely matches the curve of the inner half of the wheel arch; the outer half of the wheel arch is to be cut out of the body. I have to cut away a large piece of material from the original fender. I study all the photos I have from fellow builders and briefly check with Michal, but my initial fear persists. So, let’s tackle a simpler job first.
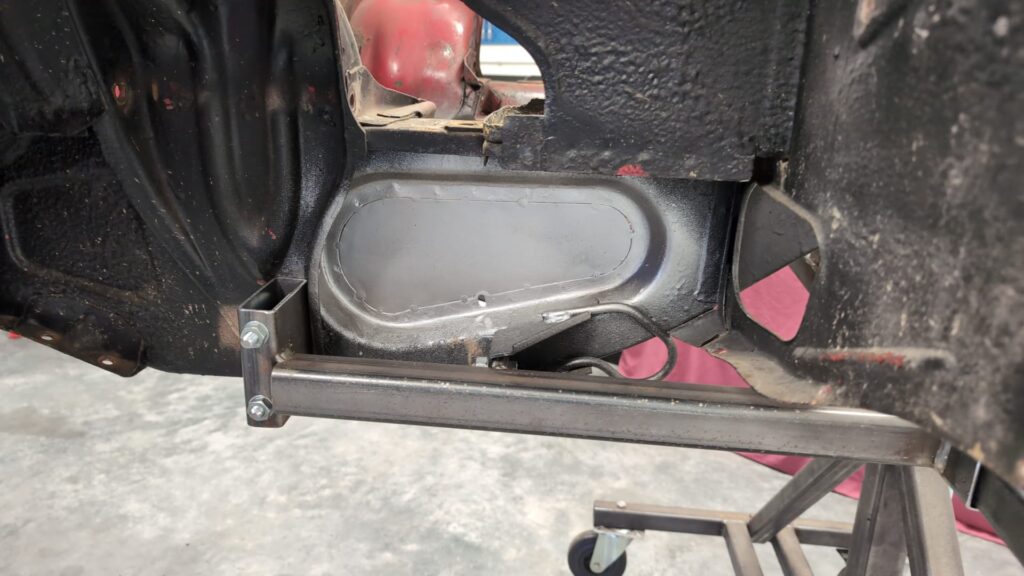
I shift my attention to the front of the car. Several things need to be modified on the front. For example, a floor will be installed in the old engine compartment, and the wheel arches will be replaced with fiberglass ones. Today I’m tackling a smaller job; the appertures through which the driveshafts used to poke through are closed on the rally car. So, using the proven method with a cardboard template, I’m cutting two pieces of sheet metal to size and welding them in place.

I will have to tackle the rear fenders at some point in time. I don’t have the fiberglass rear fenders yet, and that’s not helping me to get started. Of course, I can cut the fenders to the correct width later. The big hole in the original fender is the most frightening part to me. What I can do of course, is determine the wheel size and where the center of the wheel will be located. The tires I want to use have a diameter of 639 mm. To determine the highest position of the wheel, I install the shock absorber and the control arms:

October 29, 2025
Today I’m working on the rear fenders again. Now that I know the highest position of the rear wheel, I can determine the center of the circle on the rear fender. I use a laser to determine some reference points.
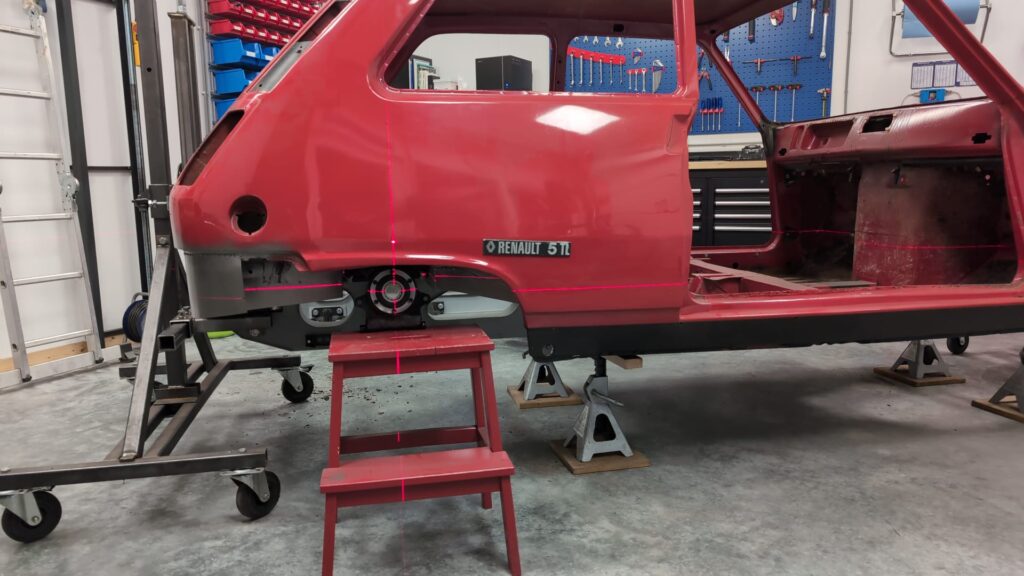
Then I’ll create a fixed point from which I can draw a circle.
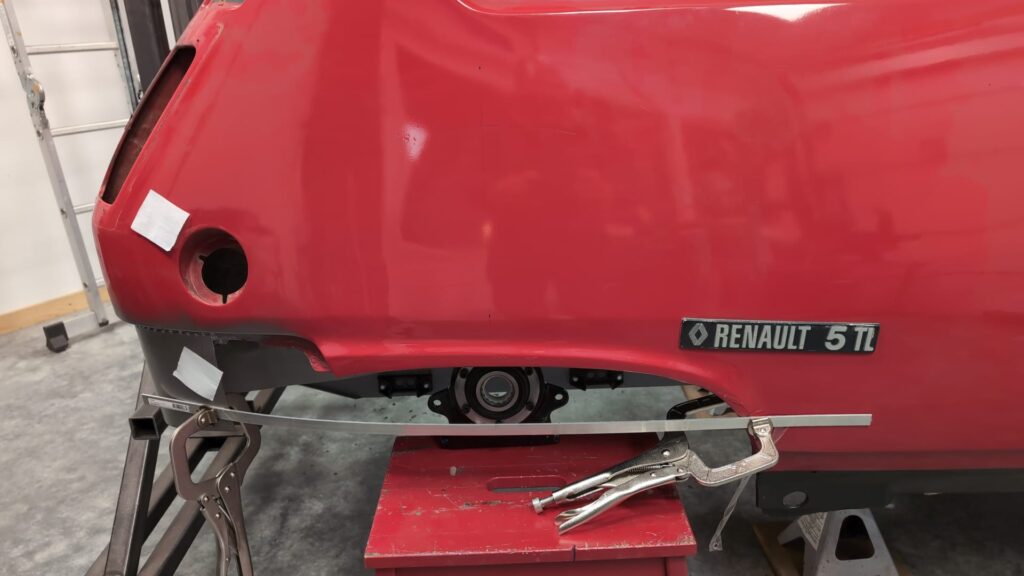
And then I trace a circle with a piece of string.

BUT…. The new fender has to fit onto the inner fender. And it also has to fit inside the polyester fender, which I don’t have yet. My conclusion is that I definitely need the polyester fender before I start cutting into the bodywork.
What’s clearly visible in the photo above is that the fender runs right through the old filler cap opening. I think it would be a good idea to close the old opening first.
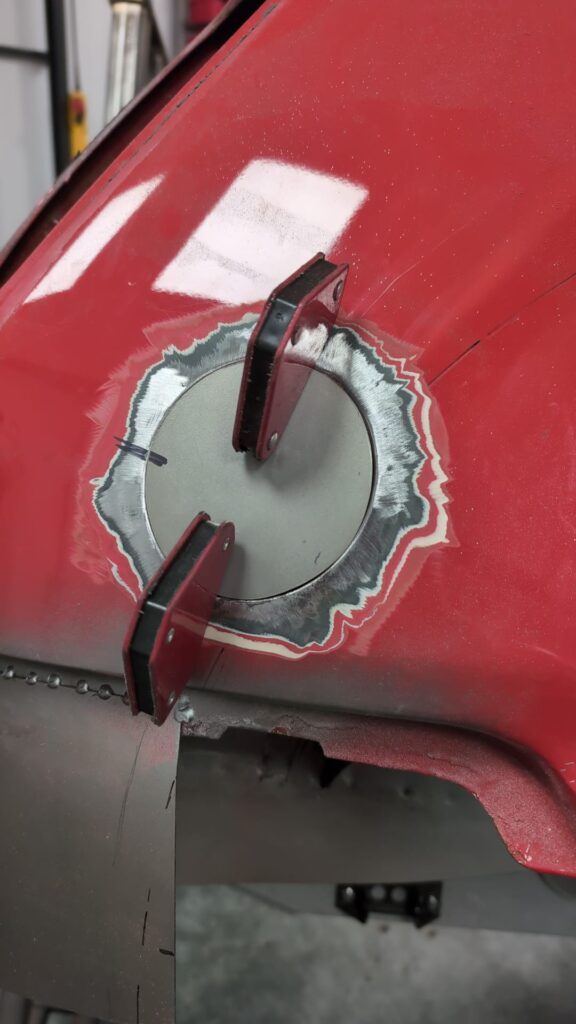
Behind the new plate is the flange that held the fuel filler cap in place. I realize just in time that this is maybe not such a good idea. I think it would be better to remove this flange first.